


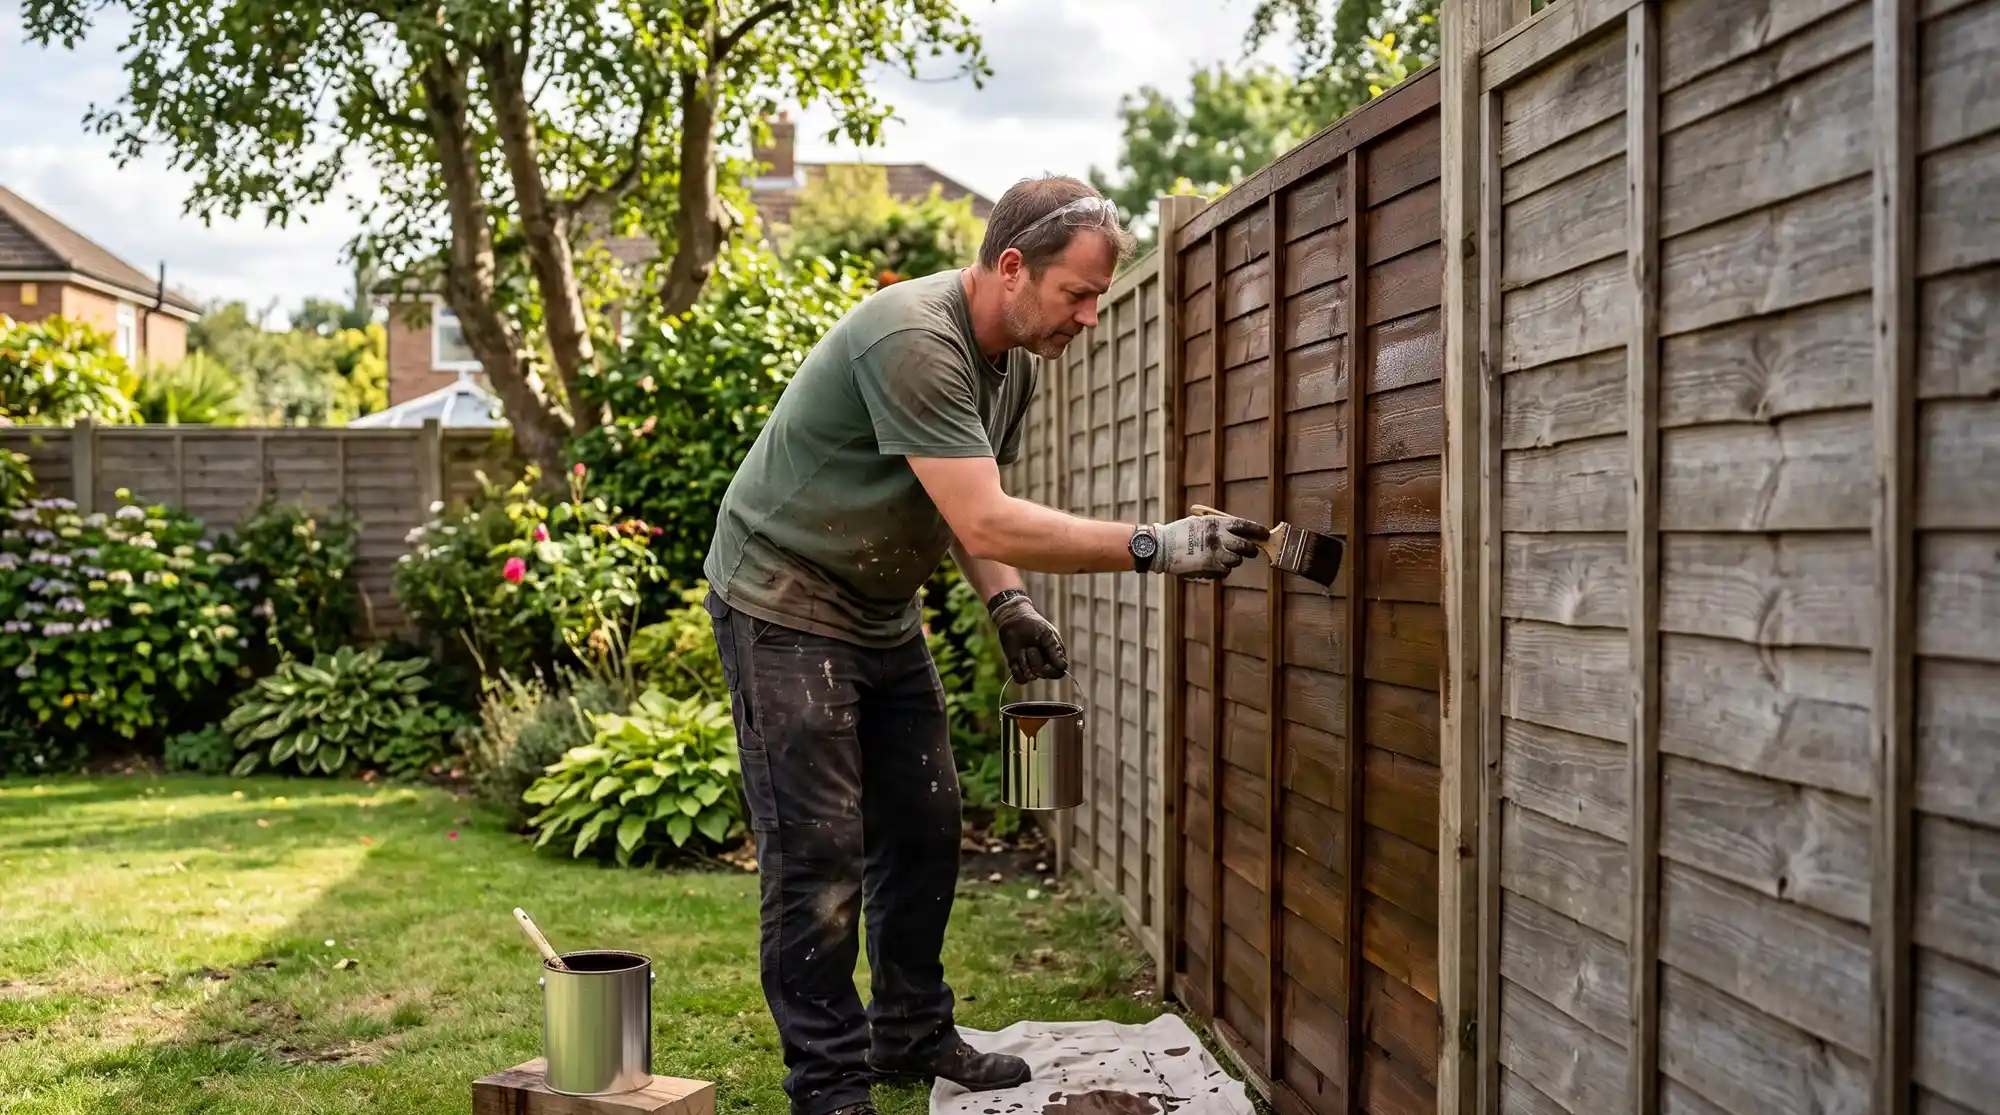


A cedar fence is a gorgeous addition to any backyard. Its warm, natural charm and rustic appeal offer a sense of privacy and security while elevating your outdoor space’s overall aesthetic. Even without treatment, cedar fencing is naturally resistant to rot and decay, making it a durable and low-maintenance choice. But for those looking to maintain its original color or give it a fresh, new look, staining is an option to consider.
Why Stain Your Cedar Fence?
While cedar is naturally beautiful, applying a wood stain offers several advantages:
- Preserve the color: Staining helps prevent the wood from gradually turning gray due to sun exposure, holding onto the rich, warm tone that makes cedar fencing so appealing.
- Enhance the wood grain: A good stain can accentuate cedar's natural beauty and highlight its unique grain pattern and texture.
- Protect from the elements: A stain acts as a barrier against moisture and UV rays, which helps slow down the weathering process.
- Customize the look: With a variety of stain colors available, you can personalize your fence's appearance to match your style and your home's exterior.
Staining a cedar fence is about protecting its appearance and extending its lifespan, not improving its structural strength. Left untreated, cedar will still stand for years thanks to its natural resistance to rot and insects. Stain helps keep the fence looking how it did the day it went in.
When to Stain a New Cedar Fence
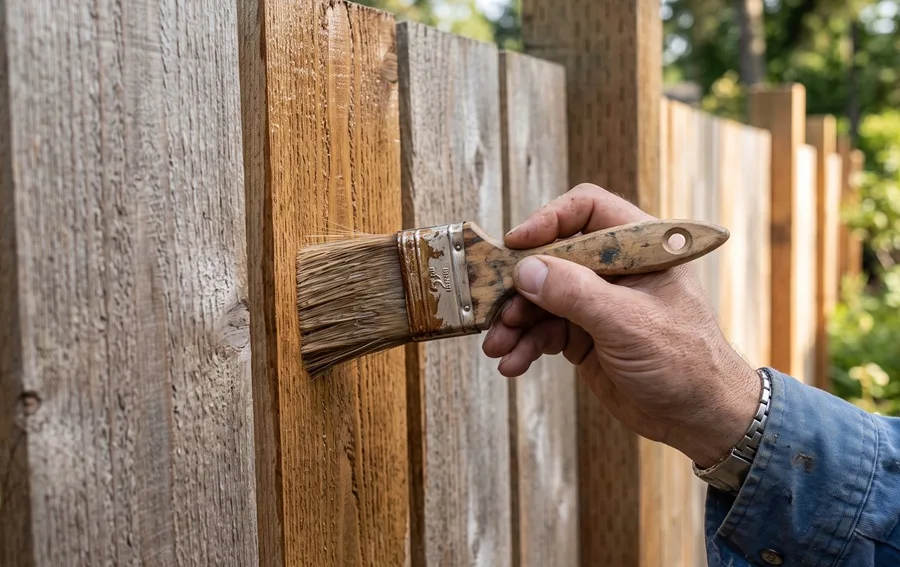
New cedar typically needs 4-8 weeks after installation to dry out before staining. Stain applied too soon traps residual moisture in the wood, which leads to poor adhesion, premature peeling, and mold.
Use the water bead test to check readiness: sprinkle a small amount of water onto the fence boards. If it beads up, the wood is still too wet. If it soaks in within a few seconds, the cedar is ready to accept stain. You can also use a moisture meter to confirm readiness.
For cedar that has already begun to gray from sun exposure, a light cleaning or sanding before staining will help the stain bond evenly.
Types of Cedar Fence Stain
There are several types of wood stains available, each with its own unique characteristics and benefits:
- Transparent stains: These stains allow the natural beauty of your cedar's grain to shine through, offering minimal color change. While they don't provide the highest level of UV protection, they're a great choice if you want to showcase the wood's unique character.
- Semi-transparent stains: Semi-transparent stains provide a hint of color while still showcasing the wood's grain. They offer moderate protection against the elements and usually last longer than transparent stains.
- Solid stains: Solid stains cover the wood's surface with a uniform, opaque finish. They provide the strongest UV and moisture protection and are the ideal choice for older or heavily weathered cedar where uneven tones and surface wear need to be concealed. While solid stains typically last 4-5 years between applications, they hide cedar's natural grain.
- Oil-based stains: These stains penetrate deep into the wood fibers, enriching the natural appearance and creating a rich, authentic finish. They offer excellent protection against UV damage and moisture, but they take longer to dry and can have a strong odor during application.
- Water-based stains: A more eco-friendly choice, these stains are low in VOCs (volatile organic compounds), making them safer for you and the environment. They dry quickly, clean up easily, and offer excellent protection for your cedar fence.
How to Pick the Right Cedar Fence Stain
Here are some key considerations for selecting the ideal stain for your fence:
- Your climate: Does your area experience harsh sunlight, high humidity, or frequent rain? Choose a stain designed to withstand your local weather conditions to prevent mold, mildew, fading, or weathering.
- Your desired look: Do you prefer a natural, almost invisible finish, or are you looking for a more opaque, uniform color? Consider your home's overall style and the look you want to achieve for your outdoor space.
- Durability and maintenance: How much time and effort are you willing to invest in maintaining your fence? Ideally, you’ll opt for a high-quality, durable stain that offers good adhesion and resistance to peeling, cracking, and chipping. This minimizes future maintenance and protects the fence longer.
Once you know what your climate demands, what look you want, and how much maintenance fits your schedule, it’s easy to decide on the right cedar stain for your fence.
#cta_start
The Cedar You Stain Should Be Worth Staining
Cedar Rustic Fence Co. installs cedar fences across Chicagoland and Northwest Indiana, manufactured in-house at our Joliet facility.
#cta_end
How to Prep a Cedar Fence for Staining
Proper prep is what separates a stain job that lasts from one that peels in a season:
- Inspect and repair: Walk the fence line and check for loose nails, warped boards, cracks, or peeling paint from a previous finish. Fix minor issues now so the stain has a smooth, sound surface to bond to.
- Clean thoroughly: Wash the fence with a pressure washer on a low setting, or scrub with a stiff brush and a mild detergent solution to remove dirt, mildew, and surface graying. If an older coat of stain has built up over time, a wood stripper or deck cleaner will remove residue that ordinary washing often leaves behind.
- Sand where needed: If the fence was previously painted or stained, or if you find rough patches after cleaning, sand those areas to remove any old finish and open the grain for the new stain.
- Let it dry: Wait at least 24-48 hours after cleaning before applying stain. A moisture meter confirms the wood is ready, or use the water bead test: if water soaks in within a few seconds, the cedar is ready.
- Protect the surroundings: Cover nearby plants, furniture, siding, and hardscape with drop cloths or painter's tape. It’s easier to prevent stain drips than to remove them from concrete and vinyl siding.
How to Apply Stain to a Cedar Fence
With prep done, application comes down to the right tool, the right conditions, and a steady hand.
Pick Your Applicator
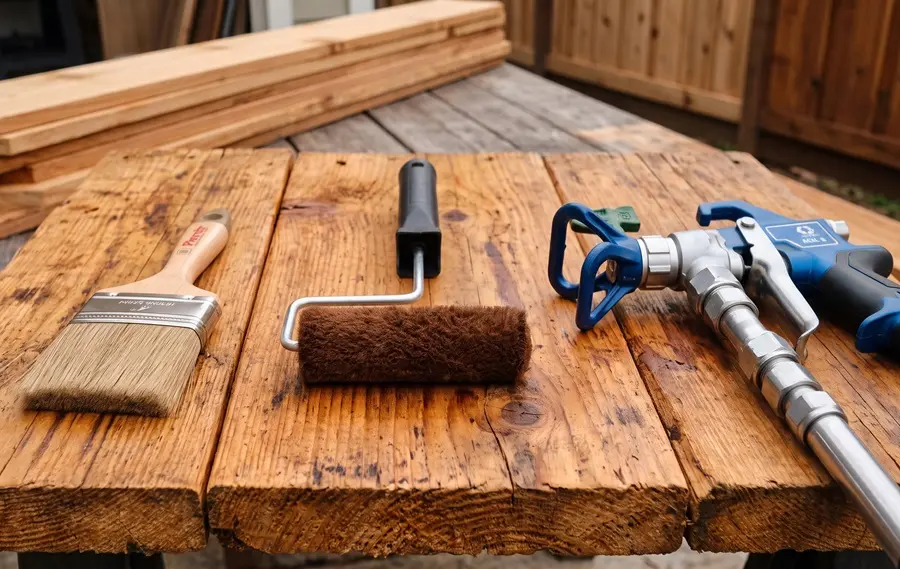
Three applicators work for cedar fence staining, each with different tradeoffs:
- A brush gives the most control, pushes stain deep into the grain, and handles crevices well. The best all-around choice for most residential fences.
- A roller speeds up coverage on large flat panels but can skip gaps between boards. Follow up with a brush in tight spots.
- A sprayer covers a full fence quickly but requires careful masking of surrounding surfaces. Follow every pass with a brush while the stain is still wet — this is called back-brushing, and it works the stain into the grain instead of leaving it on the surface.
Check the Weather
Ideal conditions are dry days with temperatures between 50°F and 90°F and low humidity. Skip application if rain is in the forecast within 24 hours, or if the fence is in direct midday sun — the surface will skin over before the stain penetrates, leaving a blotchy finish.
Apply the Stain
Work in the direction of the grain, one board at a time, from top to bottom. Use an angled brush for crevices and the spaces between boards. Wipe away any excess as you go to prevent drips and uneven color. If you want a deeper tone, apply a second coat once the first has dried per the manufacturer's instructions.
Clean Up
Let the fence dry fully before removing drop cloths or tape. Follow local regulations when disposing of used rags, brushes, and leftover stain. Oil-based products can spontaneously combust if left crumpled and unventilated.
How Often Should You Re-Stain a Cedar Fence?
The right interval depends on your climate, sun exposure, and the stain type applied:
- Transparent stains: Every 1-2 years.
- Semi-transparent stains: Every 2-3 years.
- Solid stains: Every 4-5 years.
Watch for these signs that a new coat is overdue: color fading across the surface, water soaking into the boards instead of beading up, or visible cracking and splitting. These all signal that the stain's protective barrier has worn through.
Maintaining Your Stained Cedar Fence Between Coats
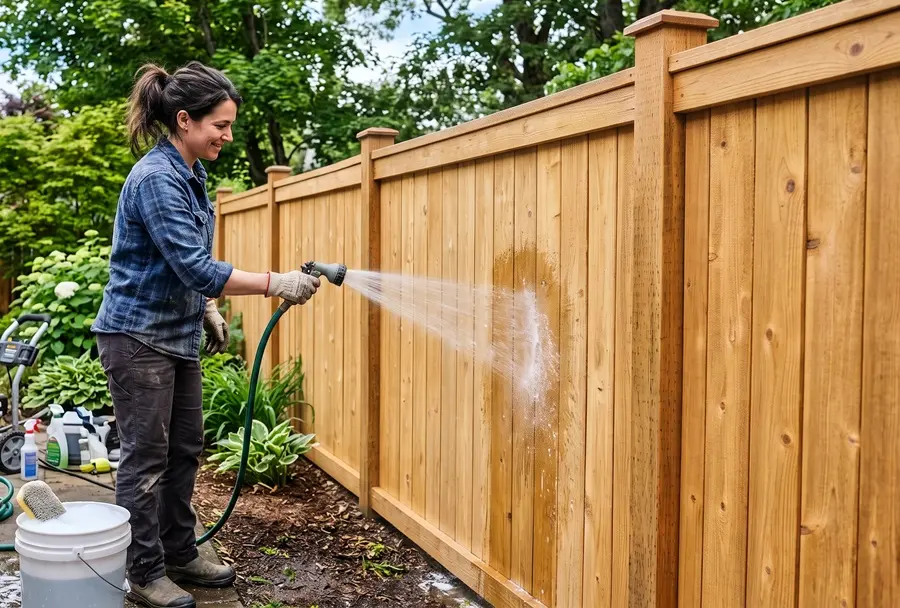
Consistent maintenance extends the life of a stain job and keeps your cedar fence looking its best year to year.
- Regular cleaning: Give your fence a gentle wash with a soft brush, mild detergent, and water a few times a year. Avoid harsh chemicals or pressure washers, as they can damage the stain and the wood itself.
- Re-staining on schedule: Re-stain your fence on the appropriate schedule for your stain type every few years to keep it looking its best and protect it from the elements.
- Routine inspections: Walk the fence at least once a year and look for signs of wear, loose boards, warping, or areas where the stain has thinned. Catching these issues early will prevent them from getting worse and keep your fence looking beautiful.
Common Mistakes to Avoid When Staining a Cedar Fence
Even a well-prepped fence can be undermined by a few application-stage errors. These are the ones most likely to produce a finish that fades, peels, or looks uneven:
- Too thick a coat: Heavy layers dry unevenly and leave a tacky, blotchy finish. Thin, even coats absorb better and last longer. Two thin coats always beat one heavy one.
- Wrong stain type for the fence's condition: A transparent stain on a heavily weathered fence will look uneven. A solid stain on new cedar buries the natural grain. Match the stain type to how the wood looks today, not what you wish it looked like.
- Expecting stain to protect the posts: Stain works on the visible pickets and rails but does nothing for the parts of the posts sitting in the ground, which are what actually fail first on a cedar fence. Stain preserves appearance, not structural lifespan.
- Skipping back-brushing after a sprayer pass: Sprayed stain sits on the surface instead of penetrating the grain unless a brush works it in immediately. The result looks fine for a season, then peels in sheets.
- Overworking a section that has already started to dry: Going back over a partially dried area with more stain creates lap marks that remain visible for the life of the coat. Work top-to-bottom, one board at a time. Don't revisit a section once you've moved on.
Most of these come down to patience: patience with the wood, with the weather, and with the process. A stain job done in a rushed weekend afternoon will show it within a year.
A properly prepared and stained fence, completed over the right two-day timeline, will keep its appearance throughout the recommended re-staining interval and highlight the natural character of the cedar.

