A vinyl fence is built to last, but if you don’t plan, the costs can sneak up on you. Many homeowners underestimate their budget, leading to unexpected expenses. At Cedar Rustic Fence Co., our cost estimator gives you a clear breakdown, so you know exactly what to expect before making any decisions.
This tool factors in:
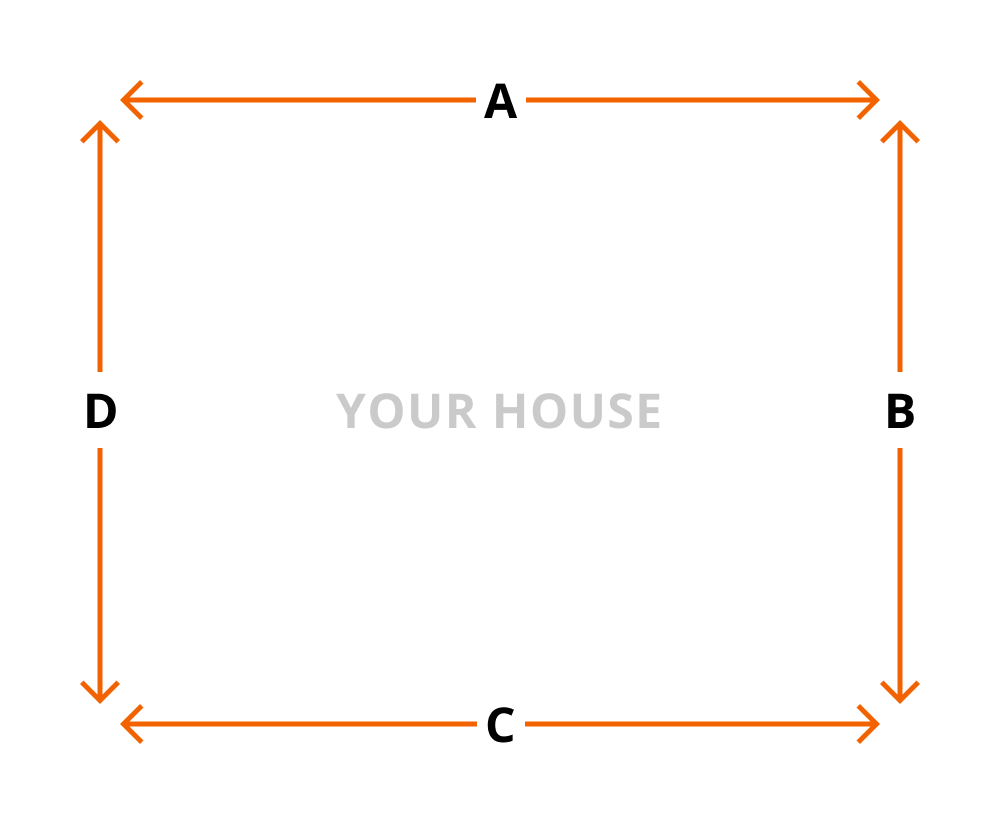
Exact measurements for each side of your property
Gates, labor, and an extra buffer for unexpected costs
Vinyl FenceCost Calculator
Fence Measurements
Side A (feet)
Side B (feet)
Side C (feet)
Side D (feet)
Calculation Results
Total Linear Feet
0
Estimated 8' Sections Needed
0
Fence Details
Fence Collection
Fence Height
Color
All vinyl fences come in standard 8-foot wide sections
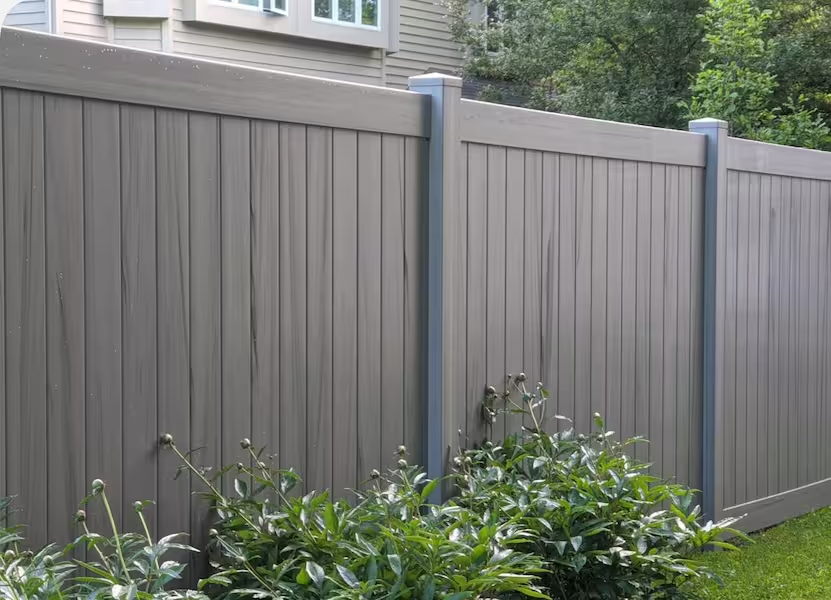
Our best-selling privacy fence features interlocking tongue and groove pickets with zero visible spacing for complete seclusion.
Double gates cost approximately 60-80% more than single gates of the same width.
Estimated Costs
Materials
0.00
Installation
0.00
Gates
0.00
Contingency (8%)
0.00
Added to account for unforeseen expenses
Total Estimate
0.00
($0.00 per linear foot)
Estimated number of 8-foot panels: 0
Note: This is an estimate only. The final price may vary based on property conditions, permit requirements, and other factors. Please contact us for a detailed quote.
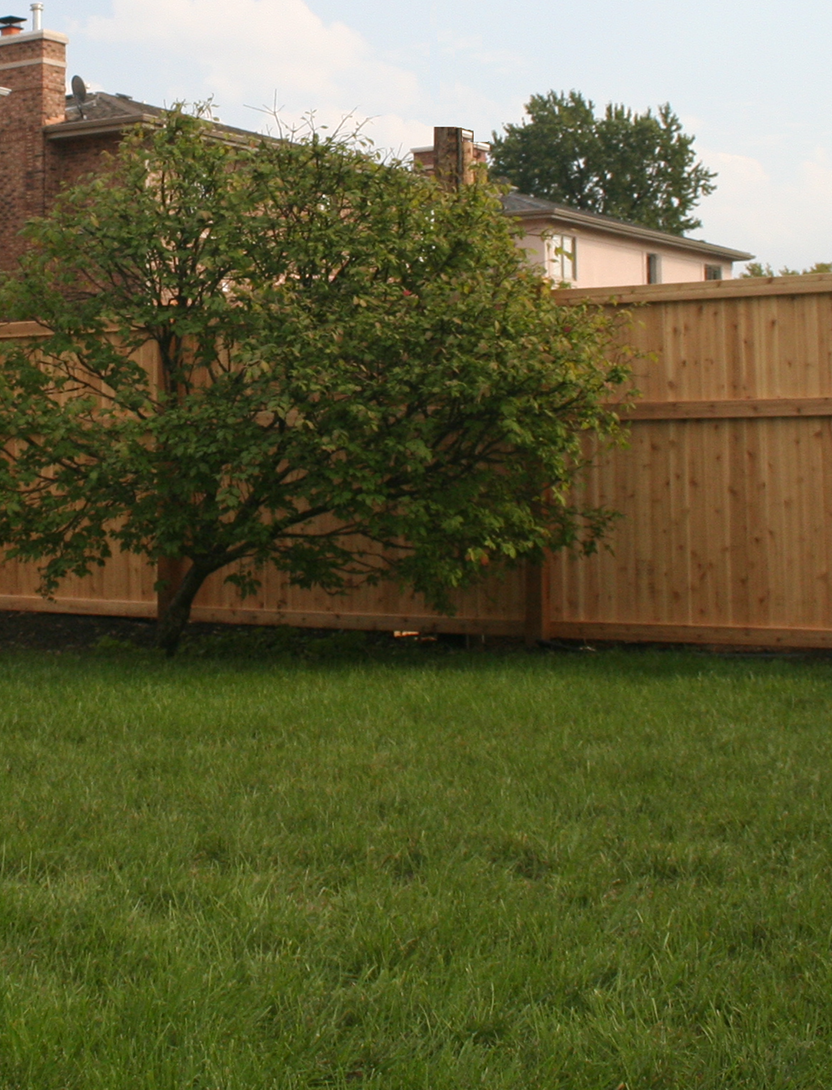
The right vinyl fence does more than just enclose your yard. It enhances privacy, improves curb appeal, and adds value to your home. We offer a variety of options designed to meet different needs.
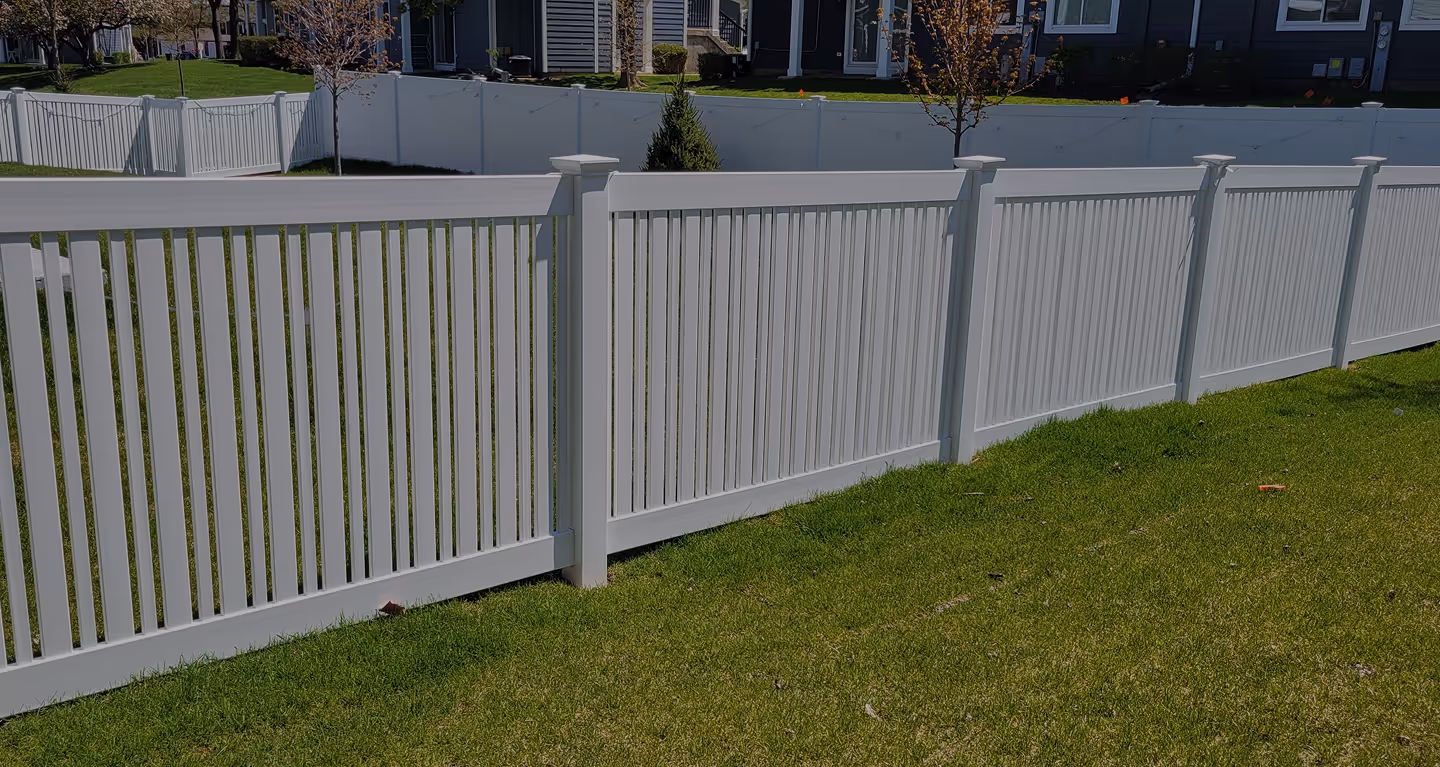
Privacy Fence — Blocks out prying eyes for complete seclusion. Semi-Privacy Fence — Offers airflow while keeping some privacy. Spaced Picket Fence — A classic look with open sightlines.
For rectangular properties: Measure all four sides separately, even if they look equal.
For L-shaped or irregular properties: Break the perimeter into sections, measure each straight section separately, then add them together.
#class:rt-center
Formula:
#class:rt-center
Total Linear Feet = (A + B + C + D) - (Number of Gates × Gate Width)
Using a Surveyor's Tape
A 100-foot measuring tape gives you reliable measurements for fence planning. You can find these at Lowe's (look for "long tape"), Harbor Freight ("open reel measurement tape" or "open reel long tape"), or most hardware stores for around $18.99. Start at one corner, walk the property line to the next corner keeping the tape taut, then record the measurement. Continue around the perimeter until you return to your starting point.
Key Tips:
Measure twice: Walk each side in both directions and, if the results differ, average them.
Account for slopes: Measure along the actual fence line path on properties with grade changes.
Keep the tape level: Sagging tape adds length to your measurement.
Mark corners clearly: Use temporary stakes or spray paint.
Two-Person Method: One person holds the tape at the starting corner while the other walks to the next corner. This leapfrog method keeps the tape taut and prevents it from dragging.
Modern Measuring with GPS Apps
Several smartphone apps use GPS tracking and parcel map overlays to estimate property boundaries without walking the entire perimeter. Popular options include LandGlide, OnX, and Regrid.
How GPS Apps Work:
Download the app and enable location services.
Search your address on the map.
Turn on the parcel boundary overlay.
Walk your property perimeter (the app tracks your location).
Drop pins at corner locations.
App calculates linear feet between pins.
Step 2: Select Your Fence Style
Different vinyl fence styles come with different price points. The more material and design complexity, the higher the cost. But your fence isn’t just about cost — it’s about function and style.
Fence Style
Collections
Privacy Level
Best For
Privacy Fence
Estate, Hampton Estate
Maximum (100%)
Security, Complete Privacy
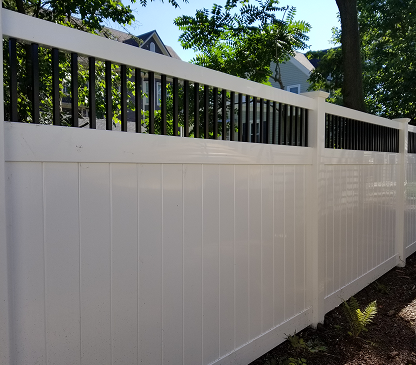
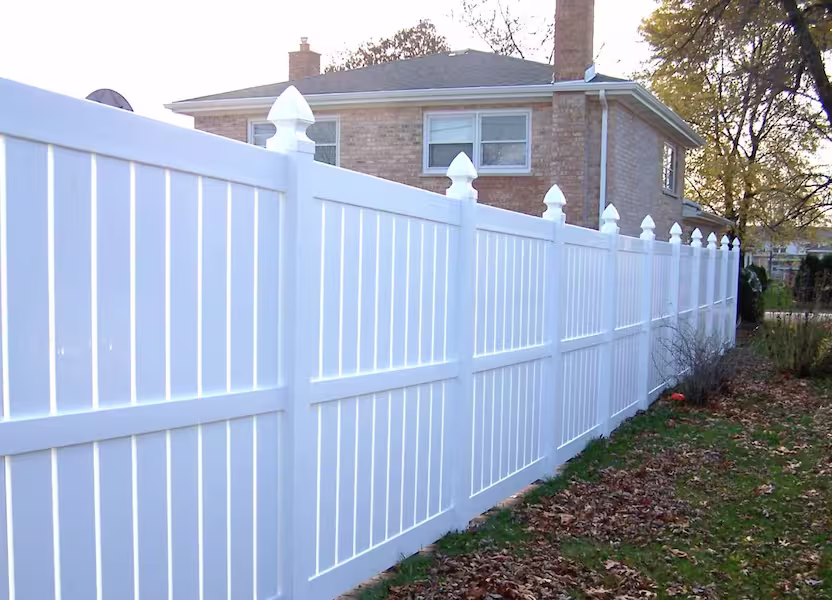
Semi-Privacy Fence
Manor
Moderate (70-80%)
Balanced privacy, airflow
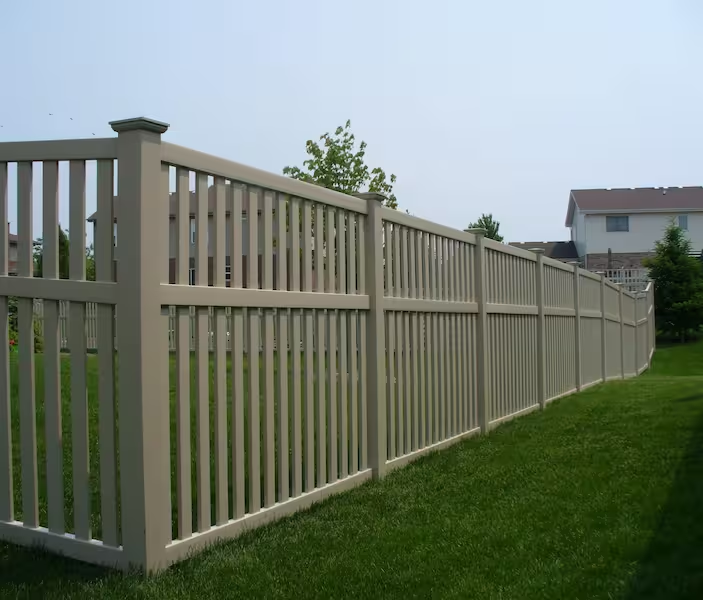
Spaced Picket Fence
Cottage, Classic/Madison
Minimal (30-40%)
Decoration, Boundary Definition
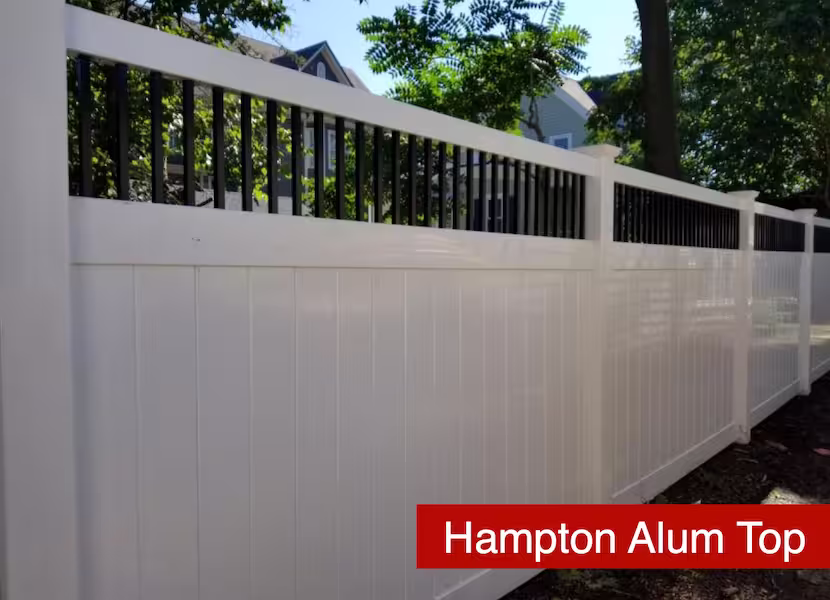
Each style can be customized with different post caps, gate designs, and even decorative lattice tops to enhance the look.
Step 3: Choose the Right Height
Fence height matters for privacy, cost, and even local regulations.
4' height Great for property boundaries while keeping an open view.
5' heightAdds moderate privacy without feeling too enclosed.
6' height The most popular choice for full privacy (available in all colors).
8' height Maximum coverage, available only in Estate style.
Something to keep in mind: 8 fences need deeper posts and extra concrete, which can increase installation costs.
Step 4: Consider Color Options
Vinyl fences aren’t just white anymore! There are multiple colors to choose from, but some come with an extra price tag.
Standard Colors: White and Tan (included in base price).
Premium Colors: Coastal Cedar and Dark Walnut.
Heads up: Premium colors are only available in 6' height fences and may have different maintenance needs over time.
Step 5: Include Gates in Your Plan
A fence without a gate is like a house without a door — you need at least one. But gates aren’t one-size-fits-all, and they can have a big impact on the overall cost.
Standard gate widths: 3', 4', and 5'.
Cost factors: Larger and taller gates require extra materials and reinforcement.
Security features: Self-closing hinges and specialty latches may cost extra.
Structural needs: Gates need reinforced posts, which cost 2x-3x more than regular fence posts.
Choosing the right gate:
Single-door gates work best for standard entry points (3'-4' wide).
Double-door gates are the better choice if you need space for vehicles or equipment (6'-10' wide).
Why Include a Contingency in Your Budget?
Our vinyl fence calculator automatically adds an 8% contingency to your estimated total. This buffer helps account for unexpected issues that commonly arise during fence installations:
Hidden obstacles like large roots or buried debris when digging post holes.
Special hardware for pools or key lockable latches and self-closing hinges.
Extra reinforcement for corner posts and gates in high-traffic areas.
Site preparation needs that become apparent only after work begins.
Factors That Affect Installation Costs
Terrain and Ground Conditions (15-25% impact)
The type of land you’re working with plays a huge role in both cost and difficulty.
Sloped terrain may need longer pickets.
Rocky soil may require heavy-duty equipment to dig post holes.
Clay soil is tough to dig through but provides excellent stability.
Site Preparation Requirements (10-20% impact)
Before installation begins, some prep work might be necessary, which can impact your budget.
Removing an old fence adds labor and disposal fees.
Clearing out overgrown vegetation makes installation easier.
Grading uneven land may be required for a smooth fence line.
Checking for underground utilities is essential to avoid damage.
Chicagoland Climate Considerations (8-15% impact)
The Chicagoland area presents unique challenges for fence installation due to its extreme seasonal temperature fluctuations, high winds off Lake Michigan, and freeze-thaw cycles. These environmental factors directly impact how vinyl fences must be installed to ensure longevity and stability in our region.
Our climate requires special attention to proper post setting. Some installers use a method called "dry-set concrete" (pouring dry concrete into post holes and letting ground moisture set it over time), which we strongly recommend for cedar fences, but not for vinyl fences.
Cedar Rustic always mixes concrete on-site and sets posts at the correct depth to prevent frost heave, allowing our team to install fences year-round when ground conditions permit.
The Installation Process
Building a vinyl fence isn’t as simple as snapping panels together. It’s a multi-step process that requires precision to ensure it lasts for years. Here’s how professionals get it done:
Site prep — Marking underground utilities, clearing obstacles, and setting up guide strings for perfect alignment.
Digging post holes — In Chicagoland, this means going 36-42 inches deep to prevent shifting from frost heave.
Setting the posts/Installing panels and rails — Carefully placing each post, attaching the panels, sliding the rails into the posts, and then securing them with concrete for durability.
Allowing concrete to cure — Ensuring a strong foundation before moving on to the next steps.
Adding gates — Reinforcing gate posts and leveling everything to ensure smooth operation.
Final adjustments — Checking every inch for spacing, alignment, and structural integrity.
Cedar Rustic Fence Co. completes most residential vinyl fence installations in just 1 day, while many competitors require 2-4 days for the same work. This efficiency comes from specialized equipment, experienced installation teams, and our streamlined process.
DIY Challenges for Vinyl Fence Installation
Installing a vinyl fence yourself might sound like a money-saver, but the reality is often a lot more complicated. Many homeowners underestimate the time, skill, and tools required — especially in an area like Chicagoland, where soil and weather conditions make installation tricky.
Common DIY challenges:
Equipment rental: Augers, concrete mixers, and other equipment can cost $200-$400 for a weekend.
Specialized tools: Post hole digger, rock bar, wheelbarrow, string line, level, vinyl cutters, and leveling equipment add another $100-$150 to your expenses.
Time commitment: DIY installs take 2-3 times longer than professional jobs.
Physical labor: Digging deep post holes and mixing concrete is more exhausting than most people expect.
Many DIYers end up spending more than they planned after factoring in tool rentals, extra materials, and mistakes. What seems like an easy weekend project can quickly turn into a stressful and expensive ordeal.
Time and Physical Labor
A 200-linear-foot fence that takes our crew 8 hours typically takes DIY installers 24-32 hours spread across multiple weekends. The work involves digging 25-30 post holes 42 inches deep, mixing and pouring 4,000+ pounds of concrete, and lifting 50-70-pound fence panels repeatedly.
Common Mistakes That Cost More to Fix
Posts not deep enough fail during the first winter (repair: $150-250 per post). Poor concrete mixing causes posts to shift (repair: $1,200-2,500 for section rebuild). Misalignment requires removing posts and starting over (repair: $800-1,500). Improperly hung gates sag and won't latch (repair: $300-600 per gate).
If you’re handy and have experience with home improvement, you might be able to handle the job. But any mistakes could lead to loose posts, misaligned panels, or a fence that doesn’t hold up over time.
Transform your yard into a private escape with durable, low-maintenance vinyl fencing that blends style, strength, and security — built to last and impress for years to come.


%20(1).webp)
.webp)
.webp)
%20(1).webp)
%20(2).webp)
.webp)
%20(1).webp)
.webp)
%20(1).webp)
%20(1).webp)
%20(1).webp)
.webp)