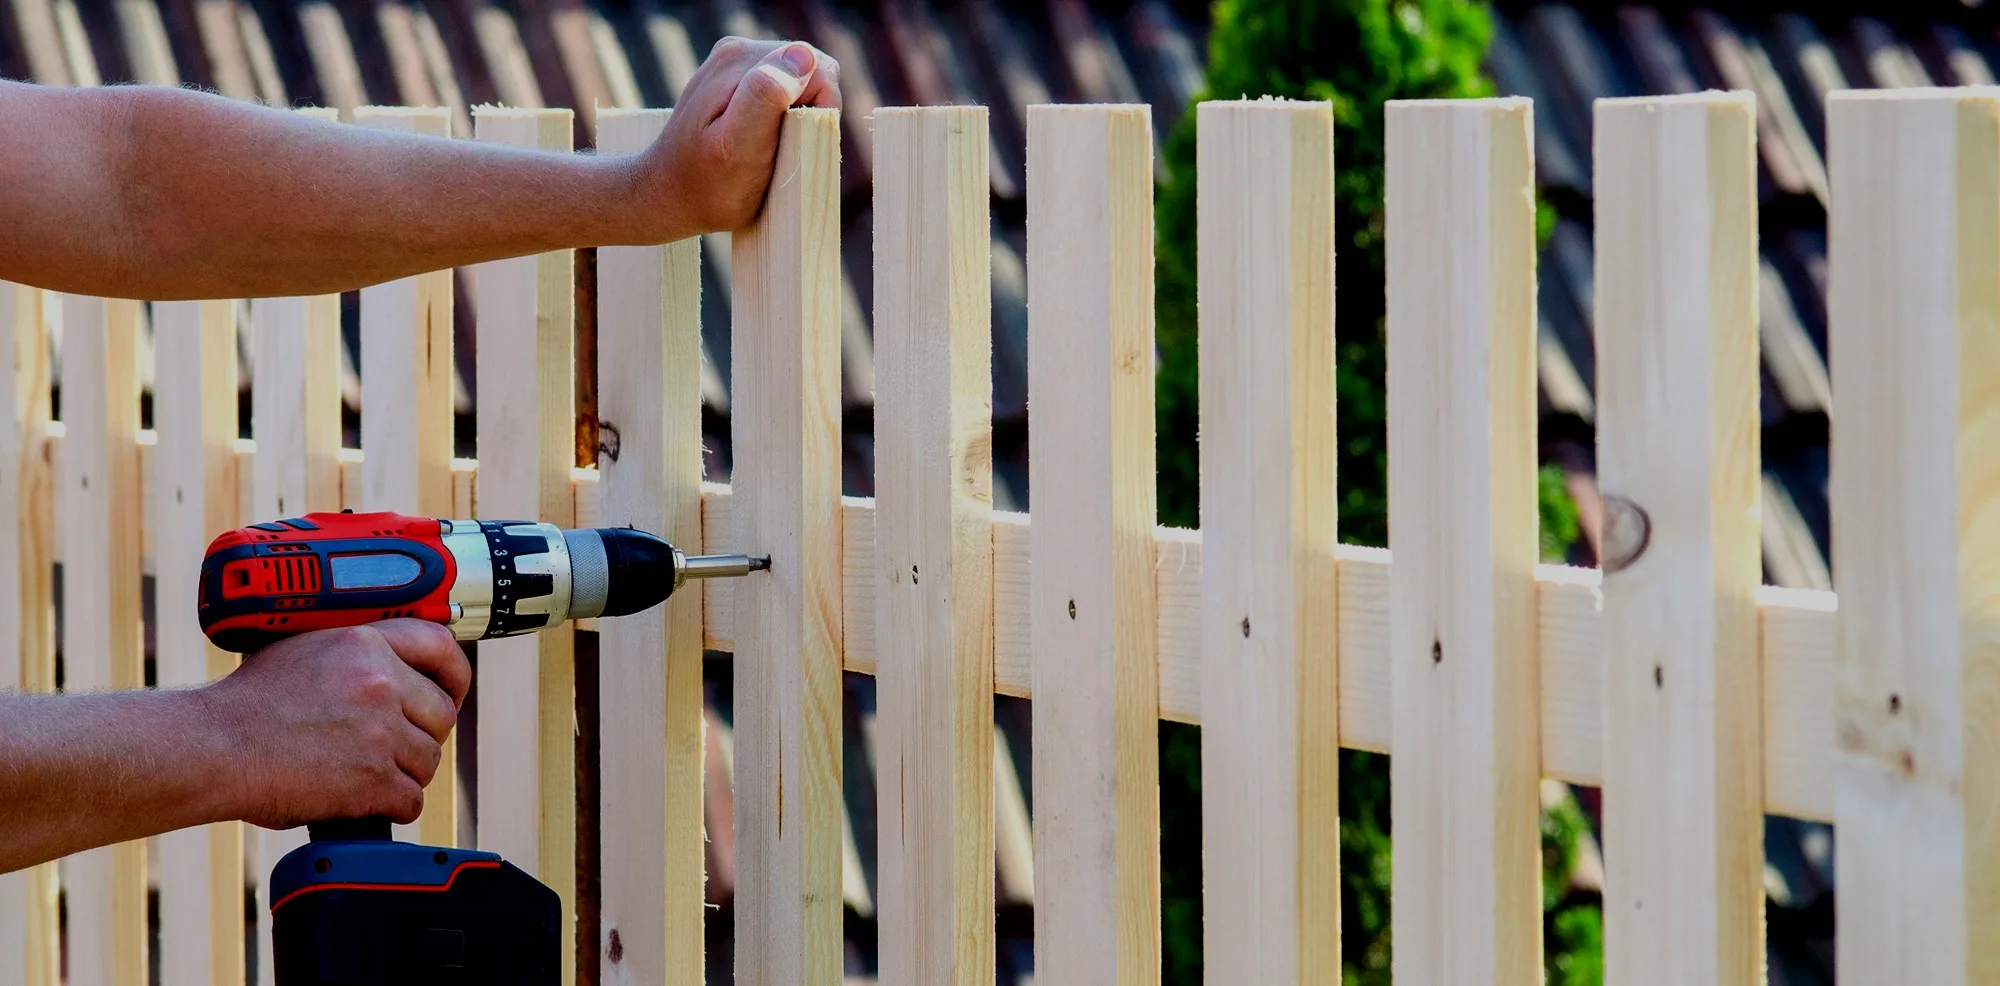


Dreaming of a stunning wood fence to frame your yard? Taking on this project yourself can save money and be incredibly satisfying, but is it the right choice for you? This guide covers everything you need to know, from planning and prep to hammering in the final nail. Whether you're ready to DIY or curious about professional help, you’ll have all the info to build the perfect fence — or learn about our professional fence installation service for a hassle-free experience.
Fence Glossary
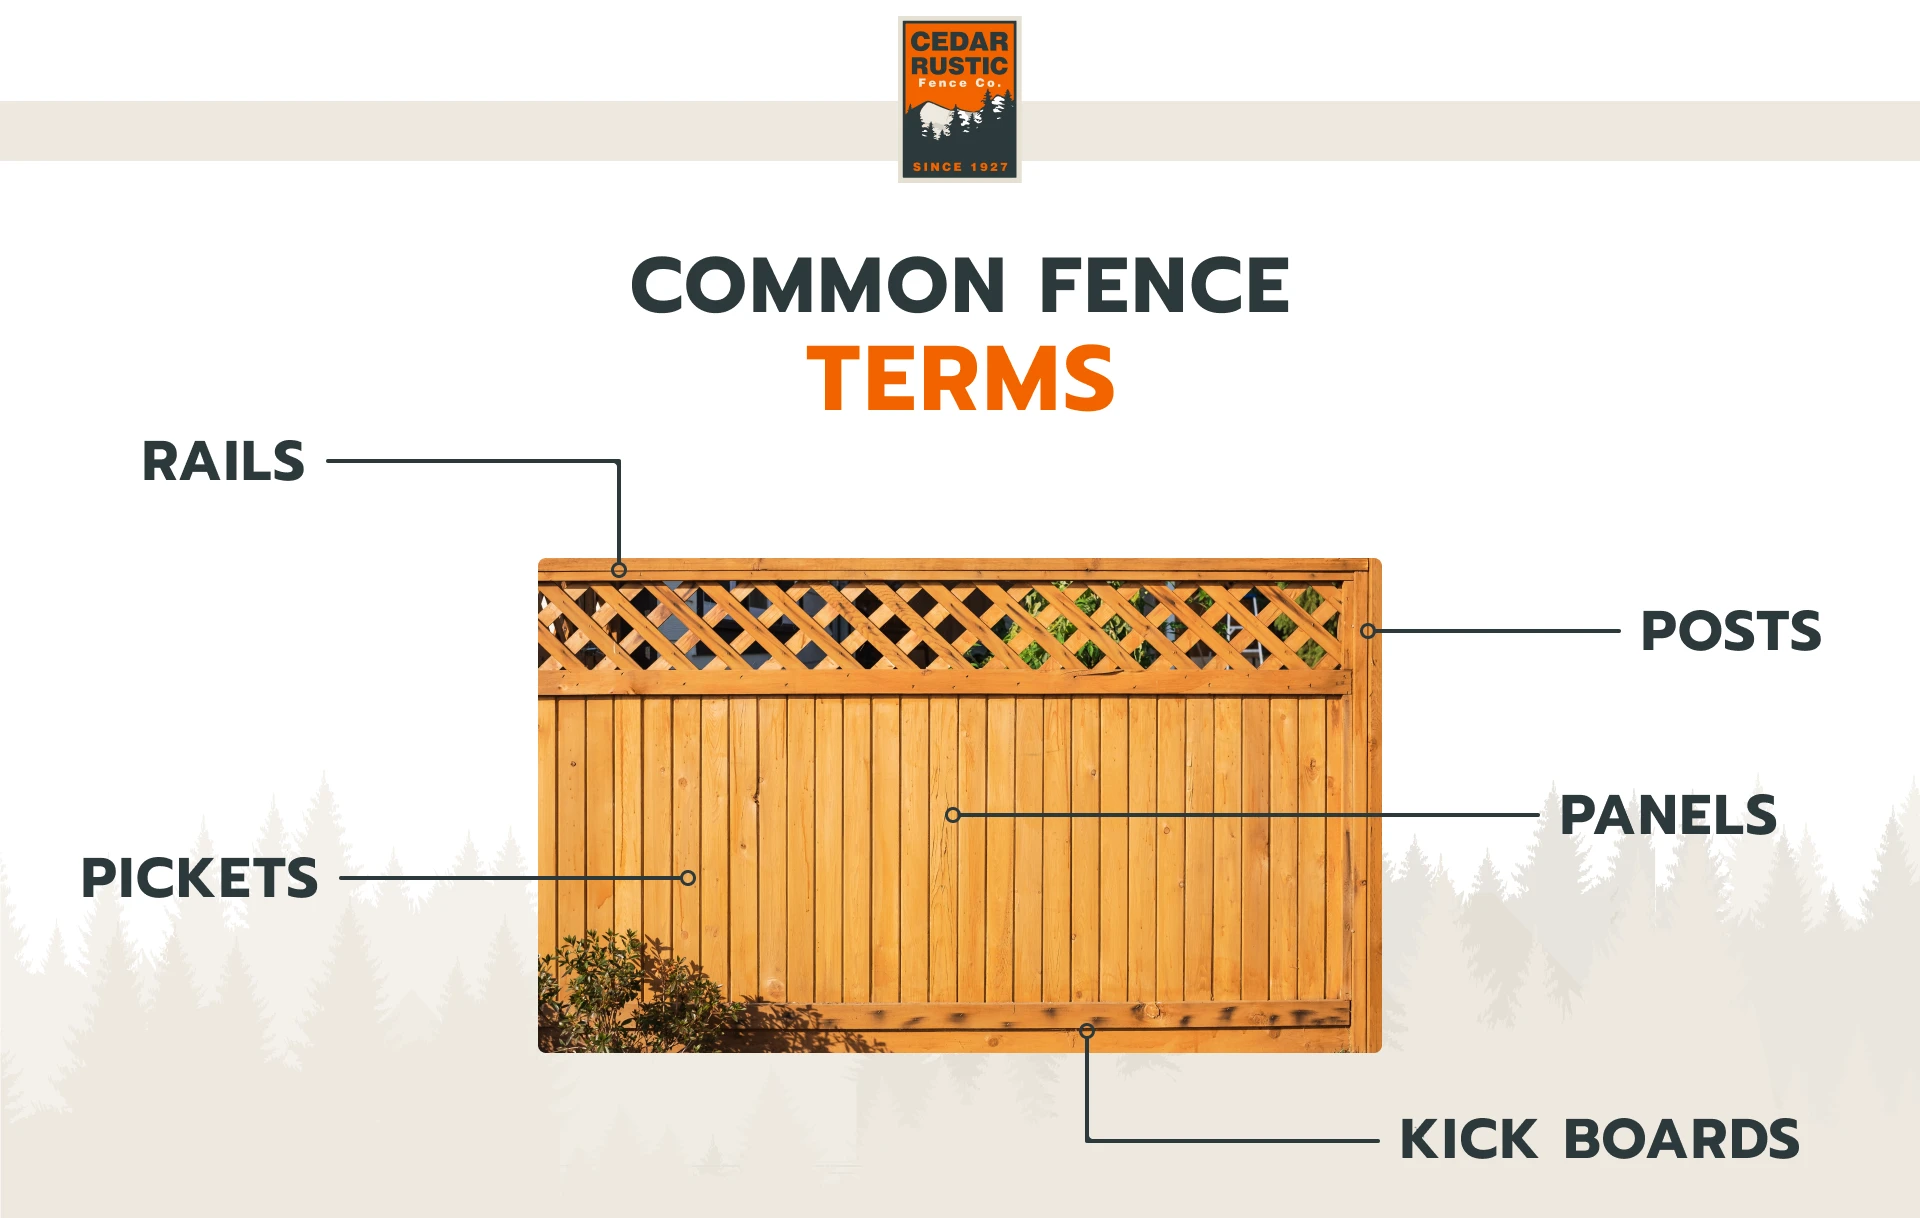
Before jumping into the nuts and bolts, let’s break down a few key terms that’ll help you along the way:
- Pickets: These are the vertical boards that make up the fence panels. Think of them as the “face” of your fence.
- Rails: The horizontal pieces that hold the pickets in place.
- Posts: The vertical anchors that keep your fence upright and sturdy.
- Panels: Pre-assembled sections of pickets and rails are perfect for speeding up installation and allowing you to install different fence styles that would be very difficult to build on-site.
- Kickboards: Horizontal boards at the bottom of the fence that fill any gap between the ground and pickets.
Keep these terms in your back pocket — they’ll come in handy as you plan.
Plan Your Fence for Maximum Success
Before you ever pick up a post-hole digger, taking time to thoughtfully plan your fence project is crucial. Here are the key steps:
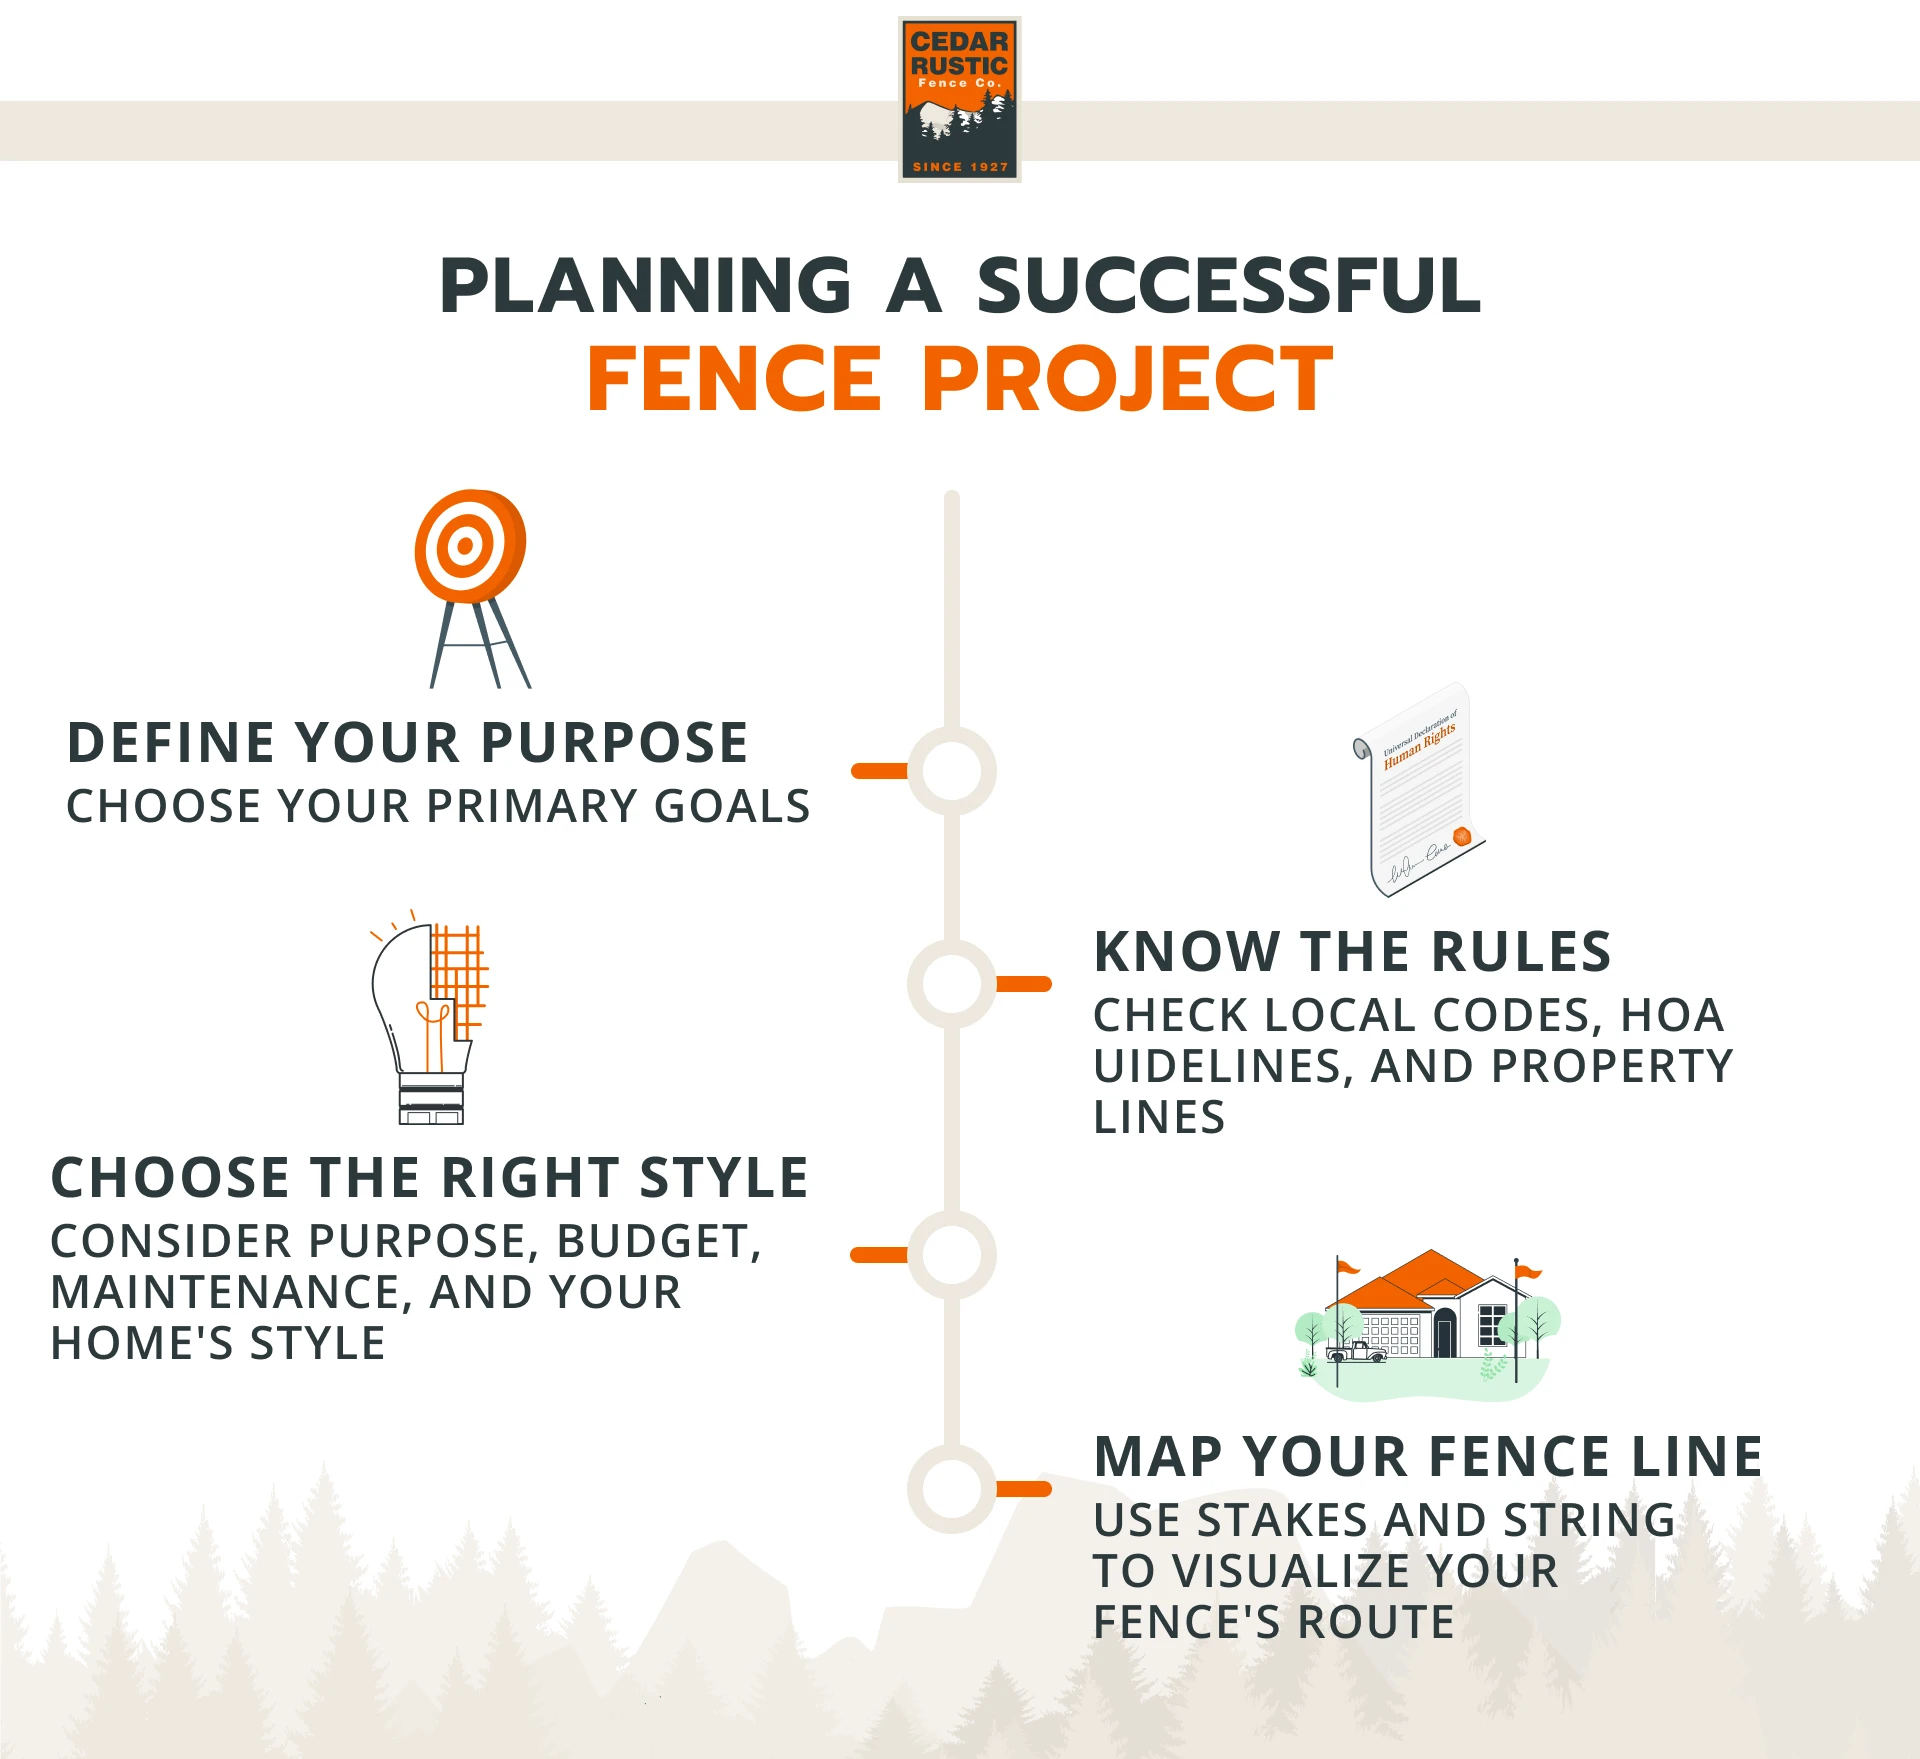
Determine the Purpose
Ask yourself: What’s this fence really for? Knowing the answer helps you nail down the perfect design:
- Privacy: Want to keep your yard secluded? Go for a tall, solid privacy fence.
- Security: Need to keep kids, pets, or unwanted visitors in check? Focus on sturdy materials.
- Style: A fence can be functional and look amazing. Match it to your home’s aesthetic.
- Protection: Block wind or shield your plants and structures.
- Noise reduction: Got noisy neighbors or a busy road nearby? A fence can help tone it down.
Starting with a clear vision saves time, money, and potential headaches.
Check the Rules (and Your Limits)
Every great fence starts with a little research:
- Local laws and building codes: Make sure your design complies with regulations.
- HOA rules: If you’re part of a Homeowners’ Association, check for design restrictions.
- Property lines: Double-check your boundaries to avoid awkward neighbor disputes.
- Call 811: This free service marks underground utilities so you don’t accidentally hit a gas line while digging.
A little preparation goes a long way in avoiding costly mistakes.
Choose the Fence That Fits Your Needs
Your fencing material and style will depend on several factors. Consider the primary purpose of your fence, whether it's privacy, security, or aesthetics. Factor in your budget and desired maintenance level. Think about the overall style of your home and neighborhood. Account for specific needs like pet or child safety, or pool code requirements.
Some of the most popular fence types include:
Plot Out Your Fence Line
Once you’ve confirmed your property boundaries using your Plat of Survey, it’s time to map out your fence. Use wooden stakes and string lines to visualize its layout and flow. This step helps you measure the total linear footage, ensuring you order the right amount of materials. Don’t forget to plan for gate placement — strategically positioned gates can make your yard more accessible. For maximum stability, place posts at corners and high-stress points. Before you start digging, run your design by your local building department or HOA to avoid costly mistakes or headaches down the road.
Fence Design Tips for Every Property Type
Choosing the perfect fence style means considering your property’s unique layout. Here’s how to make the most of your space:
- Sloped yards: Cedar fence panels can follow the natural grade of your land, creating a smooth transition that eliminates unsightly gaps. This approach works better than stepped designs, which can leave awkward spaces beneath portions of the fence.
- Small yards: A lower-height fence can make your yard feel more open. Shadowbox-style wood fences provide privacy while still allowing light and airflow.
- Front yards: Always check local rules for height and placement. Short, decorative options like picket or post-and-rail fences can boost curb appeal without being overbearing.
- Corner lots: Keep visibility clear for driveways and sidewalks. Combining fencing with landscaping can define your space while meeting safety regulations.
Curious about different wood fence styles? Explore our cedar fence design ideas guide and don't forget to try our fence style quiz right there to find your perfect match!
Gather Your Tools & Materials
Once you’ve picked your fence type, it’s time to gather the tools and materials you’ll need. Having everything ready before you start saves you from those dreaded mid-project hardware store runs. Here’s what you’ll need:
Essential Fencing Tools
Marking and measuring:
- Tape measure and a reel tape measure
- String line and stakes
- Shovel (to locate property pins)
- Plat of Survey
Digging:
- Power auger or manual post-hole digger
- Shovel and digging bar
Building:
- Wheelbarrow for mixing concrete
- Hammer or pneumatic nailer
- Circular saw and handsaw
- Level (4' or longer)
- Speed square and carpenter's square
Safety gear:
- Eye and ear protection
- Work gloves
- Steel-toe boots
Must-Have Fencing Materials
Lumber:
- Fence posts
- 2x4 rails or pre-assembled panels
- Fence boards or pickets
Drainage and stability:
- Gravel for post hole drainage
- Fast-setting concrete mix
Pro Tip: For cedar fences, we recommend using a dry set mixture rather than wet concrete. This porous mixture allows water to drain away from the post, preventing rot that often occurs when wood directly contacts concrete.
Hardware:
- Zinc-coated aluminum ring shank nails for pickets (recommended over galvanized nails which can cause black drip marks on cedar)
- 40D (5-inch) nails or 4-5" deck screws for posts
- Post caps and decorative finials
- Gate hardware kit (hinges, latch, handle)
Finishing supplies:
- Exterior wood sealant or stain (optional, not required for cedar fences)
Pro Tip: Cedar naturally resists decay without additional treatments. We don't recommend painting cedar fences, as paint tends to chip and requires ongoing maintenance without increasing the fence's longevity.
With your tools and materials ready and organized, you’re all set to begin your project. Investing in durable, high-quality supplies might cost a bit more upfront but will save you time and money in the long run. Now, it’s time to bring your fence dreams to life!
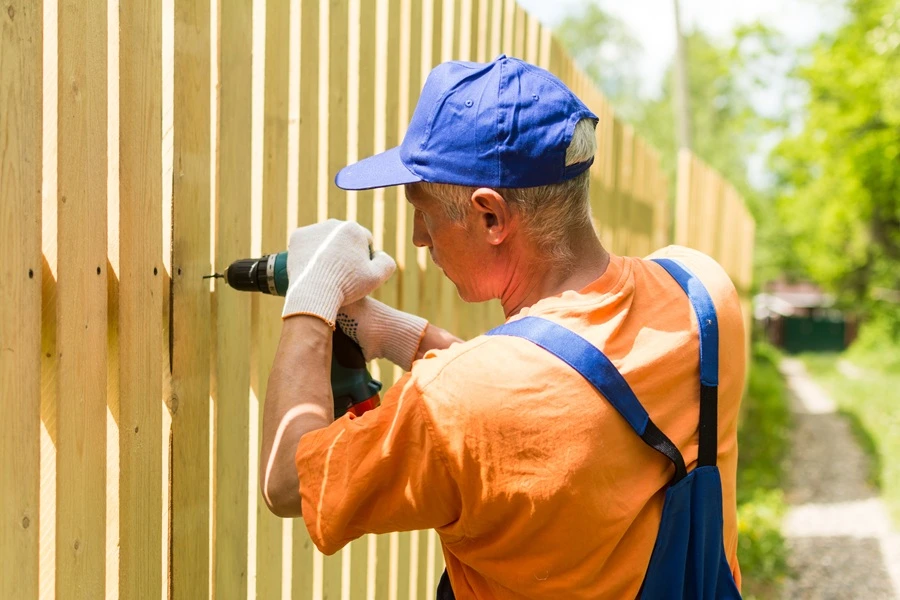
Step-by-Step Fence Installation
You’ve got your layout mapped, materials ready, and enthusiasm high — now it’s time to build! While the exact process depends on the type of fence you’re installing, most projects follow these core steps. Let’s get started.
1. Lay Out the Fence Line
Start by using your plat of survey to establish your property line. In many cases, property pins are located at the property corners and will help verify boundaries. Use stakes and string to mark the layout according to the measurements on your plat. Remember that property lines aren't always square, so follow the actual survey measurements rather than trying to create perfect right angles.
Pro Tip: Place wooden stakes at each directional change and tie string line between them. This ensures perfectly straight lines and highlights obstacles before you start digging.
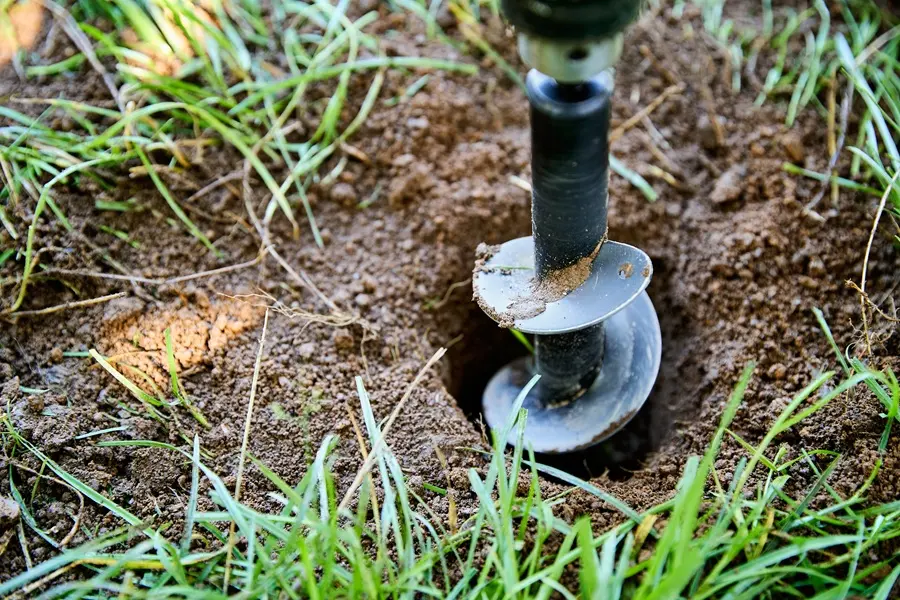
2. Dig Post Holes
Before you dig, call 811 to mark underground utilities. Use a power auger or manual post-hole digger to excavate holes for each post. Check with your township for required fence post depth — in the Midwest, post holes are typically 36 to 42 inches deep.
Pro Tip: If you hit tough roots or rocks, a digging bar can help break through without damaging your equipment.
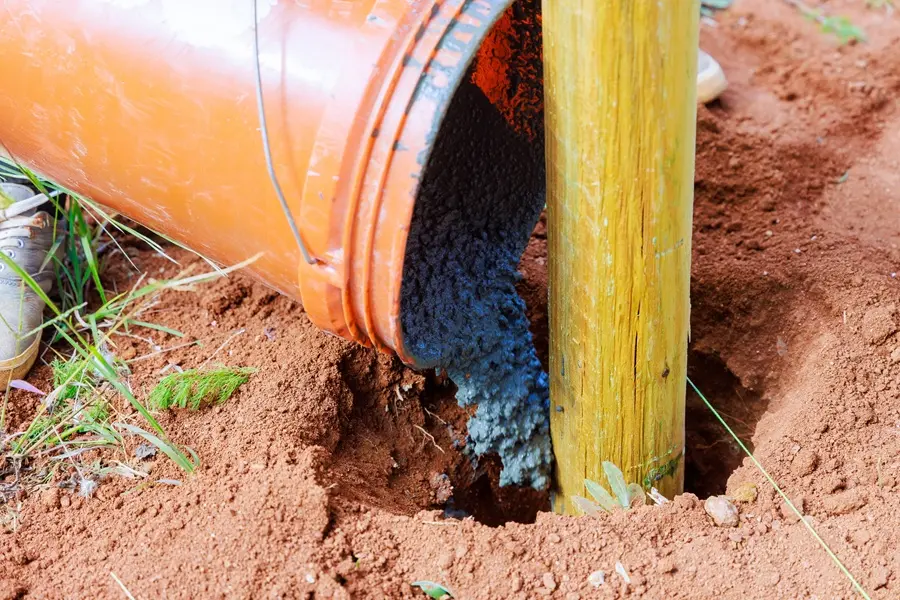
3. Set Posts
Position each post in its hole, checking for plumb (vertical straightness) with a level. For cedar posts, use a dry set mixture of gravel and portland cement packed around the post rather than wet concrete. This porous mixture allows water to drain away from the post. Set the footing 2 to 4 inches below grade and fill the top with dirt for a cleaner look and better winter stability. Unlike wet concrete, this mixture doesn't require bracing or curing time.
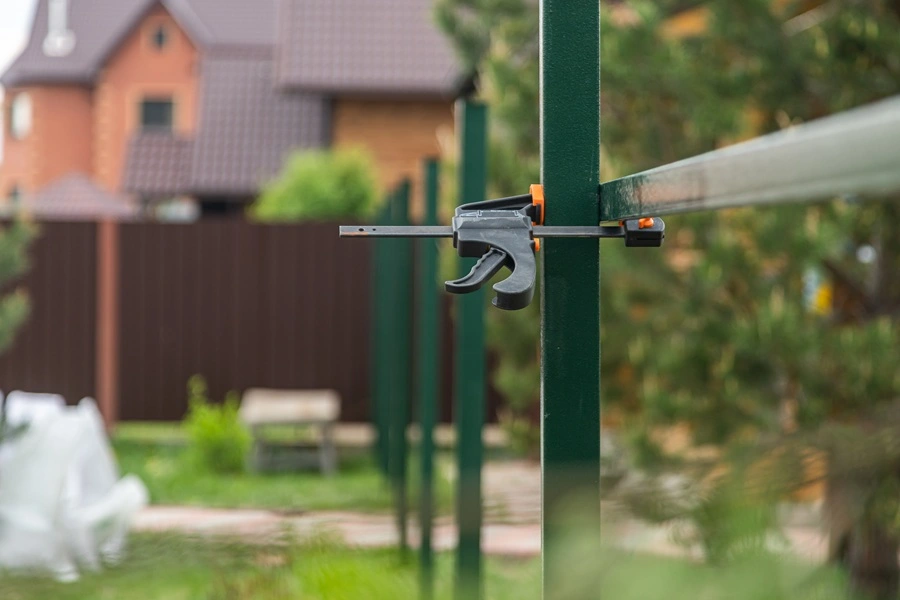
4. Attach Rails or Panels
For rail fences:
For traditional rail fences, round rails and split rails are fitted directly into the post as you're setting them. Technically, you don't need to nail rails that are seated in the post, but if desired, use a 40D (5-inch) nail for security. Remember that fences typically follow the natural grade of the property, which isn't level — it's common for the grade to fall 2 feet over a 70-foot fence line, making a 4-foot fence appear 2 feet off the ground in parts of the backyard.
For panel fences:
Lift pre-assembled panels into place between posts, ensuring they are plumb. Secure them to the face of the post using 40D nails for a stronger construction technique. Cap boards may be required to cover the 2x4 on the backside of the fence for a finished appearance on both sides.
Pro Tip: When working with pre-cut rails, focus on proper spacing and alignment rather than cutting them to size, as many come pre-sized for standard installations.
5. Install Pickets or Fence Boards

With the posts and rails set, it's time to fill in the fence panels.
For picket fences:
Use pickets in their pre-cut length for efficiency and consistency. If creating a decorative pattern on top of the fence, this should be done as the final step after installation. Maintain even spacing between pickets and secure each one properly to the rails.
For privacy fences:
Start with a full-length fence board flush against the first post. Install boards tightly against each other without intentional gaps, as the natural wood will shrink over time creating small spaces for airflow. Use full-length boards to eliminate the need for seams or staggering.
Pro Tip: Make a spacing jig from scrap wood to ensure perfectly even gaps between pickets.
6. Hang the Gate

Measure the gate opening carefully and build a frame to match using 2x4s. Assemble the frame with cross braces for stability, then cut and attach the pickets or fence boards to mirror the rest of the fence. Install heavy-duty hinges to the gate frame and the adjacent post. Position the gate in the opening, using shims to level it before attaching the hinges. Finally, add a latch and handle at a convenient height.
Pro Tip: The latch side of the gate is what tends to sag over time. You can set the cross brace slightly higher to account for this. If the gate does begin to sag, you can unscrew and reposition the cross brace to raise the gate back to proper alignment.
7. Add Finishing Touches
Consider adding decorative post caps or solar caps to enhance the appearance of your fence. Note that you'll need to plan for these during installation by setting posts slightly higher to accommodate caps. Unlike milled products, fence posts don't require carved details on site as they come pre-finished from the factory. Cedar naturally resists decay, so staining is optional rather than necessary for preservation.
Pro Tip: Cedar naturally contains oils that help protect it from moisture and insects, eliminating the need for pre-sealing the bottom edges as might be required with other wood types like Brazilian hardwoods.
Avoid These Common Fencing Mistakes
Even the most prepared DIYers can make mistakes. Learning from others’ slip-ups can save you time, money, and frustration. Here’s how to avoid the most frequent fencing errors:
Skipping Permits & Material Miscalculations
Before you pick up that first post-hole digger, double-check local buildinaodes and get all necessary permits. Skipping this step can lead to fines or the hassle of tearing down your hard work. Carefully measure your fence layout and calculate material needs precisely — then order at least 10% extra to cover waste. Running out of materials mid-project can throw everything off, and overbuying wastes money.
Property Line Mistakes & Post Setting Errors
Guessing where your property ends is risky. Old fence lines and rough estimates often lead to disputes. Use a plat of survey or hire a surveyor for accurate boundary markings. For setting posts, don’t cut corners.
Neglecting Level, Plumb & Fastener Quality
Attention to detail makes all the difference. Double-check that every post is properly plumb (vertically straight) before attaching rails or panels. For cedar fences, use zinc-coated aluminum ring shank nails instead of hot-dipped galvanized nails, which can cause black streaking on cedar. Quality fasteners appropriate for the specific fence material save headaches later.
Insufficient Breathing Room & Void Filling
Wood isn’t static — it moves with the weather. Leave a 1/8-inch gap between boards to allow for natural expansion and contraction. After setting posts in concrete, fill any remaining gaps around the posts with dirt and tamp it down firmly. Ignoring this step can lead to unstable posts and uneven fences.
Cedar wood typically has a moisture content of 20% to 30% when it comes from the mill and will naturally dry to 11% to 15% when left outside. This natural drying process causes the boards to shrink slightly over time, creating small gaps between initially tight boards.
Pro Tip: Remember that for cedar posts, a dry-set mixture rather than concrete provides better drainage and longevity.
Maintenance & Repairs
Your fence is an investment, and proper upkeep ensures it stays strong and looks great for years to come.
Regular Inspection
Inspect your fence once a year for signs of wear — like warped boards, leaning posts, or loose pickets. Don’t forget to check gates and hardware. A quick fix now prevents bigger problems down the road.
Cleaning and Care
For vinyl, composite, or metal fences, wash with mild detergent and a soft brush, then rinse with a garden hose. Protect metal fences showing signs of corrosion with rust-resistant spray paint. For wood fences, regular cleaning is usually sufficient as cedar naturally resists decay. If you choose to seal your fence, apply sealant or stain every 2-3 years to maintain the desired appearance.
Timely Repairs
Don’t delay fixing damaged boards — replace them as soon as issues arise. If you’re facing widespread deterioration, a full fence replacement might be more cost-effective than constant patch-ups.
Additional Resources
Before starting your fence project, these trusted organizations provide valuable information to ensure safe and compliant installation:
- Call 811 — "Call Before You Dig": Free national service that arranges to have underground utilities marked before you dig. Required by law and essential for safety.
- American Fence Association: The go-to resource for industry standards, best practices, and technical advice. Explore their educational materials or look for certified contractors.
- International Code Council: Access residential building codes specific to fence installation, including height restrictions and structural requirements.
- Your Local Building Department
Check your city or county's website for:- Required permits
- Zoning regulations
- Property line requirements
- Local fence height restrictions
- Consumer Product Safety Commission: Find safety guidelines for tools and materials, plus recall notices for faulty products. Stay informed to protect yourself during the project.
Always consult these resources during your planning phase to ensure your fence project meets all safety requirements and local regulations.