A fence that’s installed wrong does more than look crooked. It risks your property value, safety, and peace of mind. Leaning posts, warped boards, and water buildup are red flags that your fence wasn’t built to last, especially when Chicago’s freeze-thaw weather hits.
As cedar fence installers with almost 100 years of experience in Chicagoland, we've seen countless homeowners struggle with substandard installations. This guide helps you identify poor installation signs and decide whether repair, replacement, or professional intervention is your best path forward.
Telltale Signs Your Fence Installation Was Substandard
Spotting problems early saves you money and prevents bigger damage later. Most issues appear within the first year once cold weather starts shifting the soil and stressing weak posts.
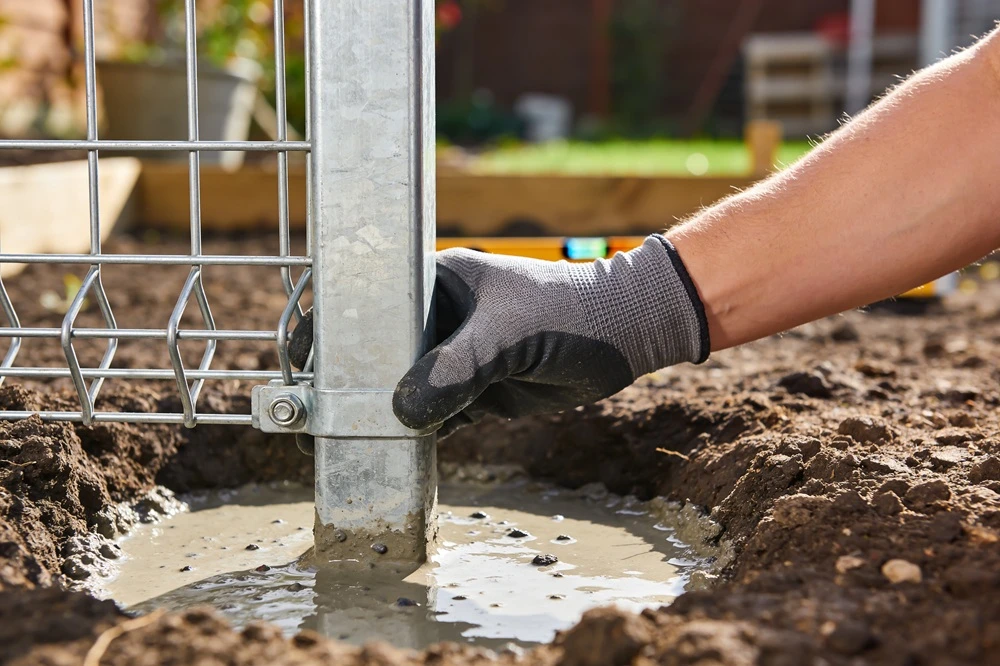
Posts That Lean or Wobble
This is the most critical red flag signaling foundation failure. Fence posts in Chicago are typically set in dry-set footings with a minimum 36-inch depth to withstand frost heave. Posts that lean within the first year often indicate shallow holes, improper compaction, or poor drainage during installation.
Important: Give each post a gentle push. If it moves at the base, the foundation is weak and will get worse once the ground freezes and thaws again.
Inconsistent Spacing and Poor Fence Line Transitions
Professional installations maintain consistent spacing between boards, though fence height may adjust slightly to follow the property's natural grade. In Chicago installations, smooth transitions along the top line are normal and help the fence align with changing ground levels.
Small gaps in privacy fences can appear as cedar dries and settles, which is expected over time. The key is consistency: spacing between boards on picket or shadow board fences should remain even throughout the installation.
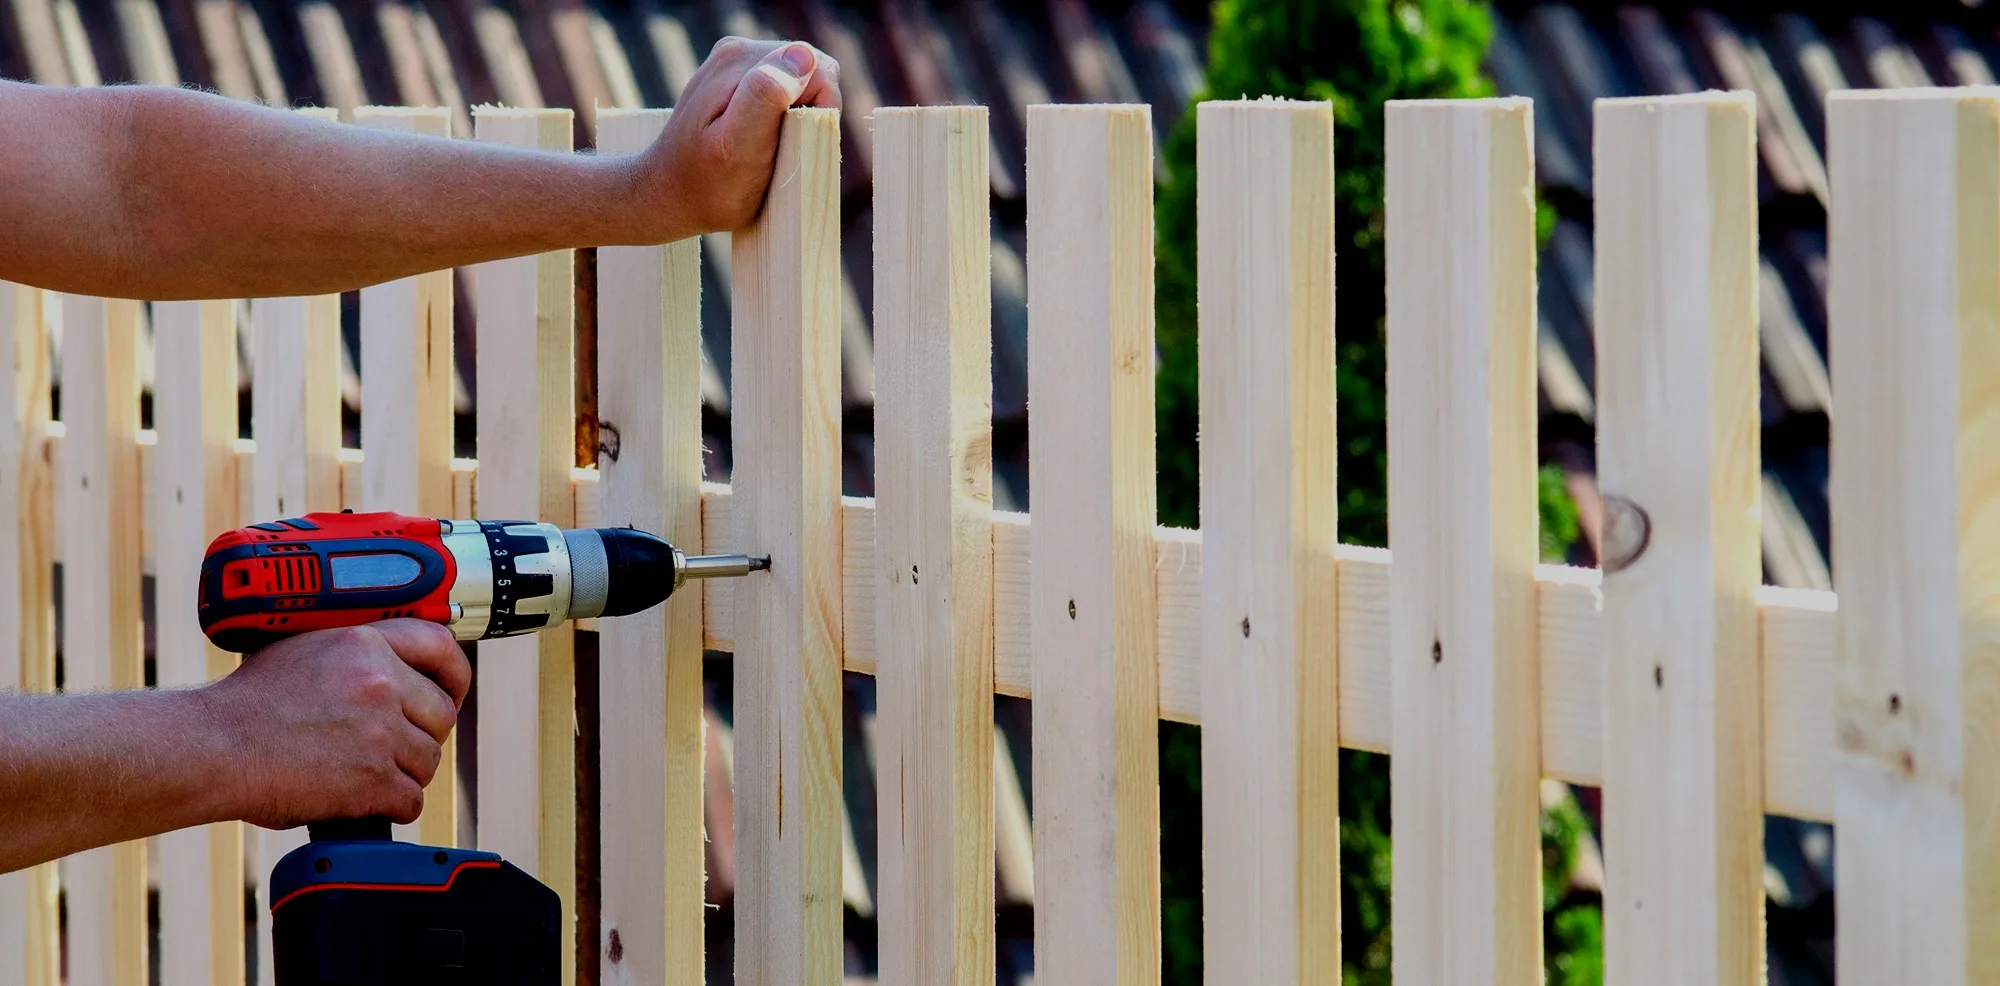
Warped or Twisted Boards
Quality cedar fence boards should lie flat against rails without twisting or cupping. Warped boards indicate either pressure-treated lumber was used, or boards weren't properly secured during installation, allowing them to warp as they dried. This problem affects both the fence's integrity and your home's curb appeal.
Drainage Issues and Pooling Water
Water collecting around fence posts accelerates rot and instability, especially in Chicago’s clay soil. Proper installations place the footing about 3 inches below grade and use topsoil to finish the surface so water drains away naturally. Installers manage drainage by adjusting soil levels or correcting low spots near the post.
Loose or Missing Hardware
When screws start to back out or brackets vanish within months, the job wasn’t done right. It usually points to cheap hardware or rushed work. Quality fences use galvanized or stainless steel fasteners built to handle Chicago’s moisture and temperature changes without rusting or loosening.
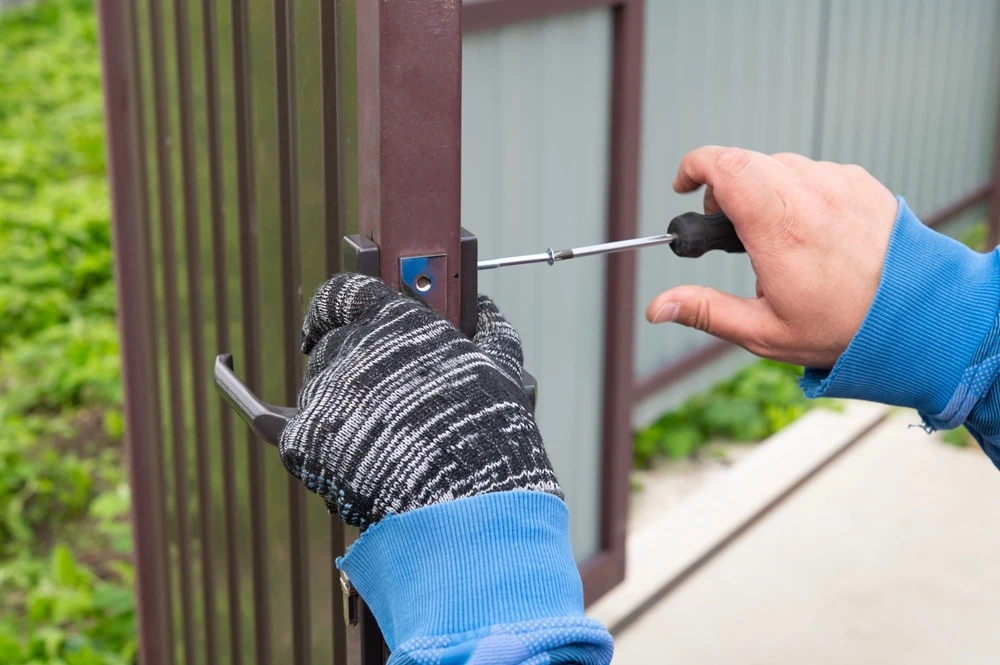
Gates That Sag or Stick
A gate should open smoothly and close with no drag. If it sags or refuses to latch, the problem is usually shallow or loose posts, missing diagonal braces, or sloppy hinge placement. It’s a daily annoyance that signals poor craftsmanship and weak support beneath the surface.
What Causes Poor Fence Installation?
Understanding what went wrong helps you avoid the same mistakes when hiring your next fence contractor. Most failed installations happen because someone tried to save money by cutting corners. Here’s what usually goes wrong:
- Inadequate post depth for Illinois climate: Below the frost line, which ranges from about 36 to 42 inches depending on the municipality and soil conditions. Many contractors dig only 18–24 inches to save time, which causes the posts to shift and lean once winter frost pushes the soil upward.
- Using low-grade lumber: Lower-quality boards may look fine at first, but can twist or split as they acclimate to outdoor conditions. Professional installers focus on proper board selection, fastening, and spacing to minimize movement over time.
- Skipping measurements and planning: Accurate installations start with surveying, marking property lines, and running string lines for alignment. When installers skip this prep work, you get fence lines that are not straight, crooked posts, and expensive corrections later.
- Unqualified or unsupervised labor: Low bids often come from crews with little training or oversight. Quality depends on skill and supervision, especially in Chicago’s unpredictable soil and weather.
- Ignoring drainage needs: Without proper grading and gravel bases, water collects at the posts and eats away at the foundation. Over time, the fence starts to rot from below and loses stability.
How to Fix Leaning Fence Posts (And Why DIY Often Isn't Enough)
Leaning posts are the most common complaint we hear from homeowners dealing with poorly installed fences. The complexity of proper repair goes far beyond what most DIY approaches can address.
Many homeowners dig around the post, straighten it, and pour in more mix. It seems reasonable, but it rarely solves the real problem — shallow holes, bad drainage, or not enough concrete to keep the post stable.
#1. Excavate One Side of the Leaning Post
Carefully dig down one side of the affected post (typically on the inside of the fence line) to expose the existing footing. This allows you to check whether the post is damaged and whether the hole is deep enough for local frost conditions. Many leaning posts result from shallow holes or poorly compacted footing material.
#2. Check the Post and Set It Plumb
Use a level to verify the post is straight in all directions. If the post is cracked, rotted, or broken, it should be replaced rather than reset. If the post is structurally sound, reposition it to plumb before adding footing material. Temporary bracing may be used only to hold alignment during compaction.
#3. Reset the Footing Using a Dry-Set Method
Add dry cement mixture or approved footing material in controlled layers around the post. As material is added, use a tamping bar to firmly compact each layer. Proper compaction — not curing time — is what creates long-term stability and helps prevent future movement.
#4. Finish Below Grade and Restore Drainage
Continue compacting the footing until it reaches about 3 inches below grade, then backfill the remaining space with soil. This allows water to drain away from the post rather than collecting at the base, which helps reduce rot and frost-related movement.
Why DIY Fixes Often Fail
The main reason most DIY fence repairs don’t last is that they never reach below the frost line or address the soil problems that caused the lean in the first place. Chicago’s freeze-thaw cycles keep shifting the shallow concrete, and the post tilts again after just one winter.
Common DIY problems that lead to repeated failure:
- Insufficient depth: Most homeowners can’t dig deep enough to reach the 42-inch frost line, leaving posts vulnerable to heaving.
- Poor compaction: Loose backfill around posts allows shifting over time, especially through freeze-thaw cycles.
- No drainage consideration: Some DIY fixes overlook proper grading around the post, allowing water to collect near the base instead of draining away. Over time, poor drainage can contribute to instability and premature wear.
- Single-direction leveling: Posts need to be plumb in every direction, not just the visible lean, and that requires careful, simultaneous adjustment most people can’t manage alone.
Professional replacement solves all of these problems using proper tools, trained crews, and warranty-backed workmanship. For fences with several unstable posts or severe leaning, hiring professionals from the start often costs less than repeating DIY fixes year after year.
How to Choose the Right Fence Contractor (And Avoid Another Disaster)
Learning from your first bad experience means knowing exactly what separates quality contractors from those who cut corners. Red flags become obvious once you know what to look for.
Verify Credentials and Insurance
Qualified contractors carry liability and workers’ compensation insurance and can provide proof without hesitation. Always check registration requirements with your local authorities and confirm that the business is legitimate.
What to verify:
- General liability insurance (minimum $1 million coverage)
- Workers’ compensation insurance
- Business registration and tax ID
- Physical business address (not just a PO box)
Look for Established Local Presence
Companies that have served Chicagoland for years understand the local soil, climate, and building codes. A visible showroom, branded fleet, and consistent contact information show they’re accountable and invested in their reputation. Avoid anyone who operates solely from a truck or relies on a single cell number.
Warning Signs of Problem Contractors
- Requires large deposits (usually 50%) before starting work
- Pressures you to sign immediately with “limited time” pricing
- Can’t provide insurance certificates or references
- Offers prices far below other estimates
- Suggests skipping permits or local regulations
- Uses verbal promises instead of written contracts
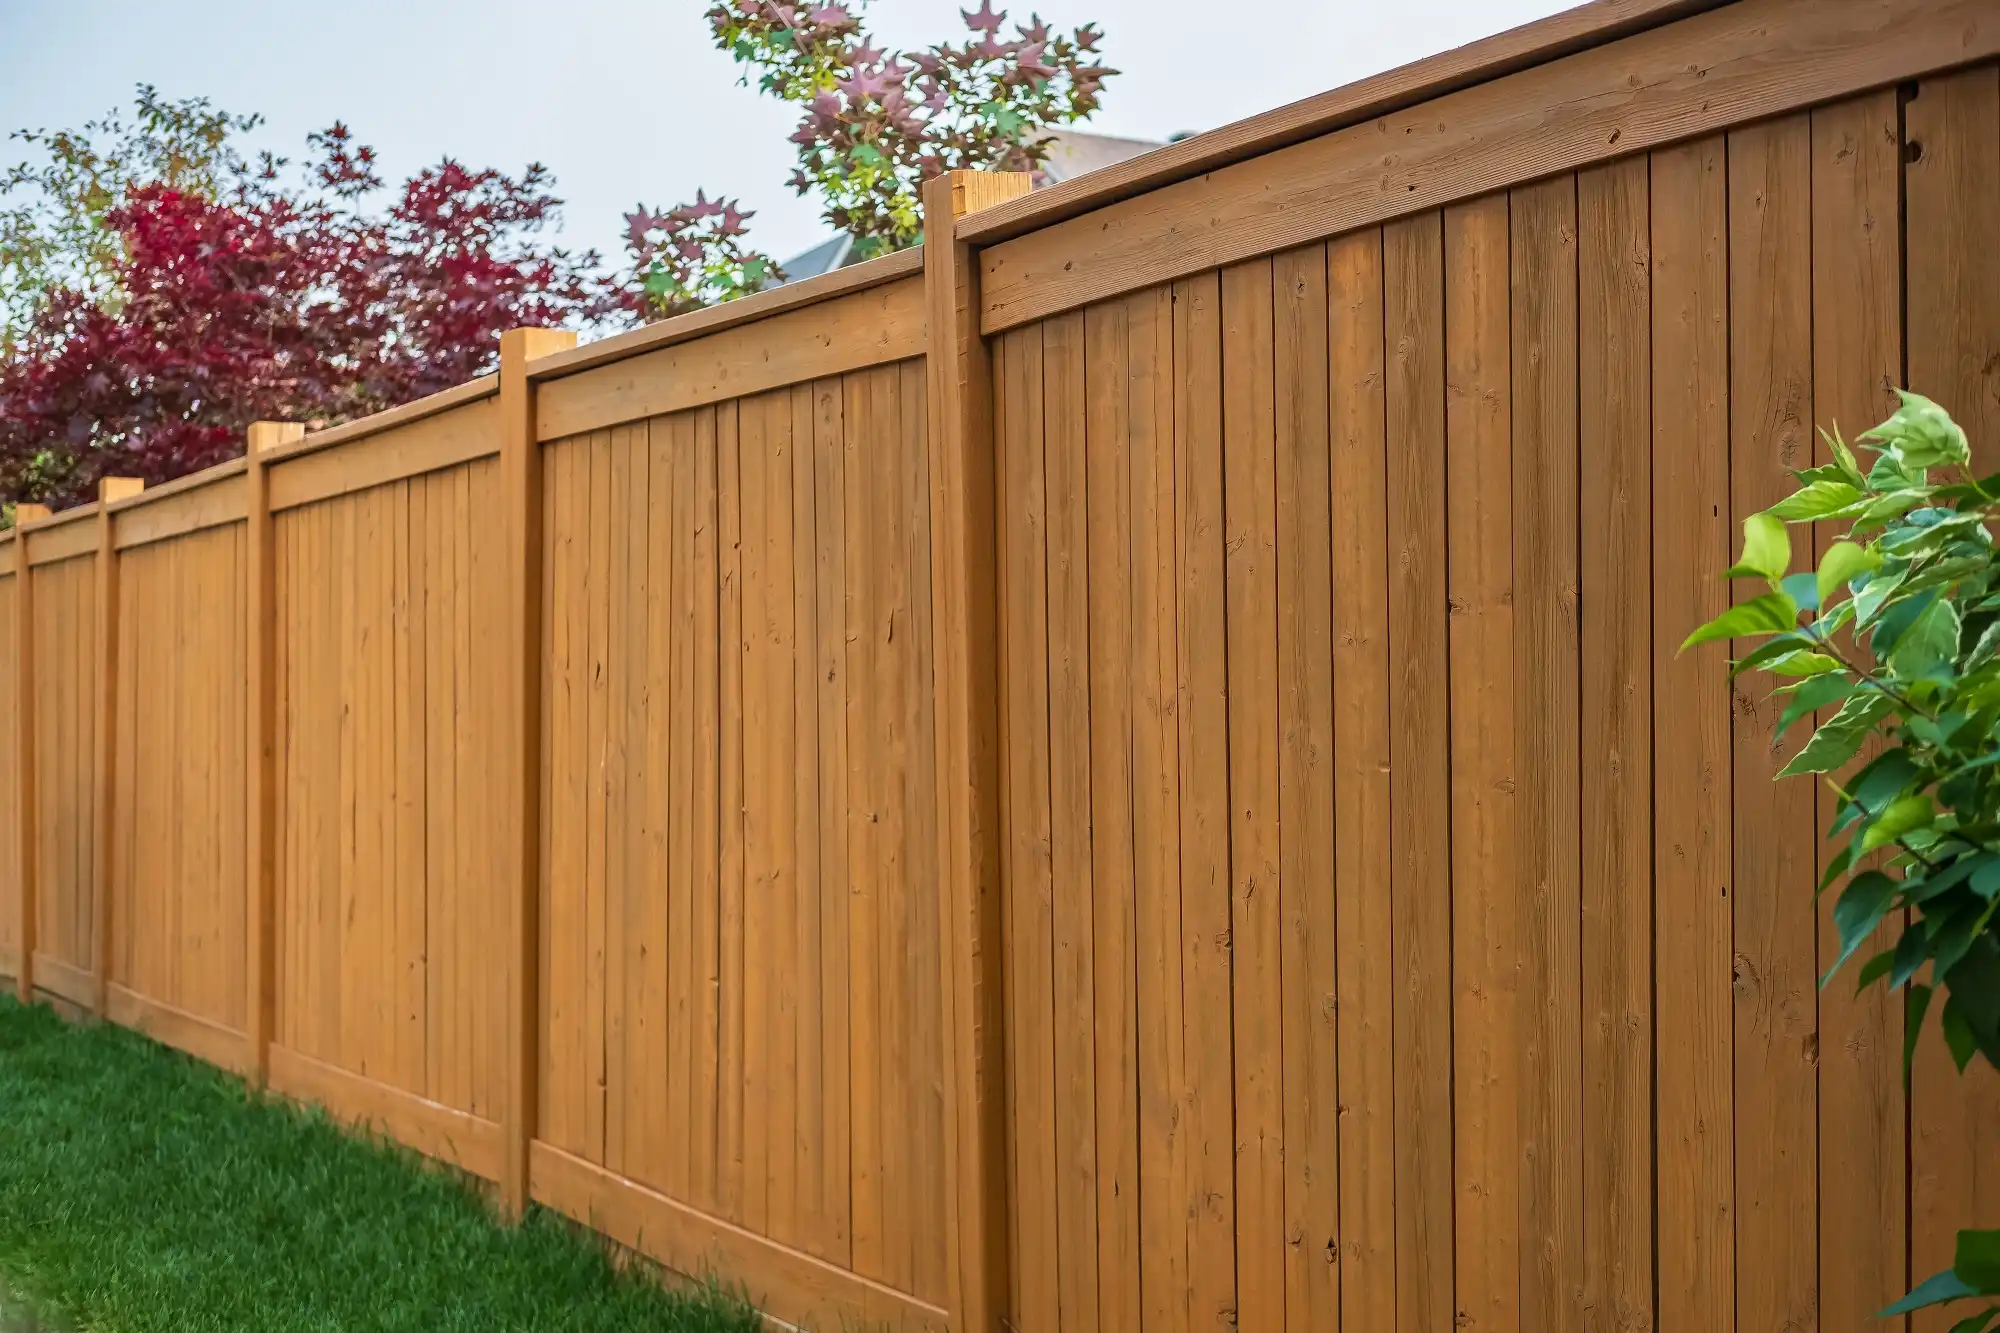
When Replacement Is Your Better Investment
Once a fence reaches 10 to 15 years or shows widespread damage, repairs often cost more than replacement. A new installation built correctly provides a longer lifespan, a clean appearance, and added property value — benefits patchwork repairs can’t match. Professional wood fence installation also removes the constant upkeep headaches and gives you lasting confidence in your investment.
Consider replacement when:
- Multiple posts are leaning or rotted
- Repair costs exceed 50% of replacement cost
- Fence age exceeds 12-15 years
- Wood shows widespread rot or insect damage
- You’re selling your home within 2–3 years
Complete replacement also lets you upgrade to better materials or styles that enhance your property's appearance and security. Choosing the best wood for your new fence prevents repeating previous mistakes.