


A fence post that’s starting to tilt is a warning sign. If you ignore it, the next round of bad weather could bring the whole section crashing down. That kind of collapse can cause real damage, especially if it lands on a neighbor’s property.
Here’s the good news: Most leaning posts are fixable with a few basic tools, a free afternoon, and about $25 to $50 in materials. A contractor will charge several times that amount. The method you choose matters, and making the right call could save you hundreds.
This guide covers practical fixes you can do on your own, more permanent repair options, and the signs that it’s time to call in a professional.
Is Your Leaning Fence Post Worth Fixing? (Quick Assessment)
Don’t start digging until you know what you’re dealing with. A quick five-minute check will tell you if this is a job you can take on or one that’s better left to a pro.
It’s probably a DIY job if:
- The post is solid, with no signs of rot or deep cracks
- The lean got worse over time, not all at once
- You can reach both sides of the fence easily
- The concrete footing is still intact but slightly loose
- Only one or two posts need attention
Call a professional if:
- The post is damaged beyond repair or rotting through
- Several posts are leaning in different directions
- You hit utilities while digging
- The fence is built on uneven ground or close to buildings
You’re unsure about doing the work safely
Try this: Give the post a light push. If it shifts without resistance or feels soft in the ground, don’t go further. That post could be unstable enough to fall, and working around it isn’t safe.
Why Fence Posts Lean (Common Causes in Chicagoland)
Understanding the root cause helps prevent future problems and guides your repair approach.
- Freeze-thaw cycles: Chicago winters are rough on anything buried in the ground. Water gets into small gaps around the post, freezes, expands, and starts shifting the concrete over time. After a few seasons of this, even a solid post can start leaning.
- Poor drainage: Illinois soil is heavy with clay, and spring rains hit hard. If water collects at the base of your fence, it softens the ground and weakens the footing. That shift causes the post to lean, especially when the soil stays soaked for days.
- Inadequate installation: Some installers cut corners. They might skip enough concrete or dig shallow holes to save time. In this climate, post holes should go at least 24 inches deep. Many are only 12 to 18, which just doesn’t hold up.
- Wind loading: Tall fence panels catch the wind like sails. Without enough bracing, wind pressure keeps tugging at the post until it loosens. Over time, even a small lean gets worse.
What You’ll Need to Fix a Leaning Fence Post
Gather everything beforehand to avoid mid-project hardware store runs.
Essential tools:
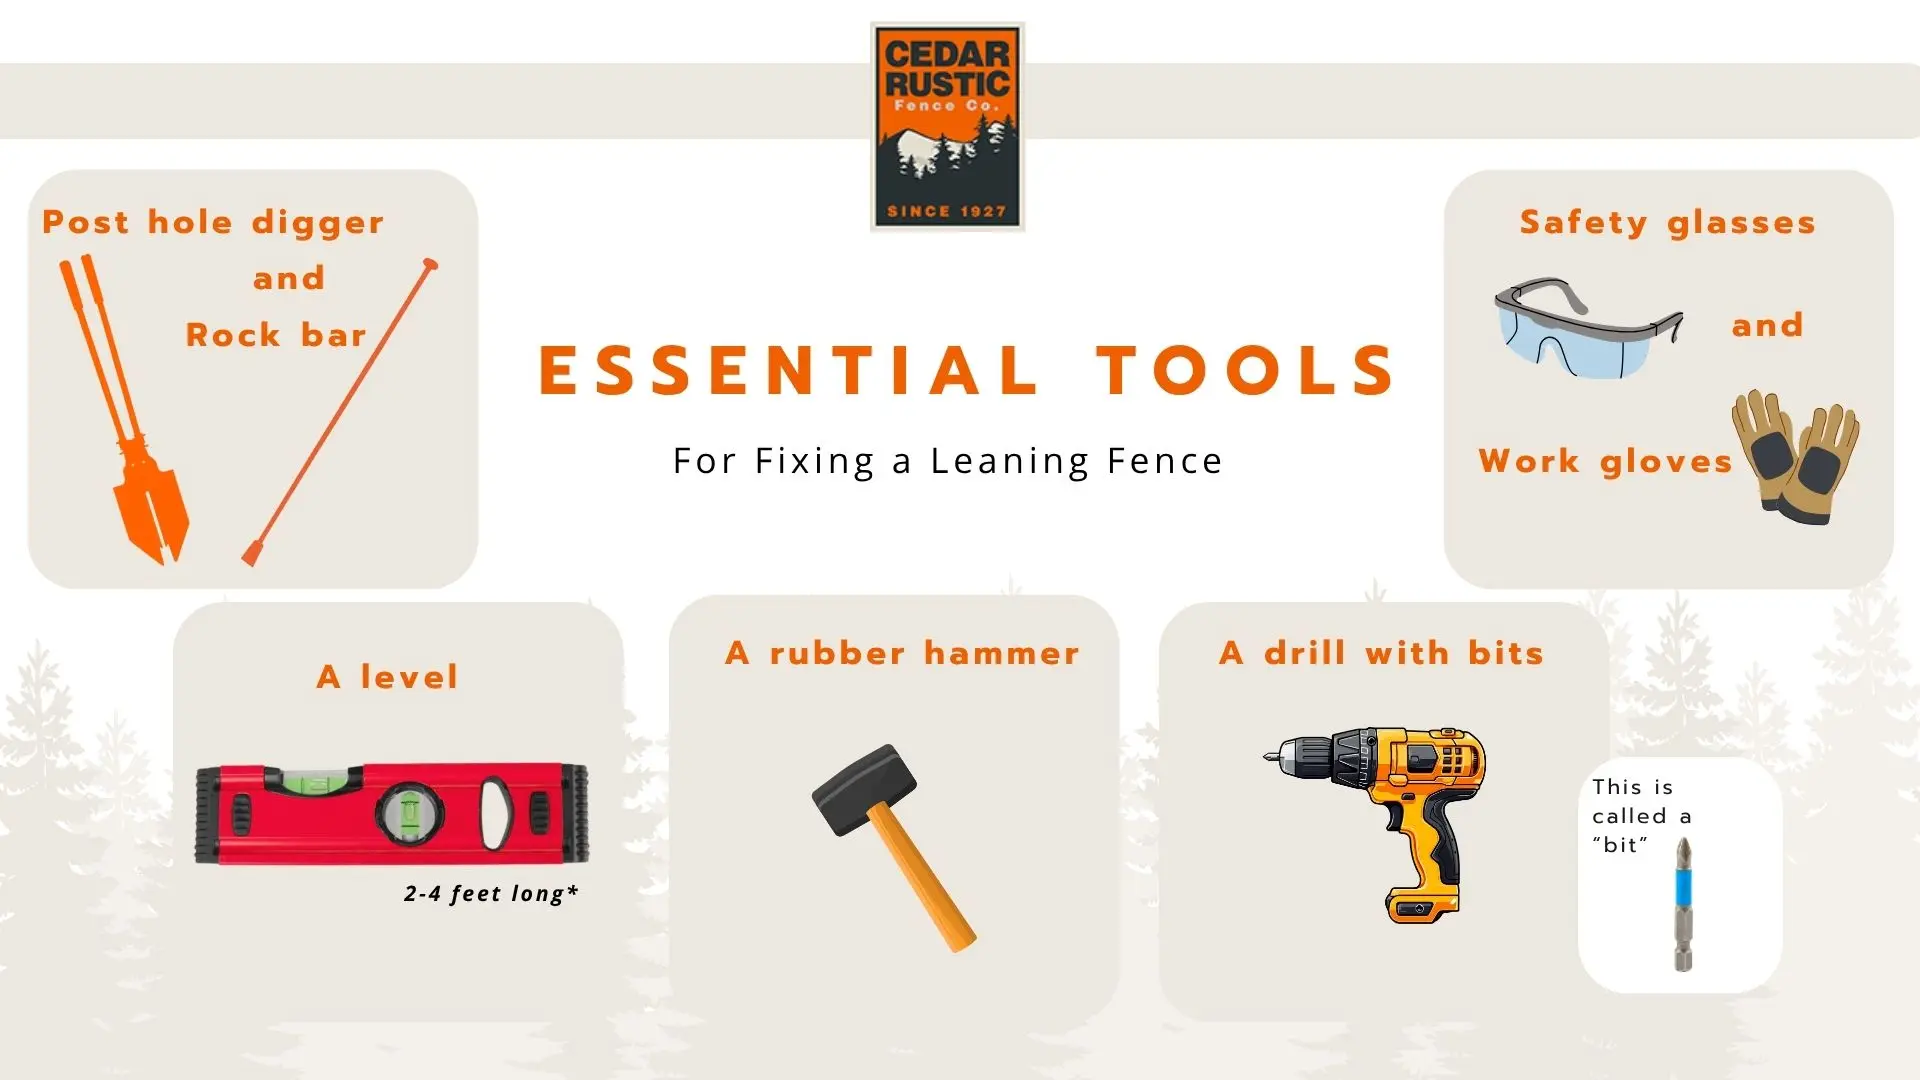
- Spade and trenching shovel to dig around the base
- Level (at least 2–4 feet) to check the post alignment
- Rubber mallet to shift the post into position
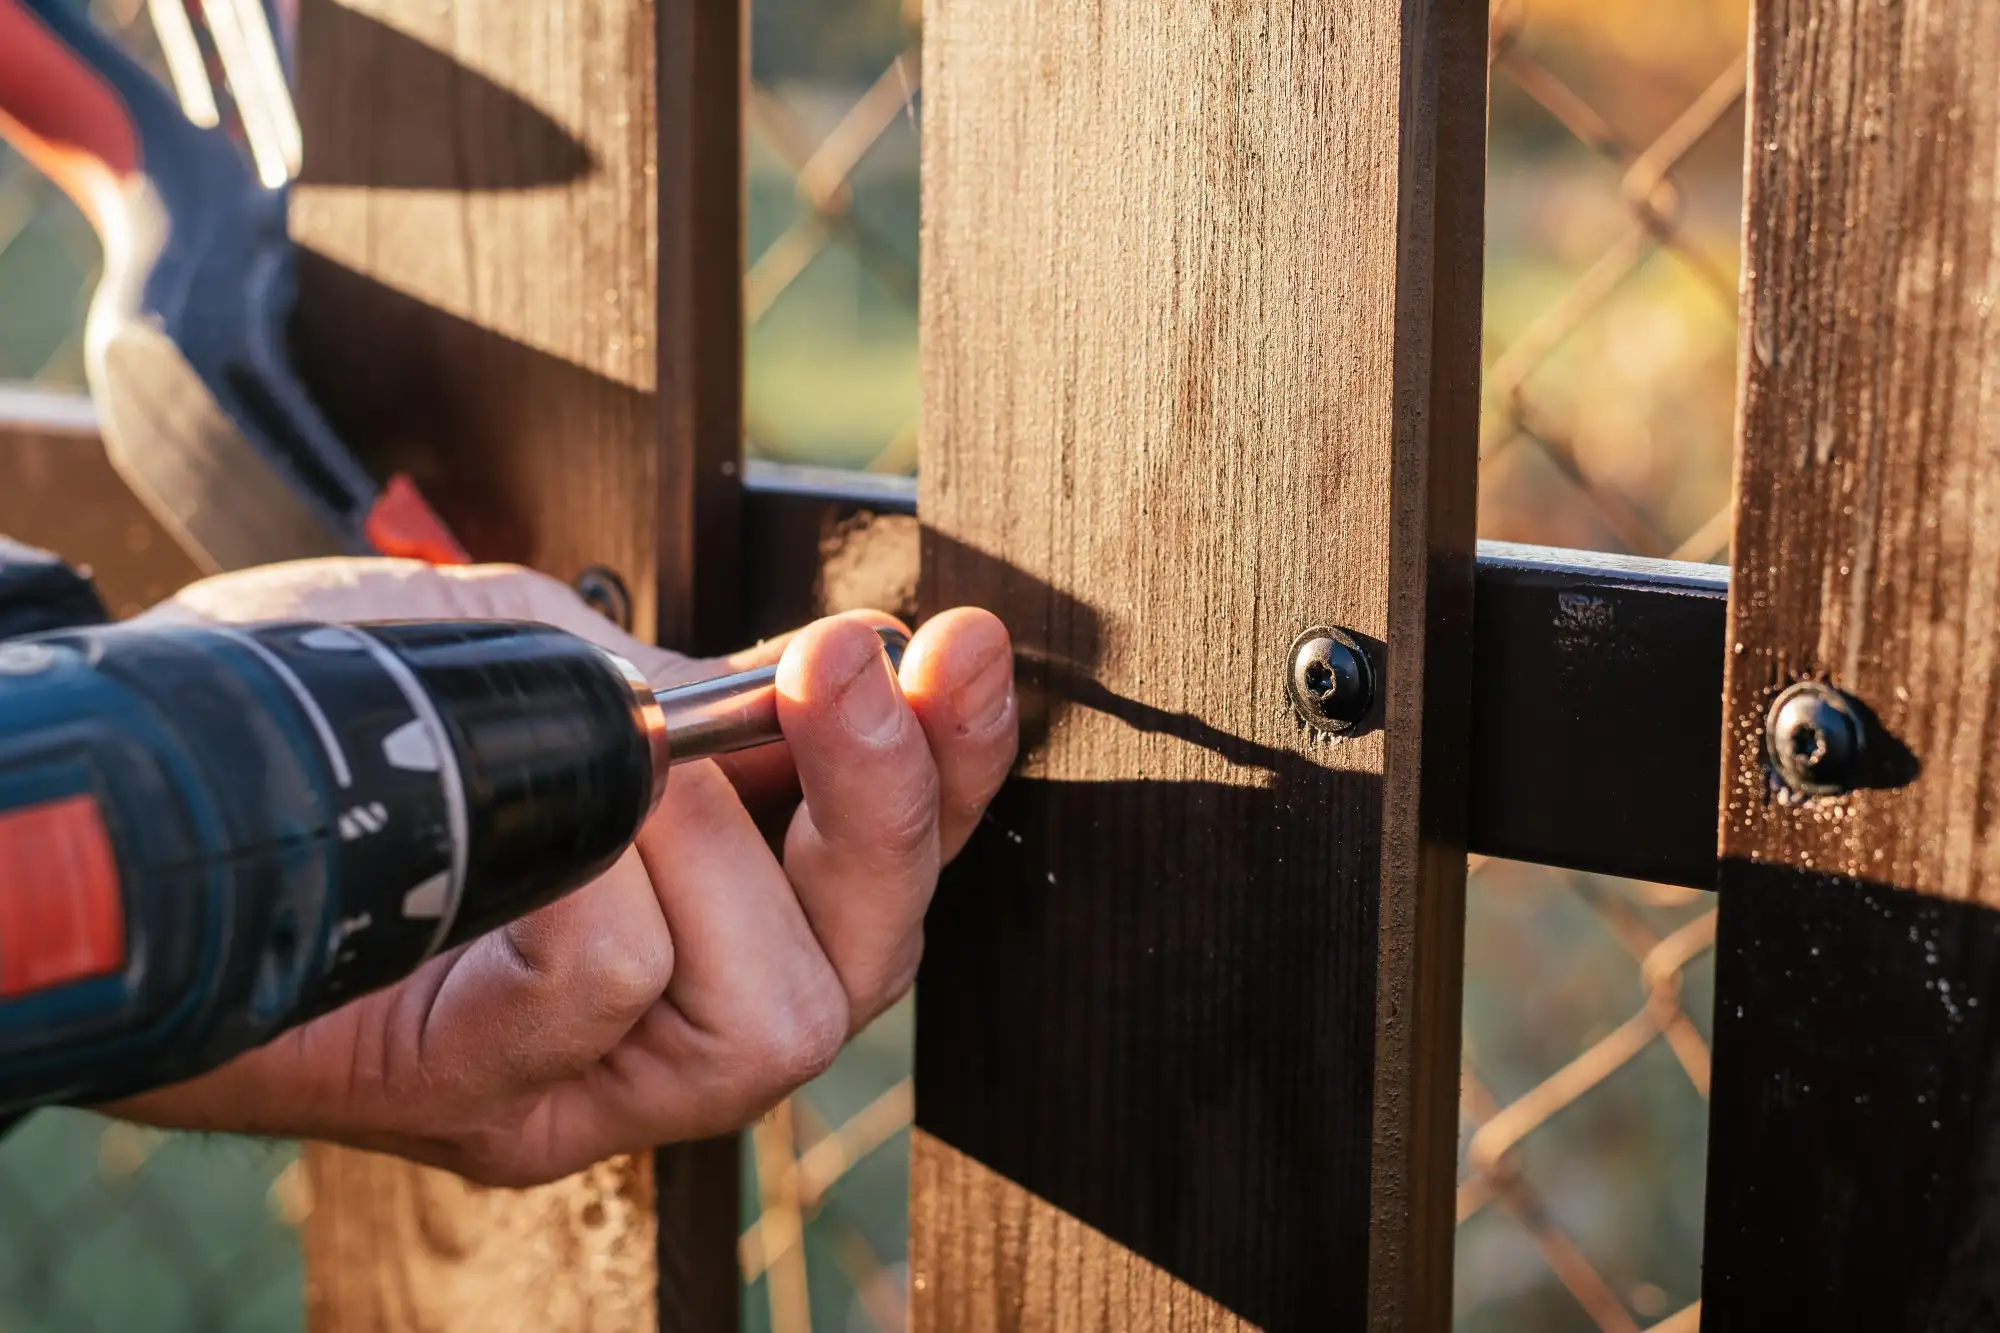
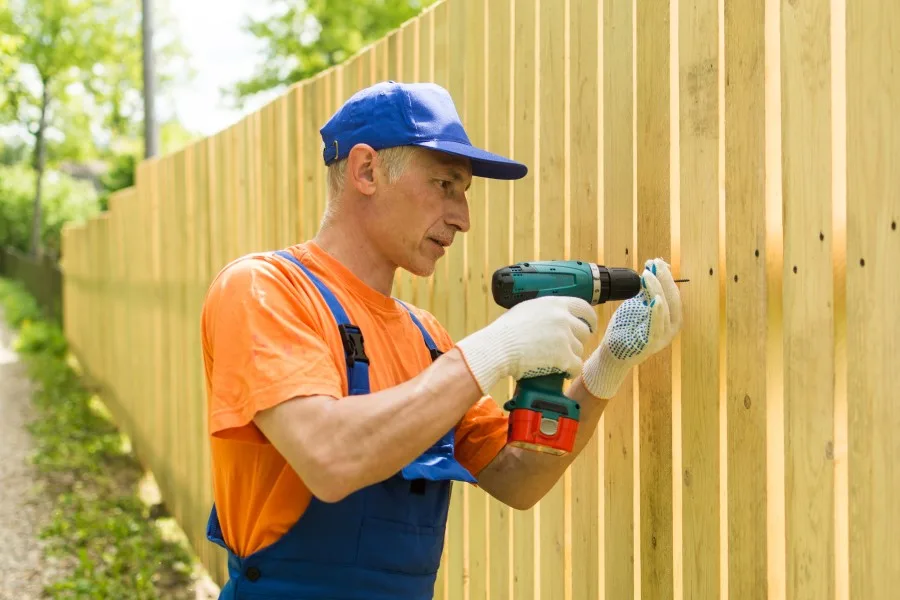
- Drill and bits for attaching support braces
- Safety glasses and gloves to stay protected
Materials to grab:
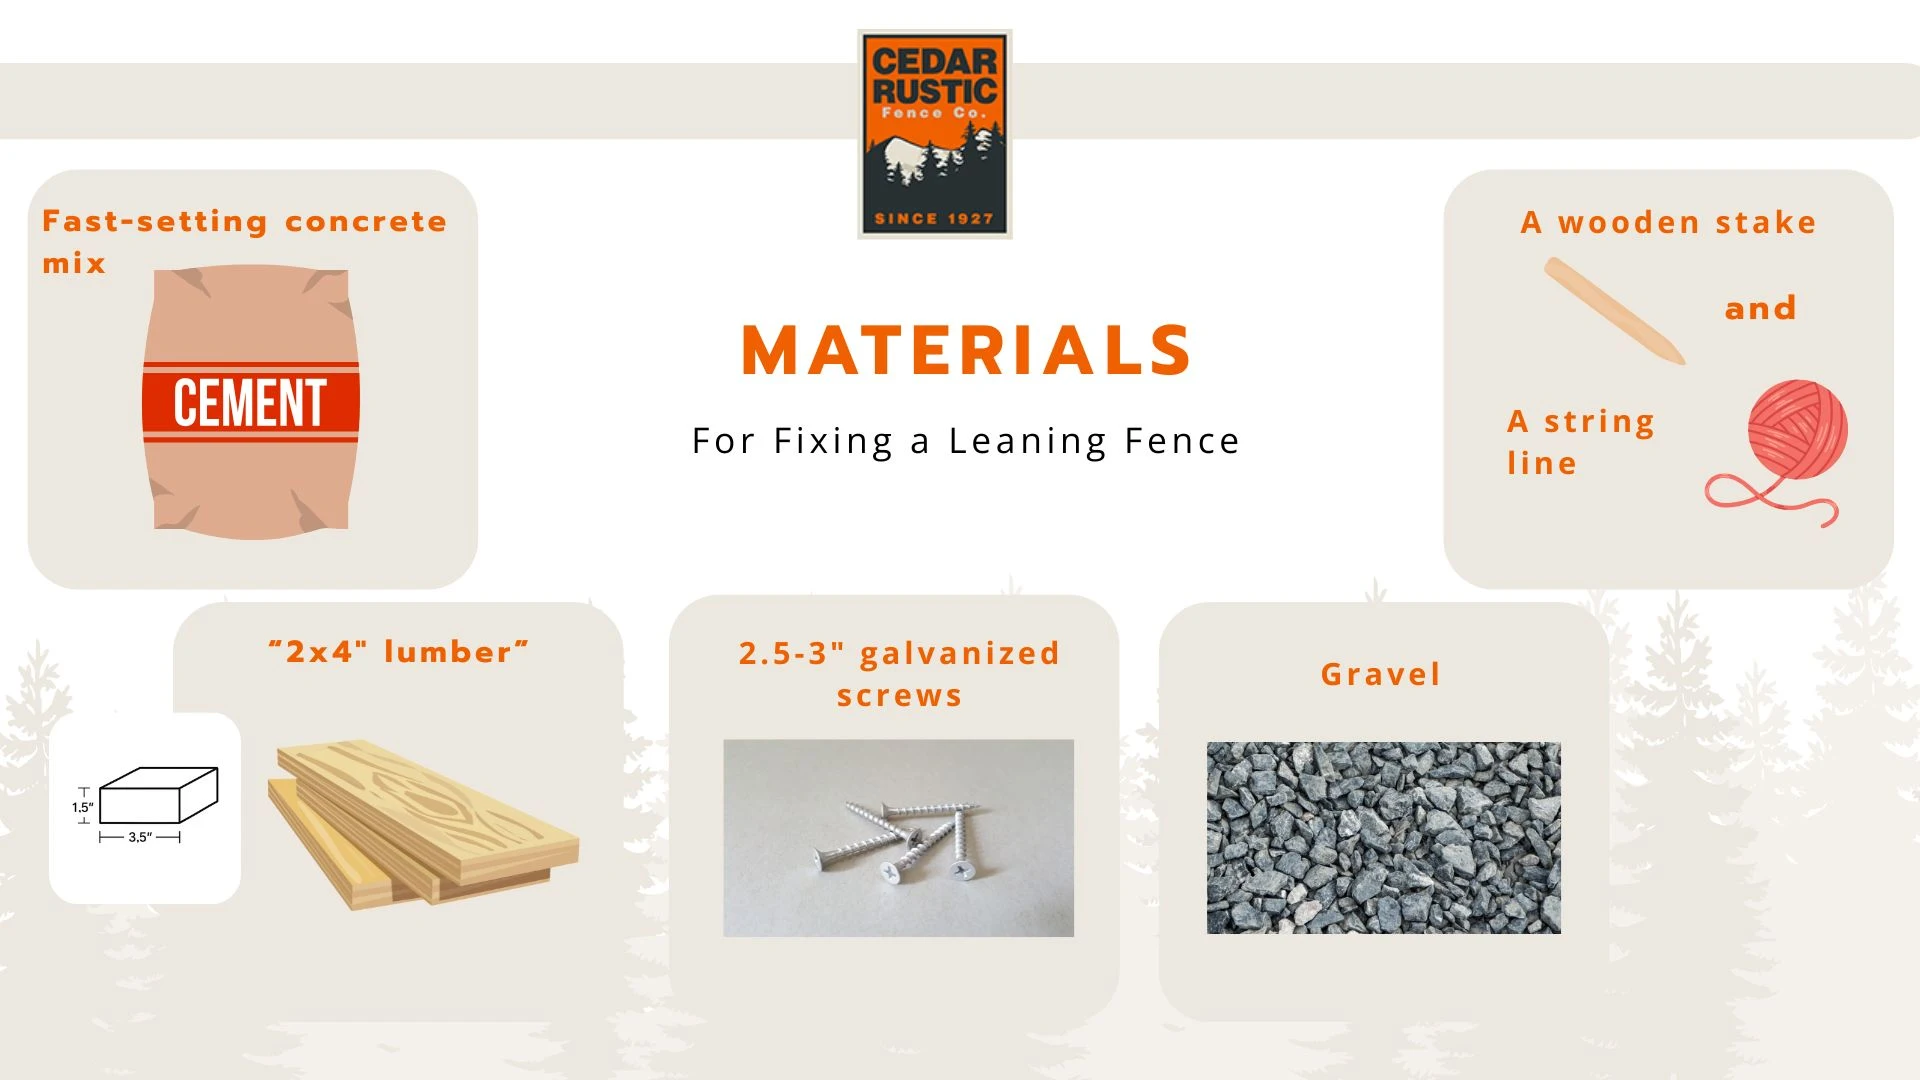
- Fast-setting concrete mix (1-2 bags, $8-12 each)
- Wooden stake and string line for alignment ($5-8)
- 2x4 lumber for temporary braces ($6-10)
- Galvanized screws 2.5-3 inches to secure braces ($3-5)
- Gravel for drainage around new concrete ($4-6)
Time estimate: Plan for two to four hours per post. More if the soil is compacted or access is limited.
Total cost: Expect to spend $25 to $45 if you already own basic tools. If not, budget an extra $20 to $30 to pick up what you’re missing.
Step-by-Step: Fix a Leaning Fence Post
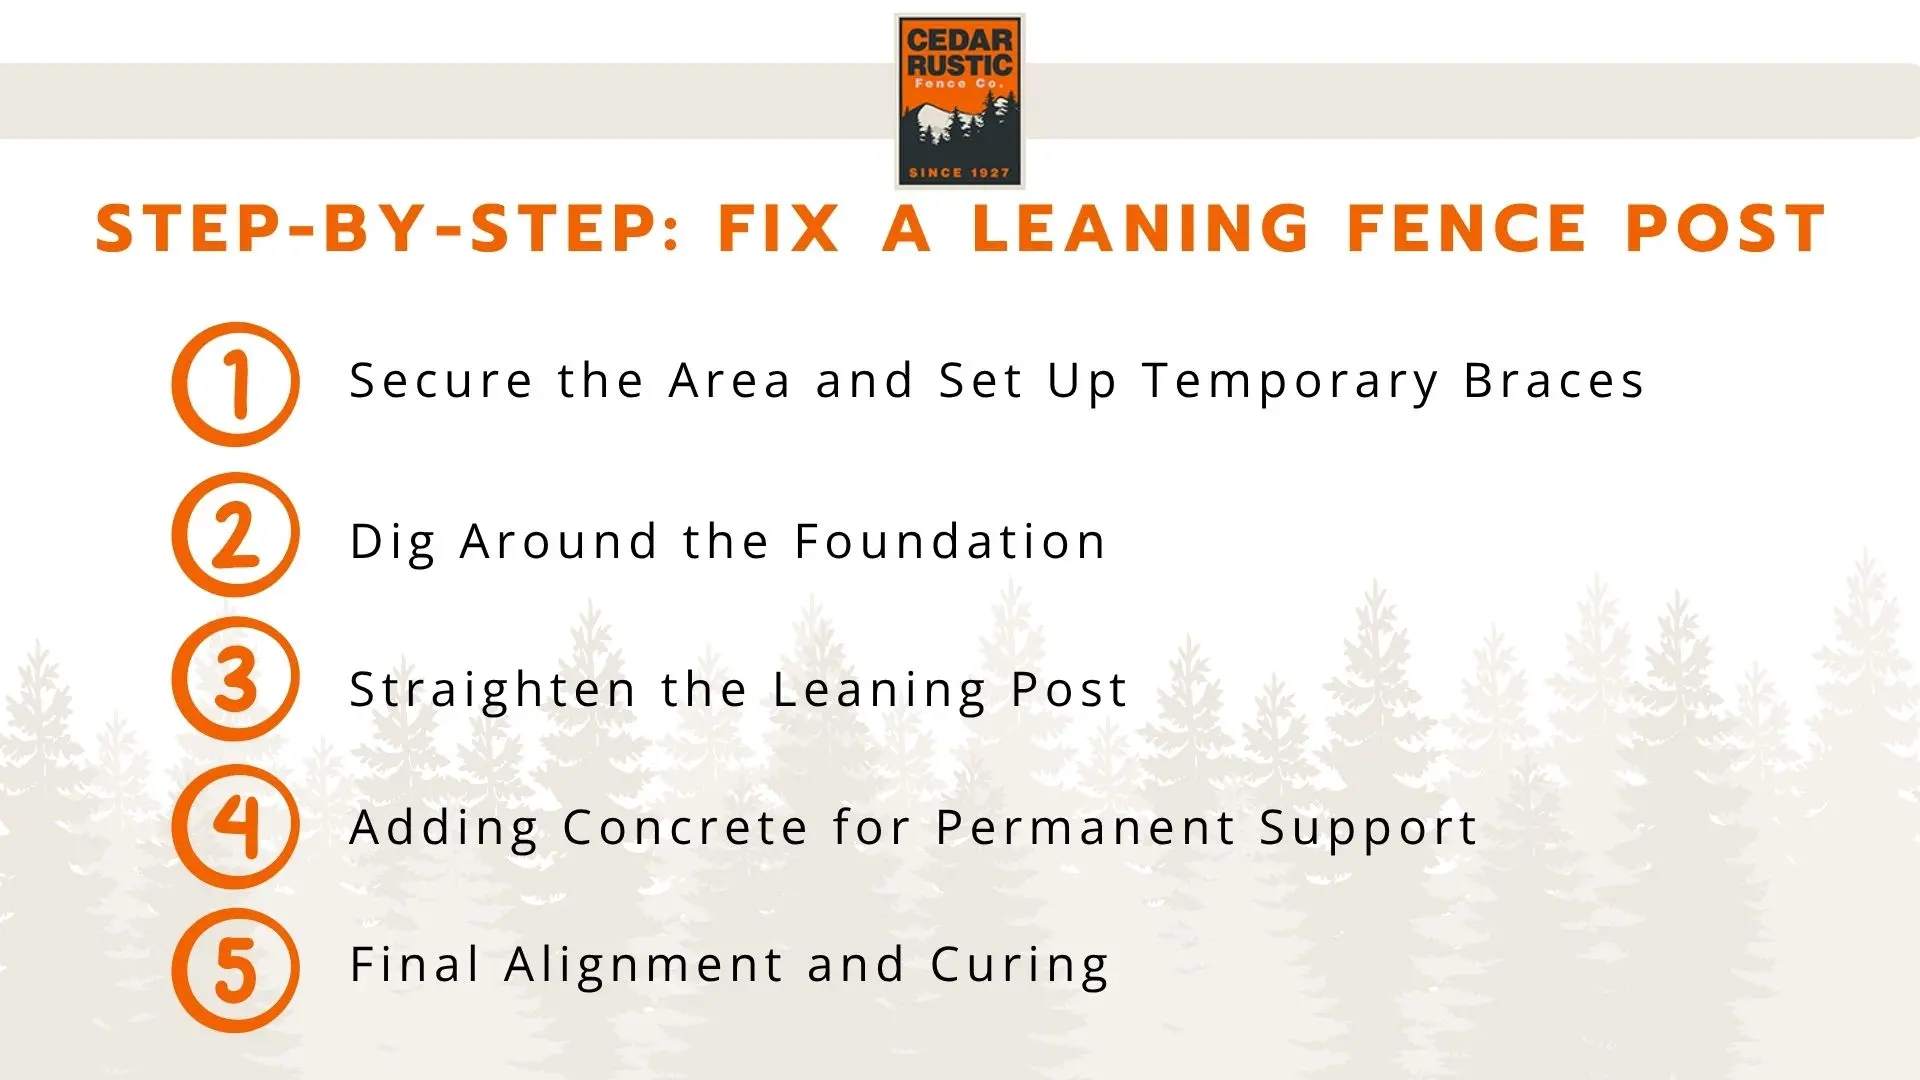
Step 1: Secure the Area and Set Up Temporary Braces
Before breaking ground, dial 811 to have underground utilities marked. This free service prevents costly damage to gas, electric, or water lines that could turn a simple repair into a major emergency.
While waiting for utility marking (usually 2-3 business days), set up temporary support. Use 2x4s angled from the ground to fence panels on both sides, creating A-frame supports. This prevents collapse during excavation.
Run a string between two nearby straight posts to guide your alignment. This makes it easier to keep the post level and at the right height during the repair.
Step 2: Locate and Excavate the Damaged Footing
Find the side where the post is leaning away from vertical. This is where you'll dig. Use a rock bar to break up the concrete footing around that side of the post, working carefully to avoid damaging the post itself.
Note: Wear gloves to prevent blisters during this heavy work.
Use clam diggers (post hole diggers) to remove broken cement and rock from the hole. Dig deep enough to allow the post to move back to plumb position, typically exposing 18-24 inches of the foundation.
🚨 Pro tip: If you encounter unexpected resistance or hit utilities despite calling 811, stop immediately and call for professional assessment. Some utilities may not have been properly marked.
Step 3: Straighten the Leaning Post
Use your string line to check alignment between adjacent posts. Pull the leaning post back to plumb position, lining it up with neighboring posts for consistent fence appearance.
Secure the post using either concrete mix or dry set material (gravel compacted around the post). If pressure on the post prevents it from staying plumb, use 2x4 braces to support it until the concrete cures completely.
Key alignment checks:
- String line alignment: Post should touch the string at the same point as adjacent posts.
- Vertical plumb: Check both sides with your level.
- Height consistency: Top of post should match neighboring posts.
Avoid using too much force. You could crack the post or damage the surrounding panels.
⚠️ Safety warning: Never work alone on fence posts taller than 6 feet. Have someone help secure the fence while you work.

Step 4: Verify Level Before Concrete Sets
Use your level to confirm the fence post is plumb on both faces before the footing material fully cures. Check the post from two perpendicular angles to ensure it's perfectly vertical.
This is your last chance for adjustments. Once concrete hardens, corrections require starting over from excavation. Take your time with this critical step.
Fast-setting concrete begins hardening within 20-40 minutes but needs 4+ hours to support fence weight fully. Leave temporary braces in place overnight for best results.
Step 5: Final Cleanup and Well-Deserved Break
While your concrete cures, clean up excess dirt and gravel from the work area. Backfill any remaining hole space with soil, sloping it slightly away from the post to encourage water drainage and prevent future leaning.
Dispose of broken concrete properly at a local recycling center rather than burying it, which can create future drainage problems.
Have a beer. You deserve it after tackling this repair and saving hundreds on professional installation costs.
Quick Temporary Fixes (While You Plan Permanent Repair)
Sometimes you need immediate stabilization but can't tackle full repair right away:
- Support stakes: Drive metal stakes into ground at an angle, connecting to the leaning fence post with wire. Prevents further movement while you gather materials for permanent repair.
- Steel wedges: Available at hardware stores, these hammer between loose fence posts and concrete foundations. Particularly effective for posts that rock but aren't severely leaning.
- Diagonal braces: Attach 2x4s from the top of leaning posts down to bases of adjacent sturdy posts. Creates triangulated support lasting months if needed.
- Remember: Temporary fixes are temporary. Plan permanent repair within a few weeks to prevent weather damage and ensure your entire fence remains secure.
When to Call a Professional Instead
Some fence problems exceed typical DIY capabilities and require professional expertise:
- Several posts are failing: If more than one post is leaning or shifting, the whole structure may have a larger issue. This can point to drainage problems, soil settling, or poor installation that affects the entire fence line.
- The post is damaged: Wood that’s cracked, rotted, or warped usually can’t be saved. Replacement often means removing sections of fencing and sometimes even filing permits.
- There are utility concerns: If you find wires or pipes near your work zone, stop. Fence pros have the tools and training to work safely around gas, electric, and water lines.
- Gate posts are leaning: These carry more weight and stress than a standard post. They need deeper holes, more concrete, and exact leveling to stay functional and safe.
- Cost check: A pro will usually charge between $150 and $400 per post. While that may seem high, it includes proper tools, experience, and a warranty. For big repairs, a one-time professional job can end up costing less than a string of failed DIY tries.
Preventing Future Fence Problems
Add these to your annual home maintenance routine:
- Inspect in the spring: After winter, walk the fence line. Check for wobbly posts or signs of leaning, and look for areas where water is collecting around the base.
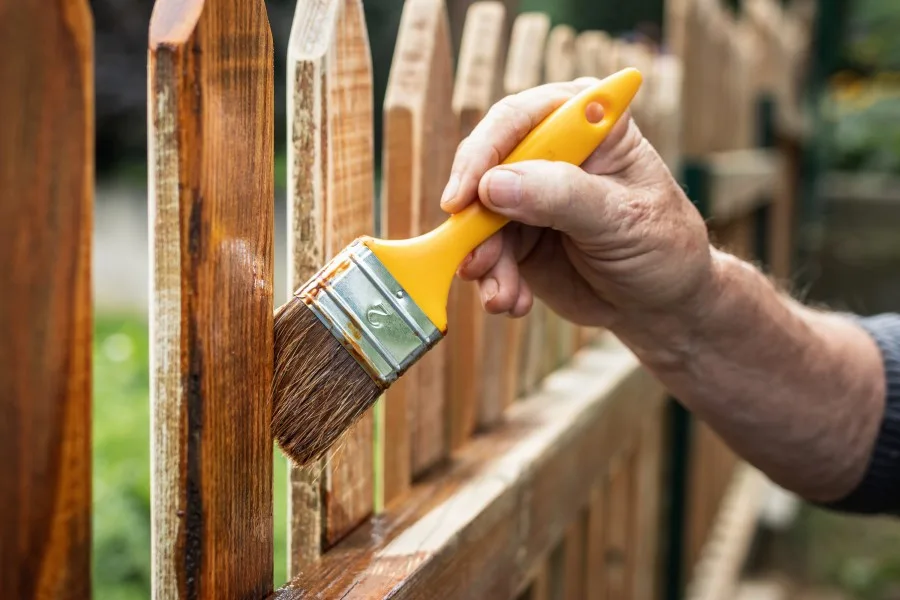
- Protect the wood: Apply a water-repelling stain every year. This helps prevent rot at ground level, where most of the damage starts.
- Drainage Improvements: Ensure water flows away from fence lines. Install French drains or regrade soil if water consistently pools around post holes after rain.
- Wind Considerations: In high-wind areas, consider adding diagonal braces between fence posts or upgrading to stronger materials like vinyl fencing or aluminum fence options.
- Consider a yearly inspection: A professional checkup once a year can catch small problems early and keep the entire fence in good shape without surprise breakdowns.