


Your cedar fence looks beautiful today, but Chicago's brutal freeze-thaw cycles and humidity can turn that rich wood gray and weathered within just one season. Without proper treatment, moisture penetrates deep into the wood, creating the perfect environment for premature aging and deterioration. Thankfully, there’s a way to stop this frustrating process before it begins.
Experienced Chicagoland cedar fence installers know that while sealing protects your fence's appearance and extends the life of pickets and panels, it's just one piece of the puzzle. This guide by our team at Cedar Rustic Fence Co. walks you through everything from choosing the right sealant for Illinois weather to knowing when treatment can't save a failing fence.
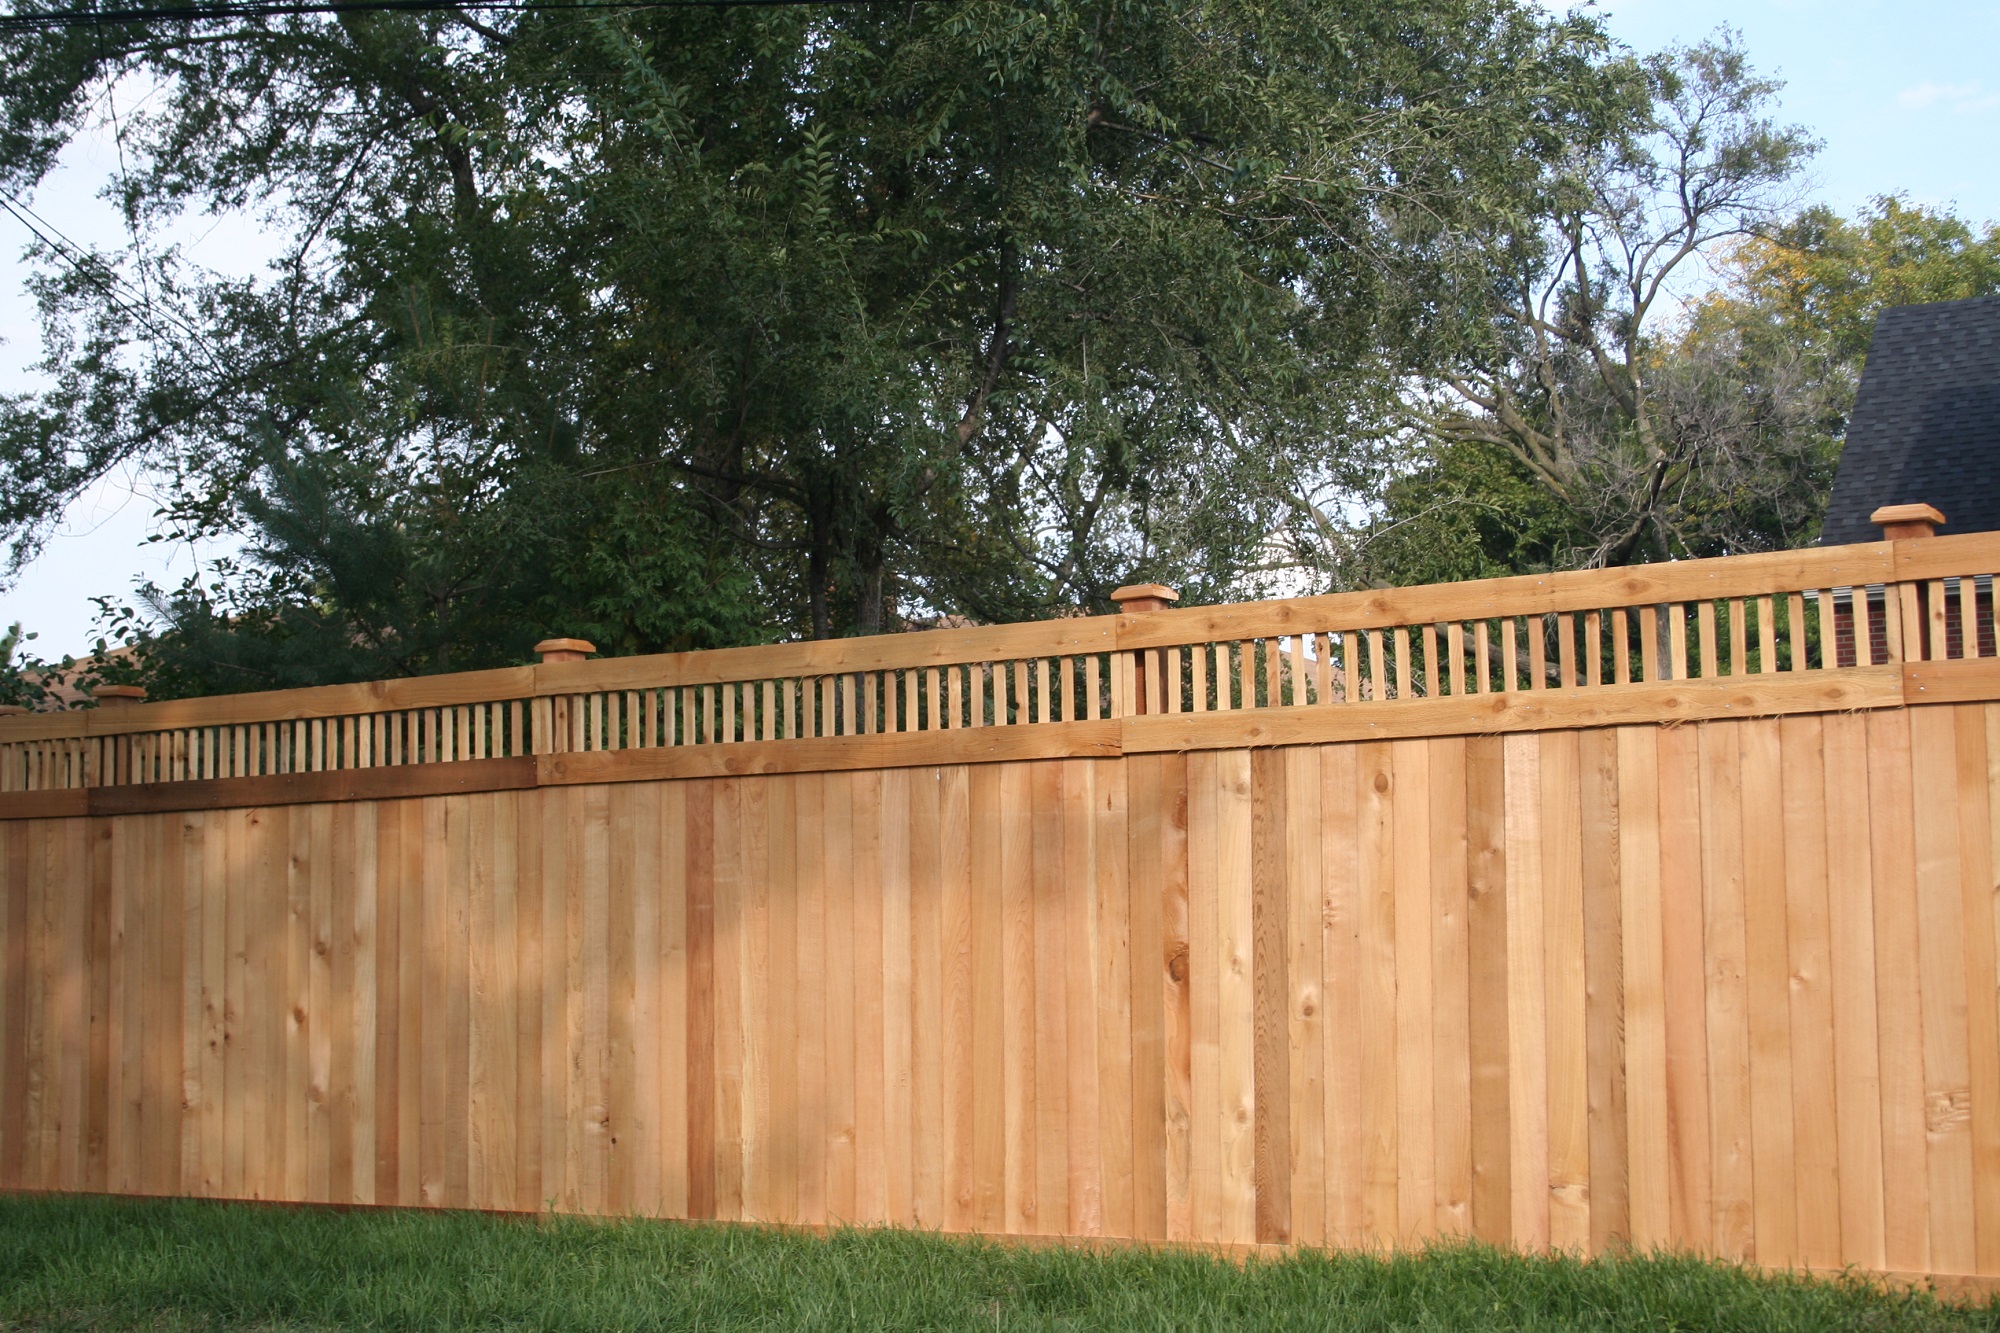
Should You Seal a Cedar Fence?
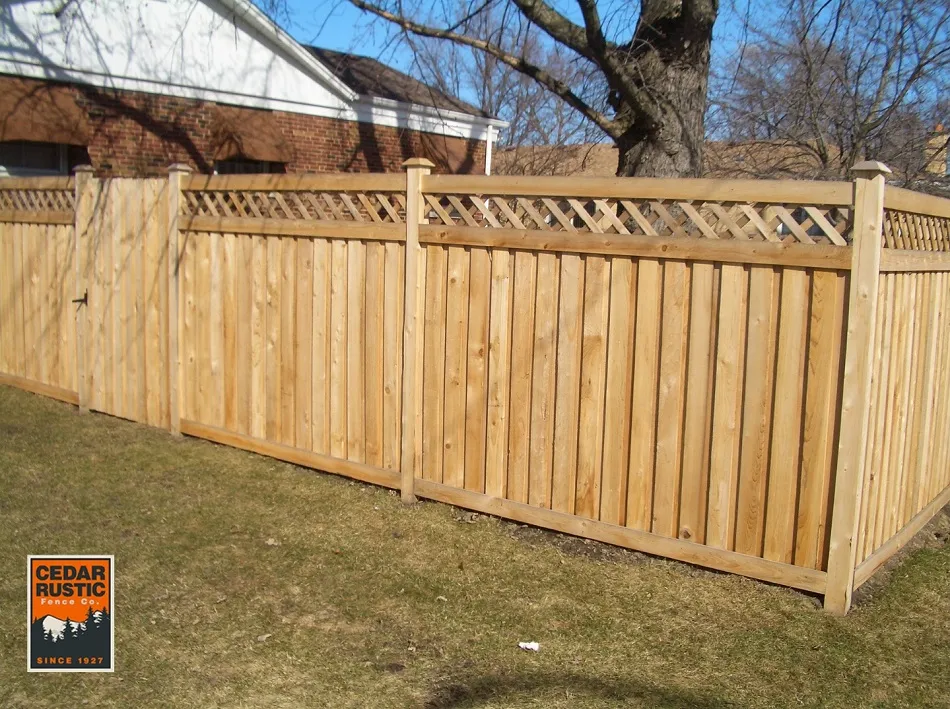
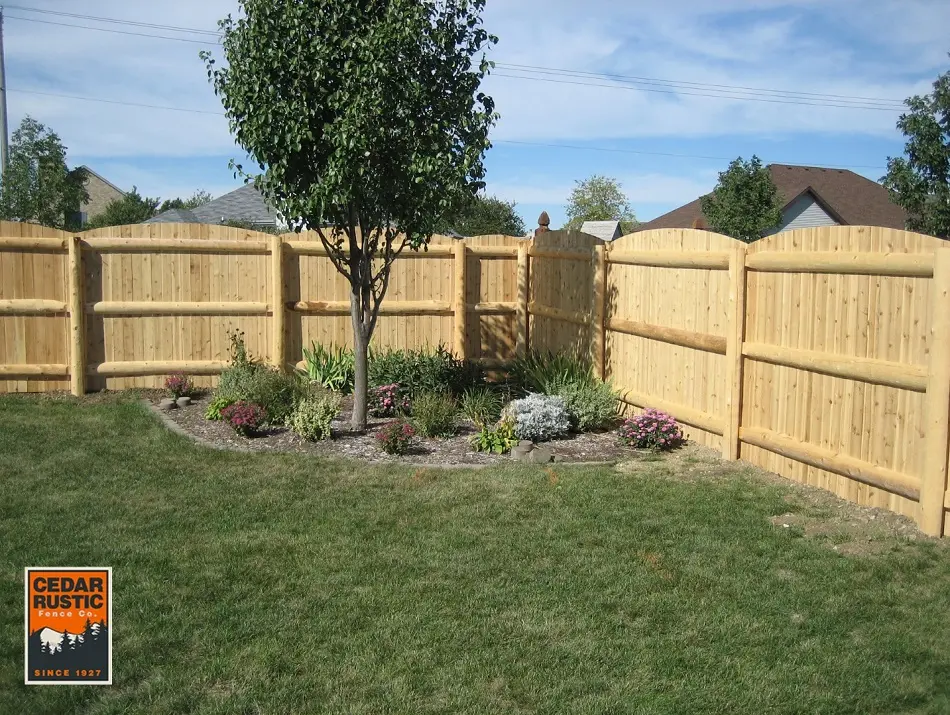
This is one of the most common questions homeowners ask after installation. Cedar naturally resists decay and insects, but sealing adds crucial protection against UV damage that causes rapid graying, moisture penetration from heavy spring rains, and surface cracking from temperature extremes. A quality sealant for cedar fence helps maintain the rich color longer and protects exposed wood surfaces from harsh Chicagoland weather.
Here's the reality: sealing protects pickets, panels, and rails you can see and touch. It cannot prevent underground post rot where wood meets soil, and it won't reverse structural damage once decay begins below ground level.
Chicago homeowners find sealing valuable, given our harsh climate, especially if maintaining your fence's appearance matters. However, the natural amber cedar color weathers to silver-gray without treatment, which some prefer and others want to prevent.
Types of Cedar Fence Sealants and What Works in Illinois
Not all sealants perform equally in Midwest weather. Products designed for California's dry climate or Florida's constant humidity often fail when facing Chicago's freeze-thaw cycles and temperature swings. Your choice should match our specific conditions.
Water-Based Sealants
Water-based formulas use acrylic or latex polymers suspended in water to create a protective barrier on wood surfaces. These products have gained popularity as environmental regulations tighten and homeowners seek low-odor options.
Advantages:
- Low VOC content meets strict environmental standards
- Easy cleanup with soap and water
- Fast drying time (usually 4-6 hours between coats)
- Minimal odor during application
- Safe to use around plants and pets
Disadvantages:
- Less penetration into dense cedar grain compared to oil-based options
- Shorter protection cycle in harsh climates (typically 2-3 years)
- Can struggle in humid conditions or if applied before the wood fully dries
- May require more frequent recoating in high-sun exposure areas
Popular brands performing well locally include Behr Premium, Olympic Maximum, and Ready Seal water-based formula. These work best for homeowners prioritizing eco-friendliness and ease of application over maximum longevity.
Oil-Based Sealants
Oil-based products penetrate deeper into wood fibers through natural or synthetic oils that act as carriers for UV-blocking pigments and water repellents. Traditional formulas offer superior protection but come with application challenges.
Advantages:
- Deep penetration into cedar grain provides robust protection
- Longer-lasting barrier (typically 3-4 years in Chicago weather)
- Superior moisture barrier against freeze-thaw damage
- Excellent performance in temperature extremes
- Rich, warm finish enhances natural wood grain
Disadvantages:
- Higher VOC content (restricted or banned in some states)
- Strong odor during application and curing
- Extended drying time (24-48 hours)
- Cleanup requires mineral spirits
- More expensive per gallon
Popular options include Cabot Australian Timber Oil, Thompson's WaterSeal, and Penofin. These excel in harsh Midwest climates, making them worth considering if you want maximum protection and can tolerate the application challenges.
Hybrid Sealants
As the name suggests, modern hybrid formulas combine water-based convenience with enhanced penetration technology. These products use advanced polymers and modified oils to bridge the gap between traditional categories.
Hybrid sealants are a good middle-ground choice for Chicago area homeowners seeking balanced performance without extreme VOC levels or long drying times. Examples include certain Ready Seal formulations and newer Behr products specifically designed for harsh climates.
Clear vs. Tinted Sealants
Clear sealants show natural cedar grain beautifully but offer minimal UV protection. Wood will gradually weather to silver-gray, and you'll need to reapply the sealant annually for consistent moisture protection.
Tinted sealants contain UV-blocking pigments that maintain cedar color significantly longer. The added pigments act as sunscreen for your fence, extending protection cycles by 1-2 years compared to clear options. Semi-transparent tints balance grain visibility with protection.
For Illinois: Tinted sealants perform significantly better against intense summer sun and provide superior freeze-thaw protection. The modest color addition prevents rapid graying while still showcasing cedar's natural beauty.
Oil-based or tinted sealants generally deliver the best results in Chicagoland's extreme climate. Your final choice should balance the protection level against application ease and environmental concerns. When making your decision, consider how much time you want to spend on maintenance and whether you prefer natural weathering or maintained color.
When to Seal Your Cedar Fence: The Ideal Timing for Illinois Weather
We recommend waiting anywhere from 3-6 months before sealing newly installed cedar. Fresh-cut wood contains high moisture content and natural oils that prevent proper sealant penetration. Wood needs time to weather, release internal moisture, and open grain structure for maximum absorption.
Why Not Winter? Winter temperatures below 50°F prevent proper curing, and moisture in wood from snow and ice stops absorption entirely.
Try to be patient, as it can produce better results and longer-lasting protection. Poor conditions waste quality products and your weekend.
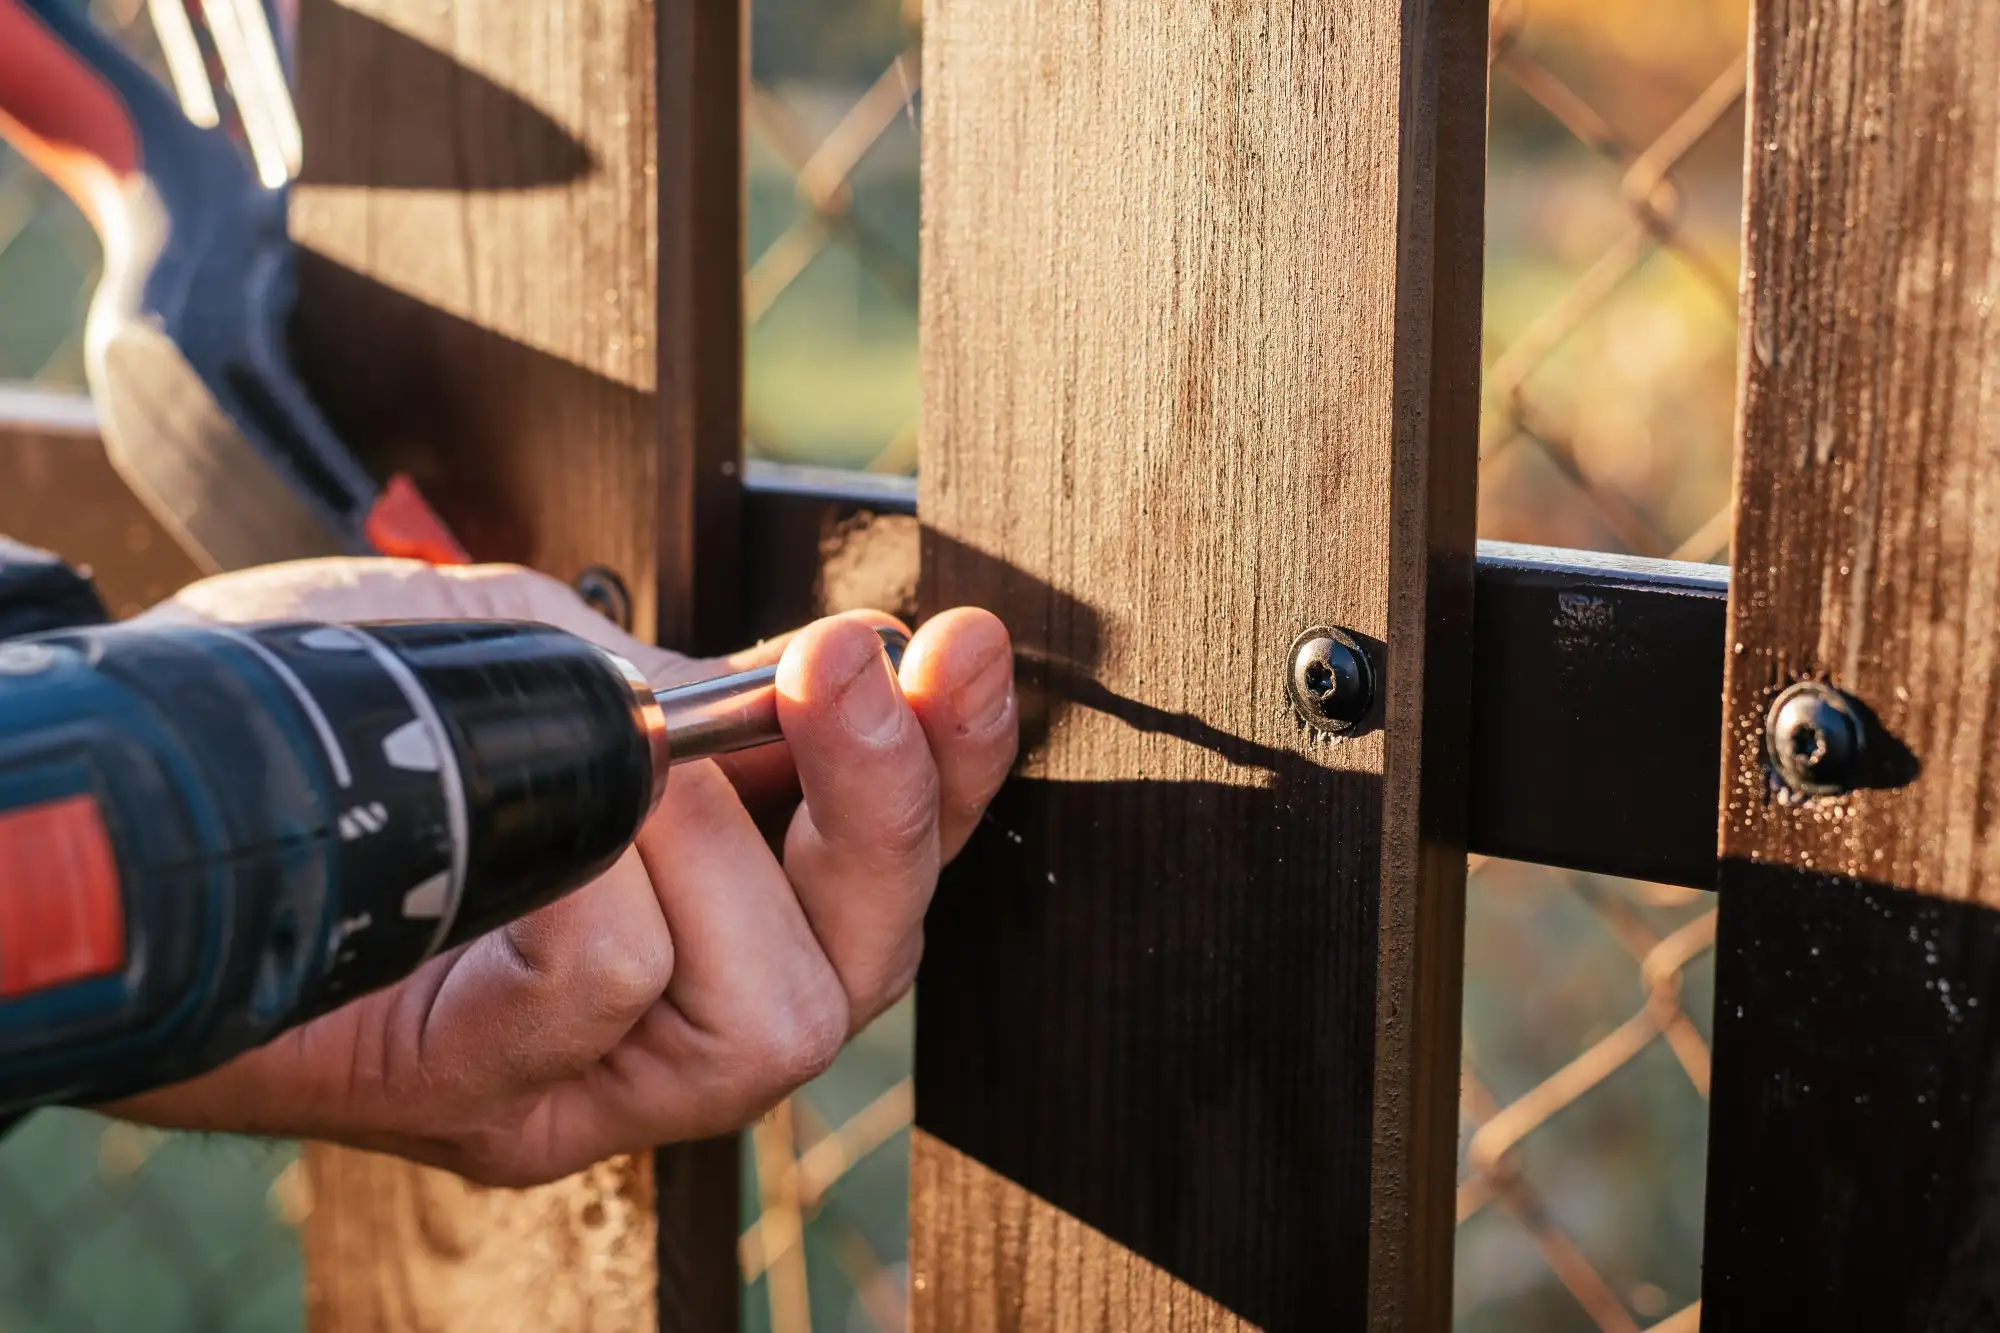
How to Seal a Cedar Fence: A Complete DIY Step-by-Step Guide
Sealing a cedar fence is manageable for most homeowners with basic tools and patience. When executed properly, the process takes a full weekend. Rushing isn’t ideal as it produces poor results that fail within one season.
Tools and Materials You'll Need
Essential Tools:
- Pressure washer or garden hose with spray nozzle
- Pump sprayer (1-2 gallon capacity)
- Natural bristle brush (3-4 inch)
- Drop cloths or plastic sheeting
- Painter's tape
- Safety glasses
- Rubber gloves
- Respirator mask for oil-based products
Materials:
- Deck cleaner or mild detergent
- Cedar sealant (1 gallon covers 150-200 square feet)
- Stir sticks
- Clean rags
Cost Estimate: First-time tool purchase runs $150-250, and sealant alone costs $100-200 for an average residential fence.
Step 1: Clean Your Fence Thoroughly
Clean wood accepts sealant properly, while dirty surfaces prevent penetration. In other words, don’t skip or rush this step.
- Mix fence cleaner following package directions.
- Apply from bottom to top, preventing streaks.
- Allow 10-15 minutes dwell time for the cleaner to work.
- Scrub areas with mold and mildew using a soft brush.
- Pressure wash or rinse thoroughly from top to bottom.
- Remove all cleaner residue completely.
Note: North-facing sections in Chicago commonly develop mildew. Pay extra attention to these areas during cleaning.
Pro Tip: Schedule cleaning for late morning so the fence dries completely before evening dew develops. Avoid cleaning on days before predicted rain.
Step 2: Allow Complete Drying
Most homeowners skip this critical step and pay for it when the sealant peels within months. Wet wood cannot absorb protective coatings properly.
The minimum drying time is 48 hours of good weather. In humid Chicago conditions, 72 hours is more reliable. We recommend checking the weather forecast for a dry period before starting.
Test Methods:
- Water drop test: Splash a small amount on the fence; it should soak in within 5 minutes.
- Visual inspection: Wood looks light colored, not dark or damp.
- Touch test: Run hand along the surface; feels dry and slightly warm, not cool or moist.
Common Mistake: Sealing damp wood causes the sealant to sit on the surface rather than penetrate. Within 3-6 months, the coating peels away in sheets, requiring complete stripping and reapplication.
Step 3: Protect Surrounding Areas
Preparation prevents expensive cleanup and plant damage.
- Cover plants, grass, and concrete with drop cloths.
- Tape off adjacent structures you don't want treated.
- Have cleanup rags ready for immediate drip control.
Step 4: Apply First Coat
Work methodically in small sections to maintain wet edges to prevent lap marks.
- Stir sealant thoroughly without shaking (bubbles cause surface defects).
- Work in 4-6 foot sections, maintaining control.
- Apply liberally but avoid drips and runs.
Application Techniques:
- Spray Method: Hold the nozzle 12-18 inches from the surface, and use overlapping strokes. Back-brush immediately while wet for better penetration. This is the fastest method for large fences.
- Brush Method: Provides deepest penetration through worked-in application. More labor-intensive, but excellent for detailed areas and ensuring thorough coverage.
- Roller Method: Offers quick coverage for large flat areas. Use an extension pole for tall fences. You should still back-brush for proper penetration into the wood grain.
Work across the full fence height before moving to the next section. This maintains a wet edge while preventing visible lap marks. Seal both sides when accessible for maximum protection.
Our Installer Tip: Wet edge technique means overlapping into the previous section while still damp. This blends applications seamlessly without visible stops and starts.
Step 5: Inspect and Apply Second Coat If Needed
Most cedar requires two coats for proper protection, especially old or porous wood.
- Wait the minimum time specified on the product label.
- Water-based products are typically ready in 4-6 hours.
- Oil-based formulas need 24 hours between coats.
- Apply the second coat thinner than the first.
- Focus extra product on high-sun areas (south and west exposures).
- Top rails and caps need extra attention, taking most UV damage.
Step 6: Clean Up and Cure Time
Proper cleanup and curing ensure maximum protection.
- Clean tools immediately using water for water-based products, mineral spirits for oil-based products.
- Remove tape and drop cloths, carefully avoiding drips.
- Allow full cure time before contact: 24-48 hours minimum.
- Avoid heavy rain for 48 hours after the final coat.
- Keep pets and children away until completely dry and cured.
While this DIY project is doable for most homeowners, you’ll need to prioritize patience and attention to detail. When done correctly, the results should provide years of protection and beauty.
Cost Comparison: DIY vs. Professional Cedar Fence Sealing
True cost includes materials, time investment, and quality results. Many homeowners start DIY projects only to realize professional service would have been a better value.
Professional services in Chicagoland typically charge $1.14-1.36 per square foot for complete treatment. This price includes cleaning, proper drying verification, two-coat application, and cleanup. For 100 linear feet of 6-foot fence (1,200 square feet on both sides), expect $500-900 professional cost.
Both approaches have merit. DIY saves significant money if you have time, physical ability, and patience for detail-oriented work. Professionals save weekends and guarantee consistent results. The best way to decide which option is best is to consider your priorities honestly.
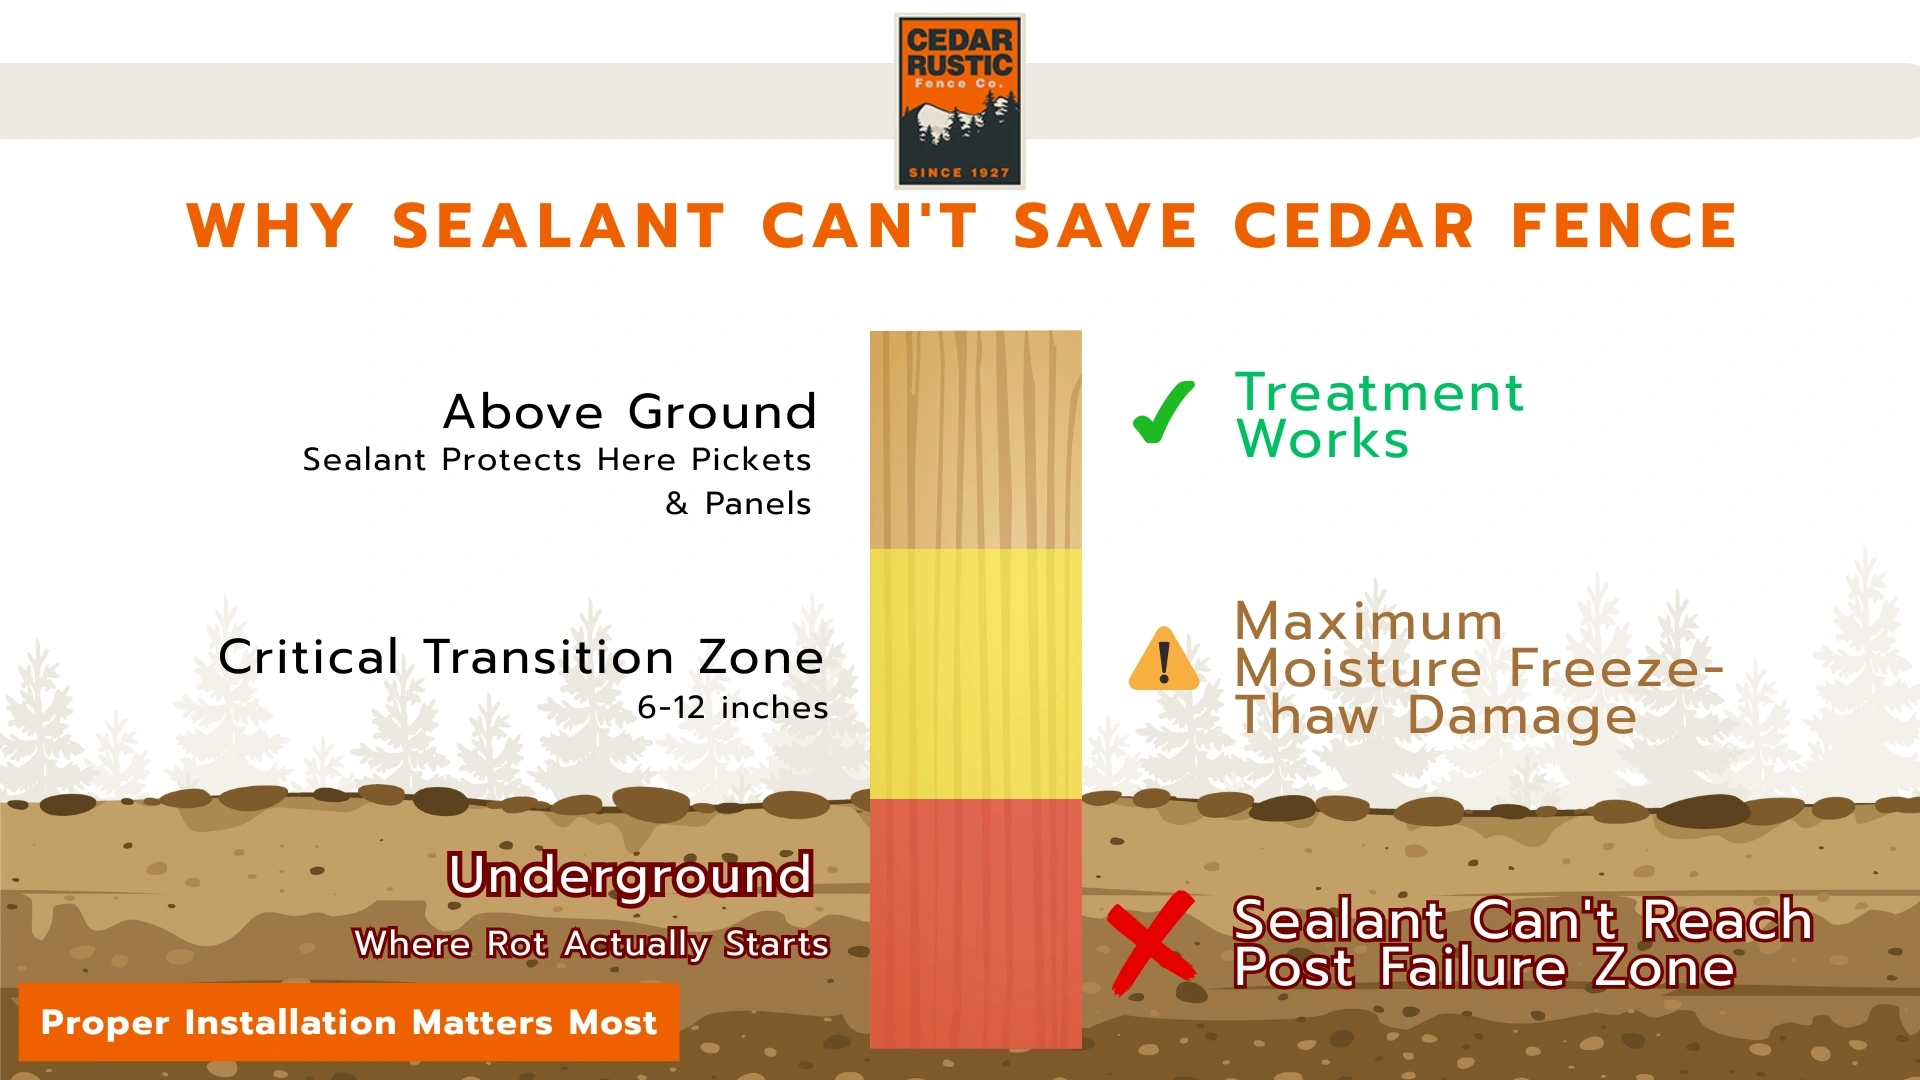
Why Sealant Can't Save Every Cedar Fence: Knowing When It's Time to Replace
Here’s a hard truth many companies won't share: sealant isn't a miracle cure for structural problems. Surface treatment won't fix failing posts or advanced rot. Cedar fence lifespan depends far more on proper installation than on any coating applied afterward.
Underground post bases where wood contacts soil represent the primary failure point. The ground-level transition zone, where posts emerge from concrete, experiences maximum moisture exposure, freeze-thaw cycles, and soil bacteria contact. This 6-12 inch critical zone determines how long the fence will last.
Rot begins here, hidden from view, where sealant for cedar fence cannot reach, regardless of quality or application method. Visible rot above ground means extensive decay below, and it’s likely that the fence already has compromised structural integrity. Posts may look fine at eye level, but they’re rotted through at the foundational level.