


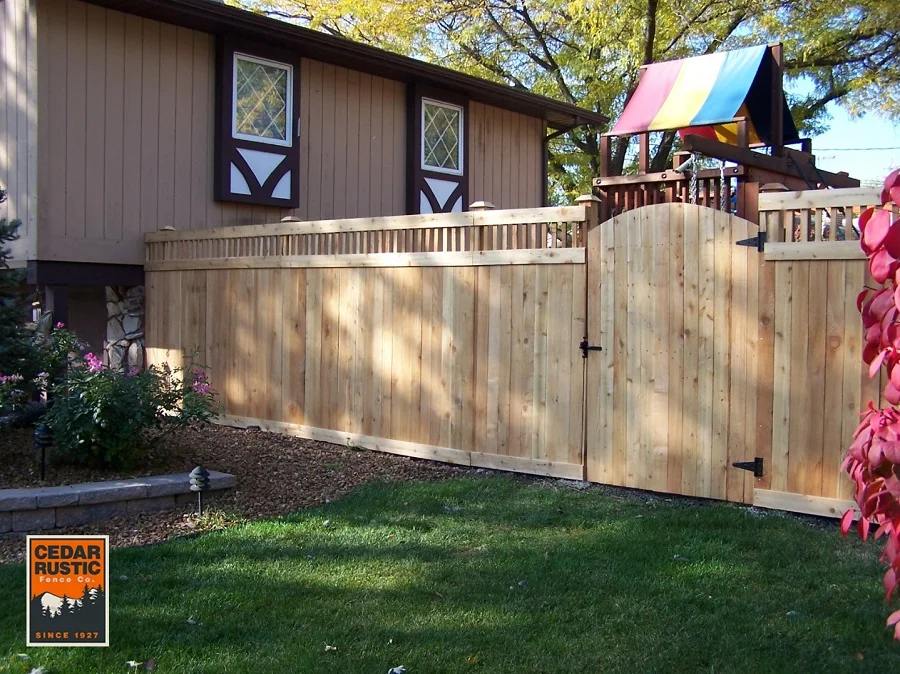
You want your fence to not only function well but look beautiful. A sagging gate frame ruins your fence's appearance faster than any other fence component. Midwest homeowners face unique challenges with freeze-thaw cycles that can turn a beautiful cedar fence gate into a drooping eyesore within one season.
As Chicagoland fence installers with almost 100 years of experience, we've built thousands of cedar gates that withstand our harsh climate while maintaining beauty and function. This guide by our team at Cedar Rustic Fence Co. shares the professional techniques we use daily, from selecting cedar lumber to installing diagonal braces that prevent sagging. Whether planning a DIY project or wanting to see quality installation, you'll learn exactly how to build a cedar fence gate that performs flawlessly for decades.
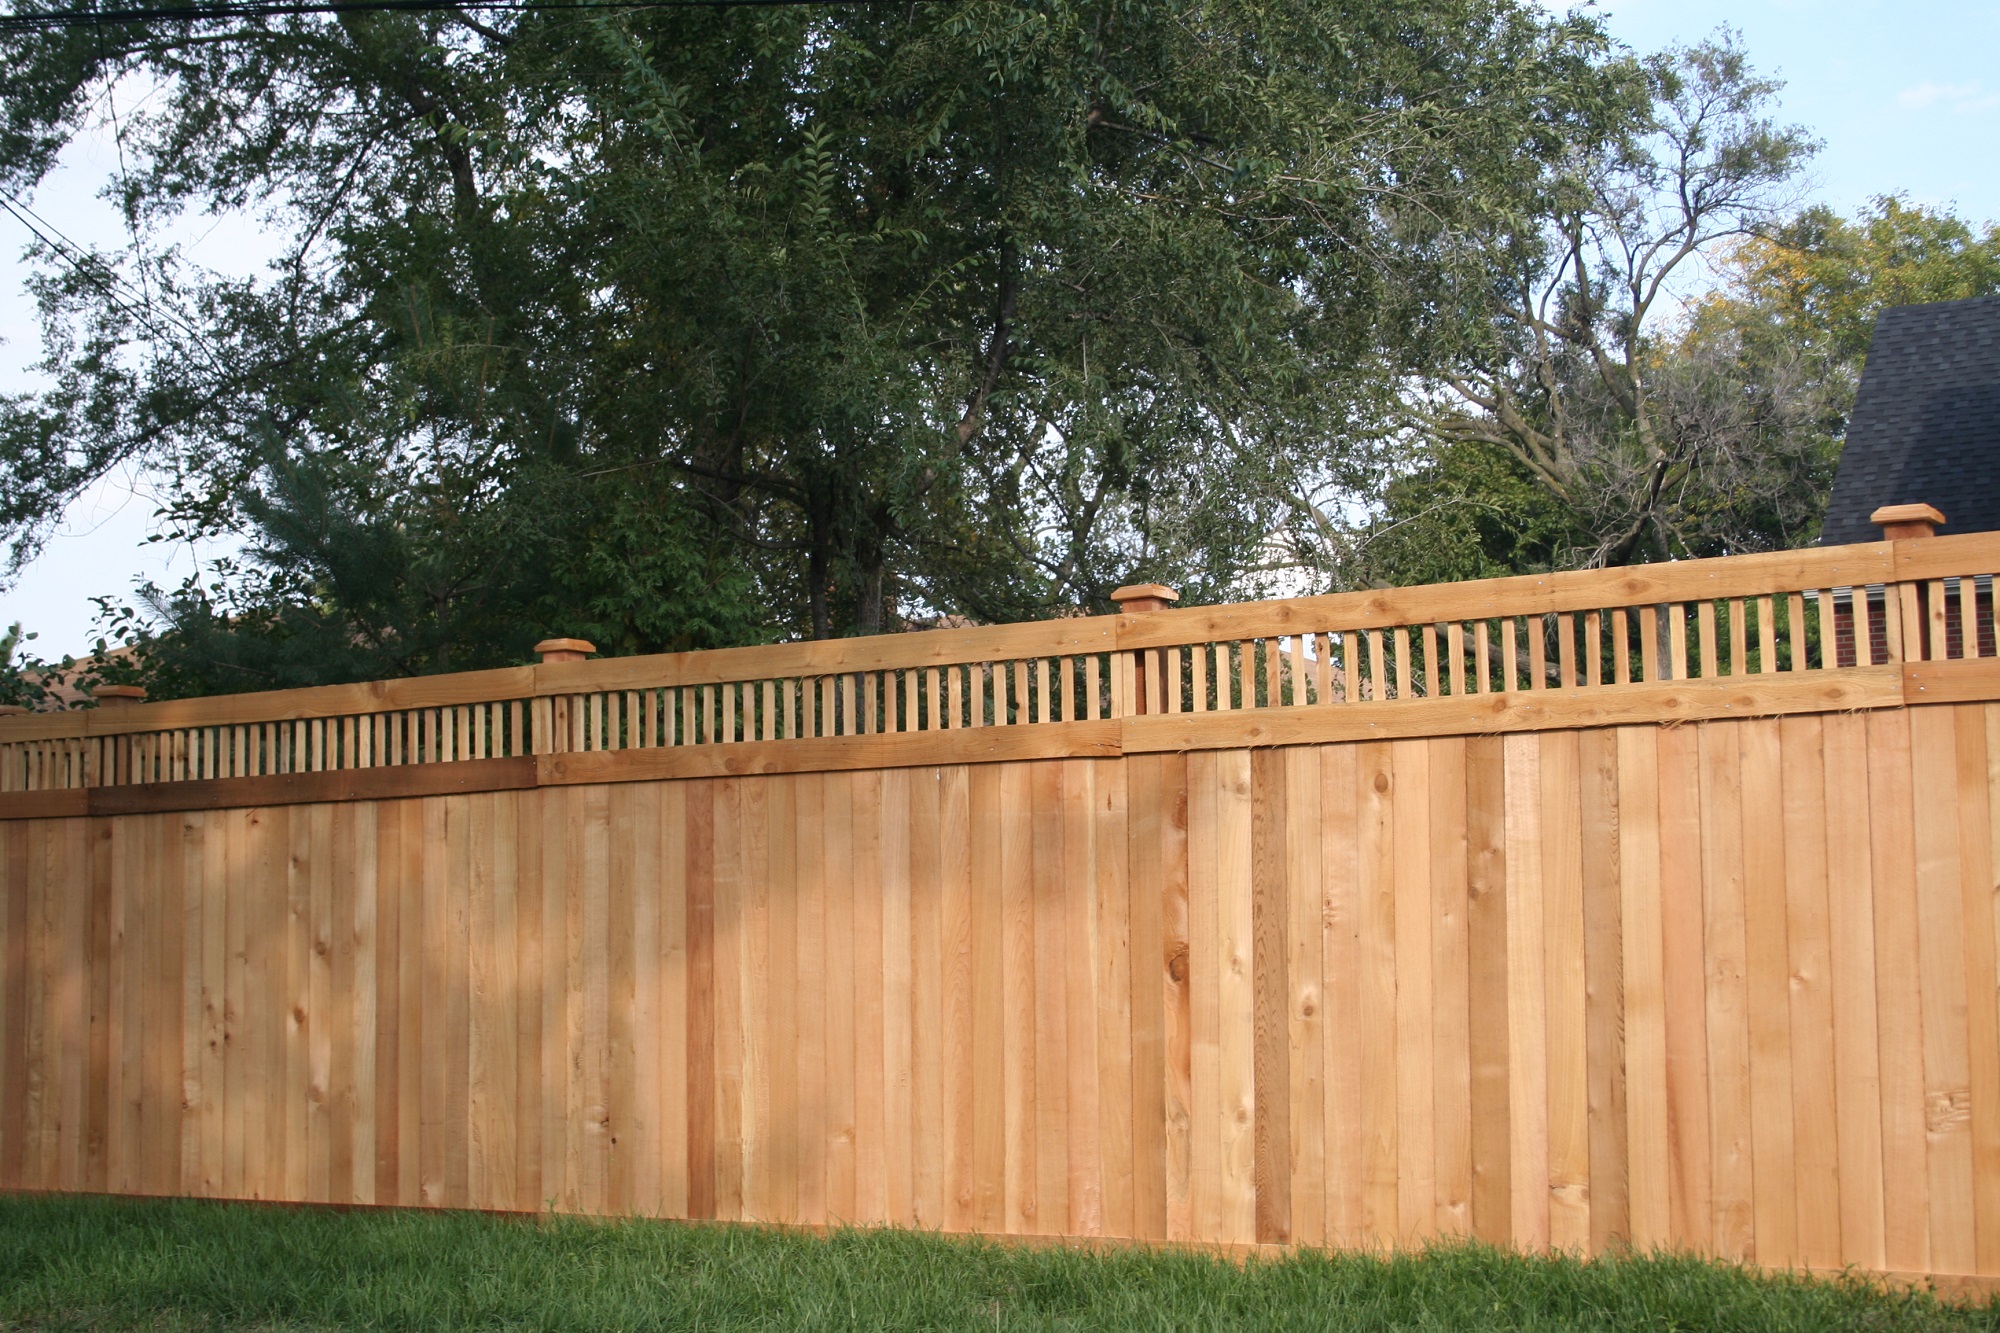
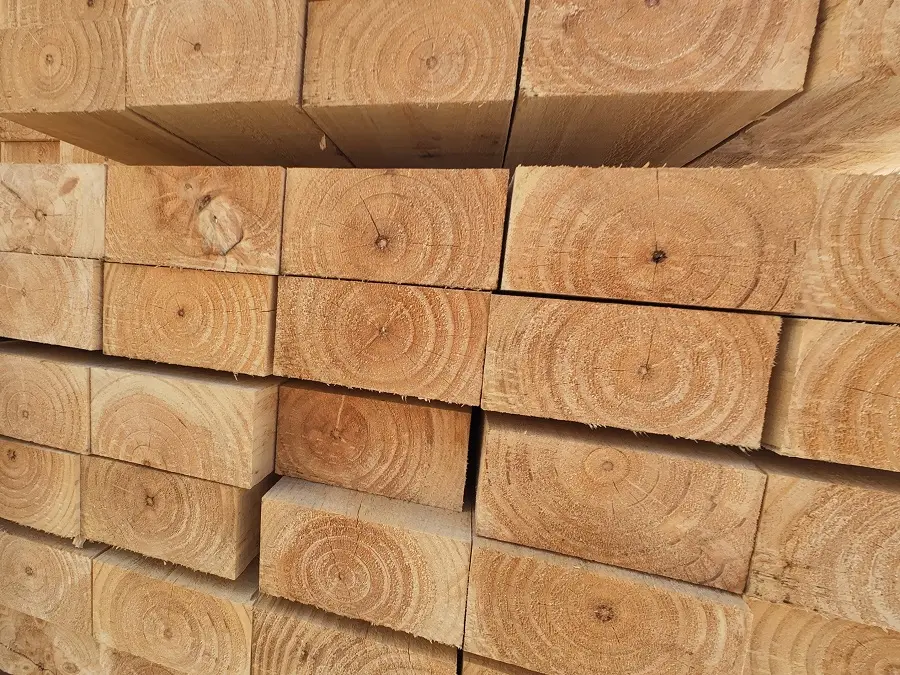
Why Cedar Makes the Best Gate Material in Chicagoland
While various wood options exist for fence gates, cedar is considered the best wood fence option that consistently outperforms others in our challenging Midwest climate.
- Natural resistance properties: Cedar contains natural oils that give cedar its distinctive aroma and protect the wood from termites, carpenter ants, and fungal growth that destroys other woods within years.
- Dimensional stability: Unlike pressure-treated lumber that warps and twists as it dries, cedar maintains its shape through temperature swings. The gate will stay square and true!
- Weight advantages for gate hardware: Cedar weighs approximately 30 percent less than pressure-treated pine; this lighter weight reduces stress on hinges and posts, extending hardware life and preventing the gradual sagging that affects heavier gates.
- Climate performance: Chicago's temperature range from -20°F to 95°F doesn't affect quality cedar. The wood naturally expands and contracts without cracking or splitting, handling our humidity swings better than any other affordable wood option.
Professional note: A properly built cedar gate lasts 15-20 years with minimal care, while untreated pine gates typically fail within 5-7 years.
Cedar's combination of durability, stability, and natural beauty makes it the professional choice for gates facing daily use and extreme weather. Now, let's examine the tools and construction materials needed.
Tools and Materials for Building Your Cedar Gate
The right tools and materials prevent frustrating delays and ensure professional results. We’ve outlined everything you need before starting your cedar fence gate project.
A List of Essential Tools
- Circular saw: For cutting cedar 2x4s and fence pickets to exact dimensions.
- Power drill: Variable speed with clutch settings prevents overdriving screws.
- 4-foot level: Essential for checking gate posts and keeping the ring frame square.
- Tape measure: 25-foot minimum for measuring gate opening and diagonal cross braces.
- Speed square: Ensures perfect 90-degree corners when assembling the gate frame.
- Bar clamps: Hold frame pieces while drilling pilot holes and driving screws.
Required Materials
Start with quality cedar 2x4s for your frame construction. You can calculate needs based on gate dimensions. For fence pickets, choose boards to match your existing fence — these could be 3-1/2", 4", 5-1/2", or other widths depending on your fence style. A 3-foot gate typically needs 6-7 pickets, depending on your spacing preferences.
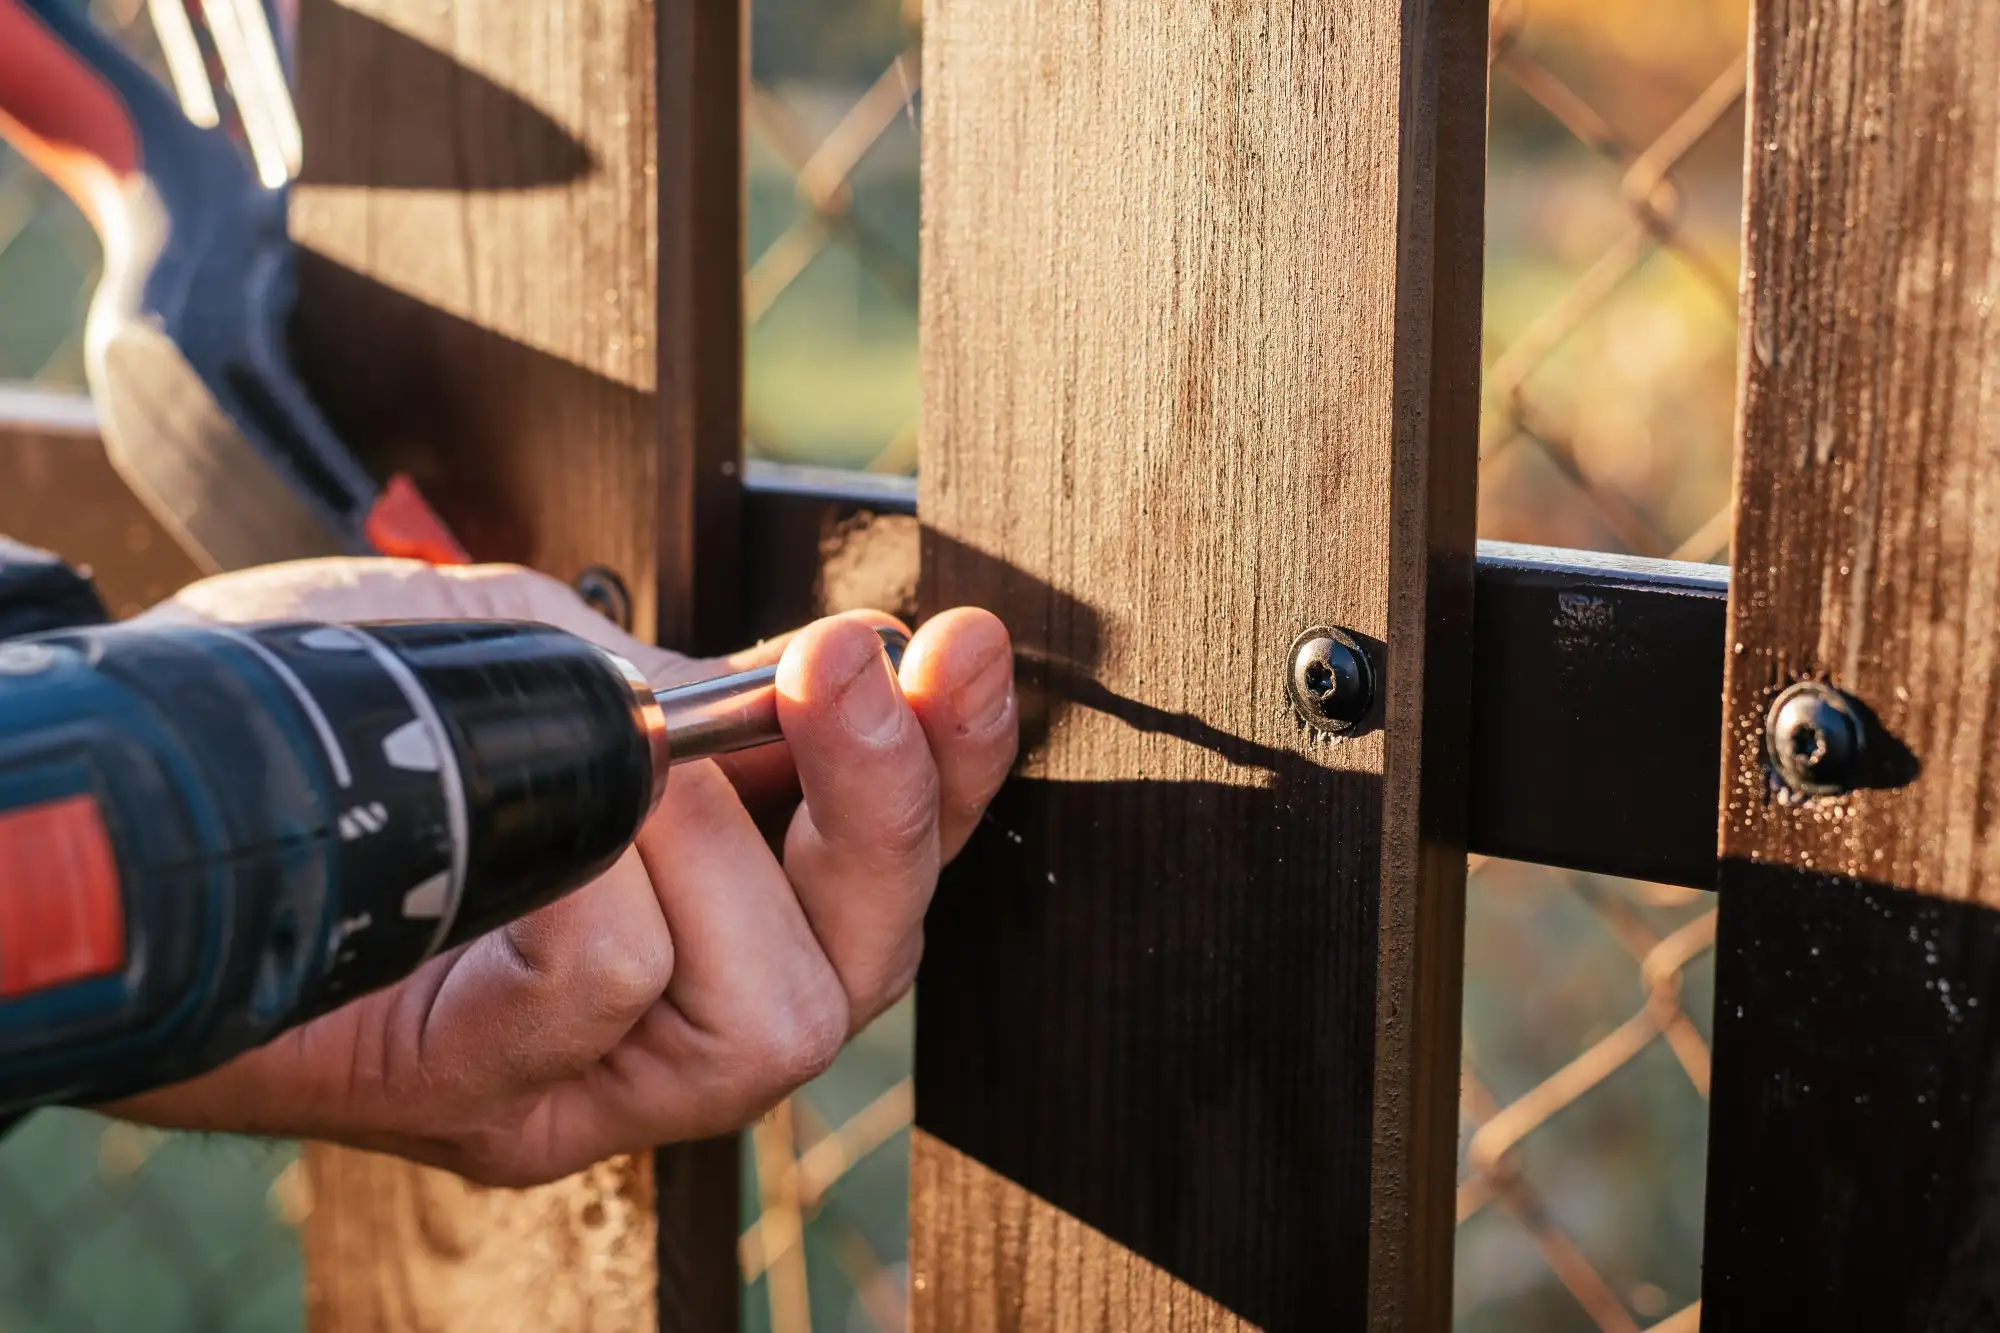
Critical hardware selection: We recommend using powder-coated galvanized steel hardware or stainless steel. The powder-coated finish will protect the cedar from the galvanized material. The galvanization will protect the steel from rusting. Stainless steel will not rust or impact. However, it is harder to find and considerably more expensive.
Smart Shopping Tips
Buy 10% extra lumber to account for defects, knots, or measurement errors. Select boards with minimal warping by sighting down the entire length at the lumberyard. Choose pieces with tight, straight grain patterns for maximum stability.
With tools and materials ready, you're ready to start construction. The next critical decision involves design principles that prevent sagging.
Understanding Gate Design: The Secret to No-Sag Construction
Building a gate using prefabricated fence panels is common practice and offers several advantages. Professional gate construction requires specific structural elements that counteract gravity and prevent inevitable sag.
Compression vs. Tension Bracing
A compression brace runs from the bottom hinge corner to the top latch side, pushing against the frame to transfer weight toward the hinges. This design fights gravity by creating a rigid triangle that maintains the gate's square shape permanently.
Tension braces are often used on larger gates. At Cedar Rustic, we use tension braces for all of our steel frame gates. It is easier to adjust a tension wire than 2x4 brace.
Cross Brace Installation Method
The diagonal cross brace is cut at angles and positioned on top of the bottom rail and under the top rail. You use screws to attach it into the rails. You can screw a picket to the 2x4 cross brace for added support.
To adjust a sagging gate later, simply unscrew the cross brace, adjust the gate position, and then screw the brace back in place to support the gate in its corrected position.
Sizing for Success
Build gates 1/4 inch narrower than the measured opening to account for seasonal wood movement. This gap prevents binding during humid summers when cedar expands slightly. Gates built too tightly initially become impossible to open when the moisture content increases.
Professional installers always verify measurements twice before cutting, checking both the top and bottom of the gate opening, since fence posts aren't always perfectly parallel.
These design principles separate professional gates from amateur attempts. With these details ironed out, let's walk through the actual construction step by step.
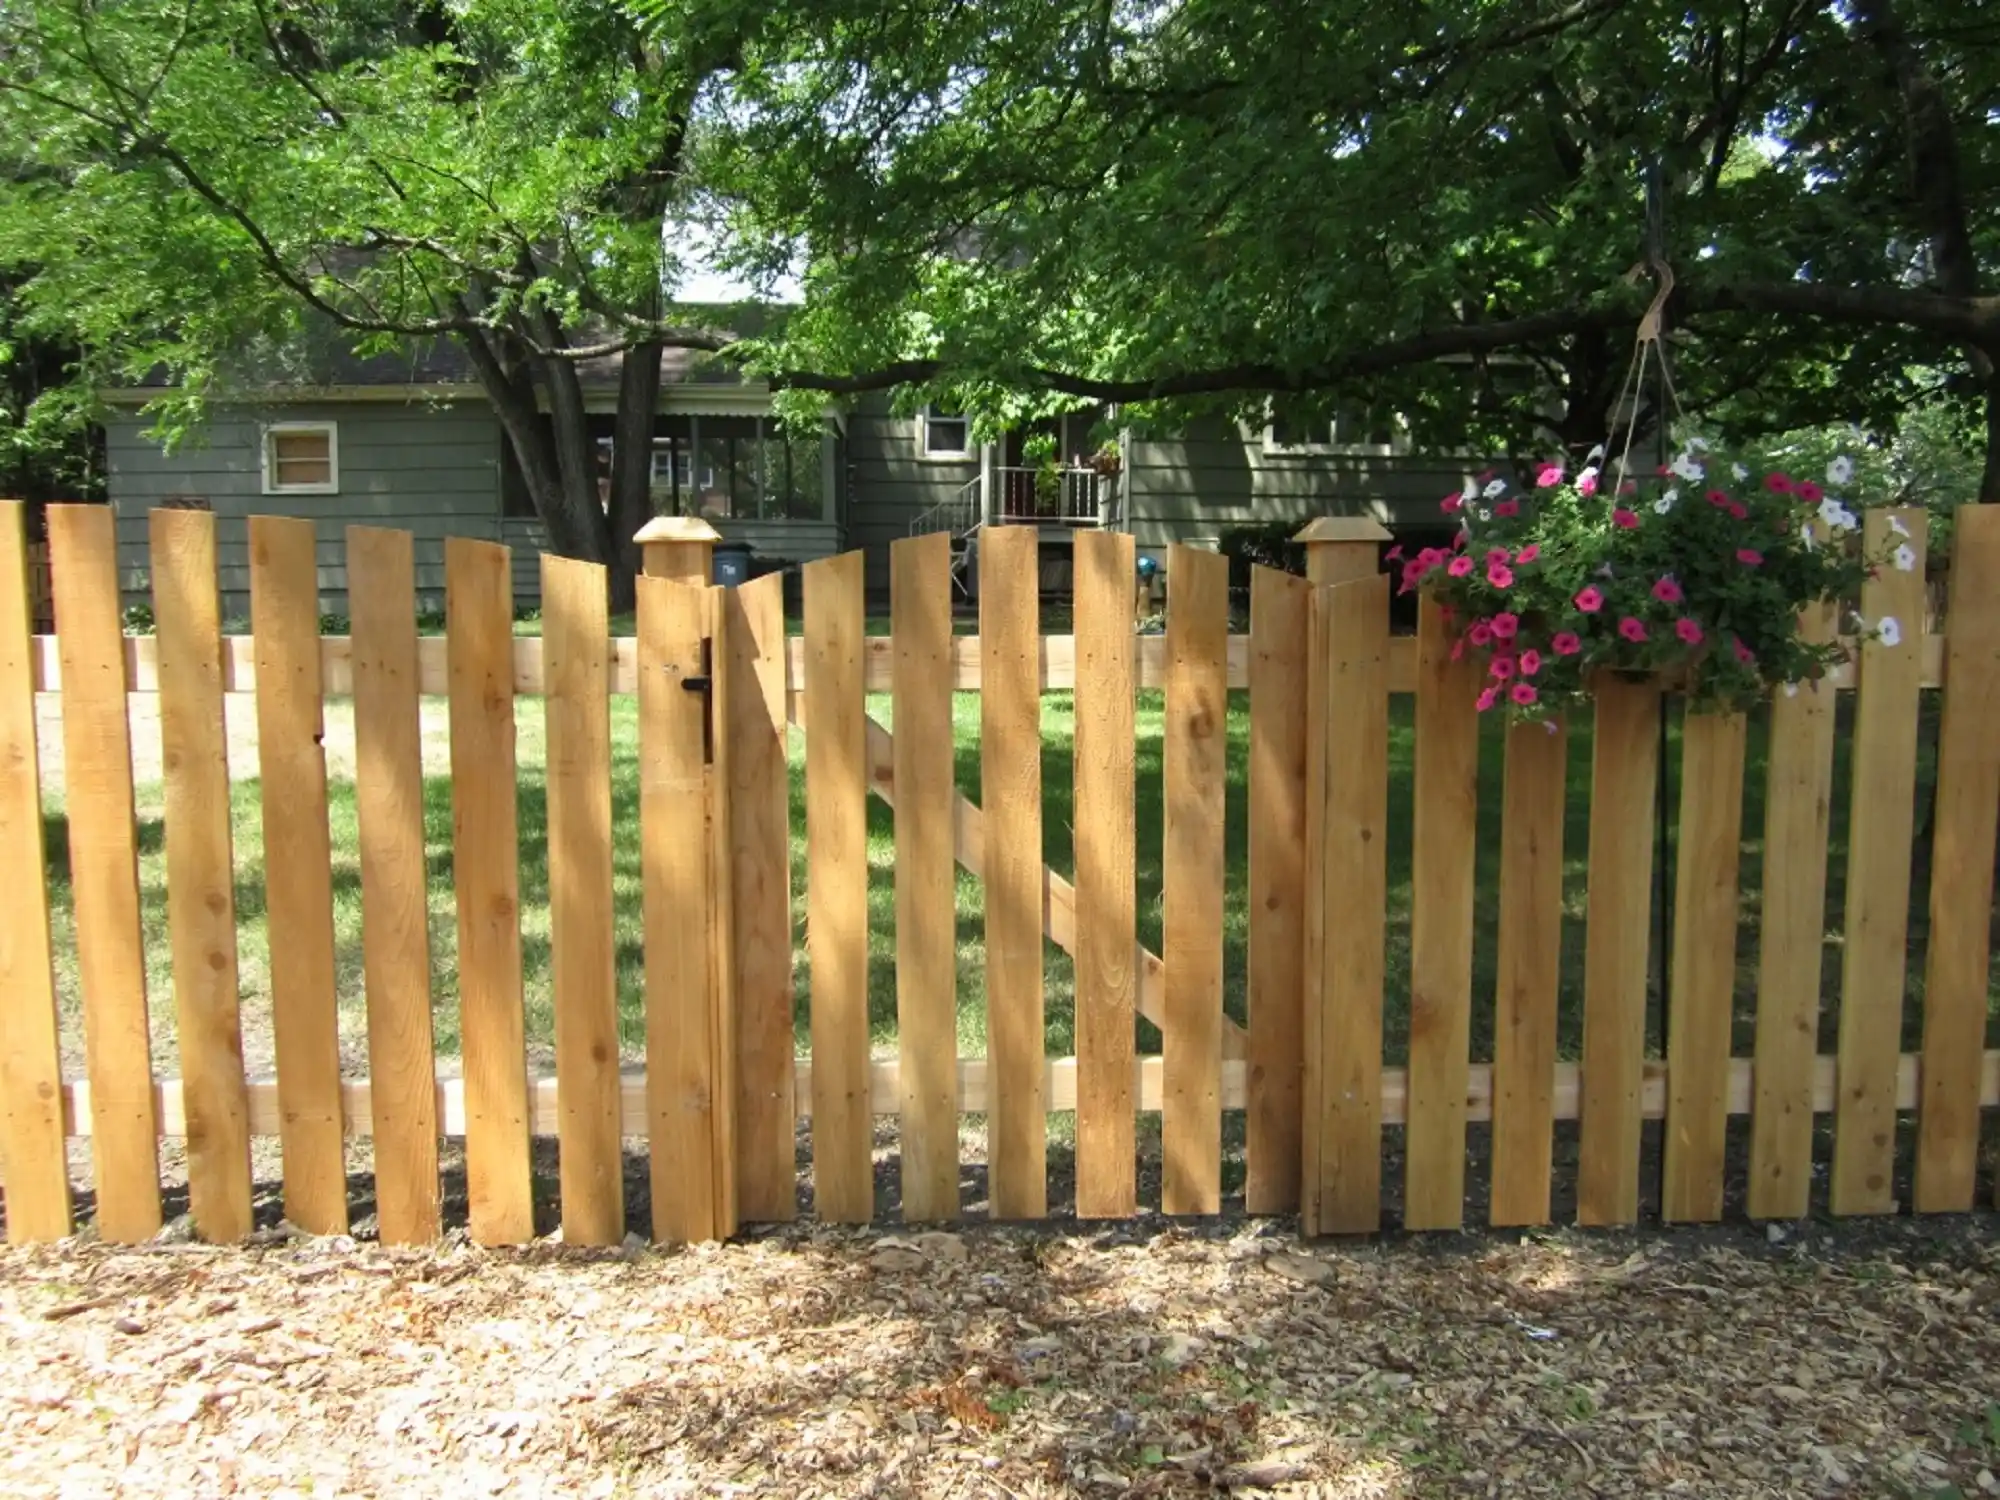
How to Build a Simple Cedar Fence Gate (Step-by-Step)
This method creates a sturdy single gate perfect for standard 3-4 foot openings. Follow these step-by-step instructions carefully to avoid common pitfalls.
Step 1: Measure and Plan Your Gate Opening
Measure between fence posts at three points: top, middle, and bottom. Use the smallest measurement and subtract 1-1.5 inches total for hinge and latch clearance (check latch instructions). This ensures it will operate smoothly even if posts aren't perfectly plumb.
Step 2: Cut and Assemble the Frame
At Cedar Rustic, we typically start from a prebuilt fence section rather than creating a separate frame and adding pickets. This method is easier and creates a lighter gate, reducing stress on hinges and posts. Starting with an existing fence panel simplifies the construction process significantly.
Cut the fence section to your measured gate width, ensuring you maintain consistent picket spacing on both ends.
Step 3: Install the Diagonal Brace
Cut your cedar 2x4s to create top and bottom rails that match your gate width. Attach these rails to the back of your cut fence section using 3-inch coated deck screws, which work just as well as specialty screws at about one-third the cost.
Space screws every 12 inches along the rails, making sure to secure into each picket for maximum stability.
Step 4: Attach Fence Pickets
Start attaching pickets from the hinge side to keep the spacing uniform. Use a scrap piece of wood as a spacer for consistent gaps, and check that picket tops align perfectly using your level as a straightedge guide.
Time-saving tip: Temporarily mount hinges before attaching all pickets to verify swing clearance. Cut the panel to size in advance. This prevents having to remove pickets later if you need to make adjustments.
Step 5: Final Assembly Checks
Verify the gate is square after installing the pickets. Test fit in the opening before adding hardware permanently. The gate should swing freely without dragging at ground level or binding against posts.
A properly built single gate can handle daily use for decades when constructed with these professional techniques. For wider openings, double gates require additional considerations.
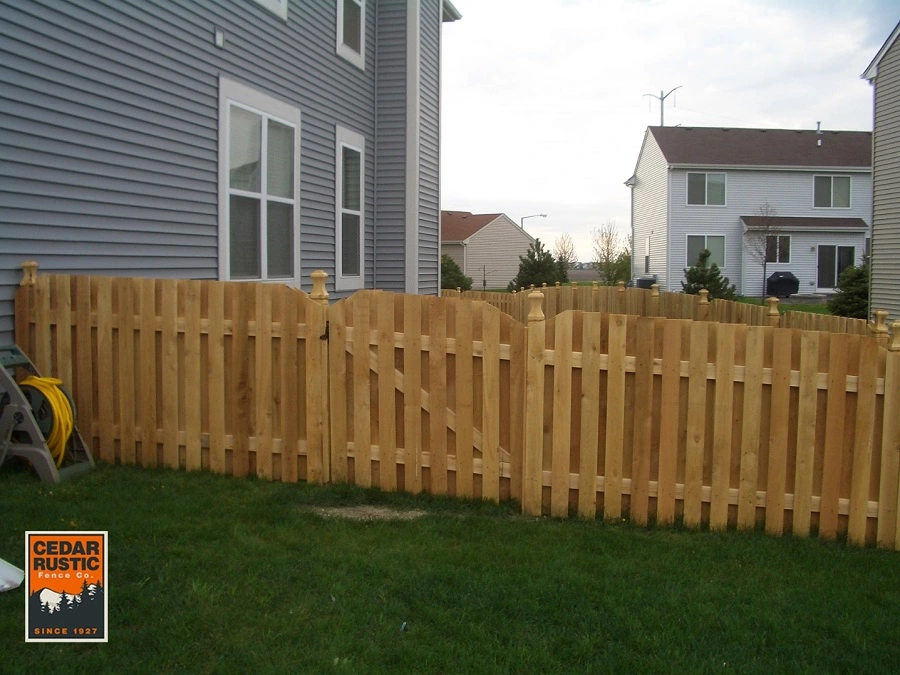
Building a Double Cedar Gate for Wide Openings
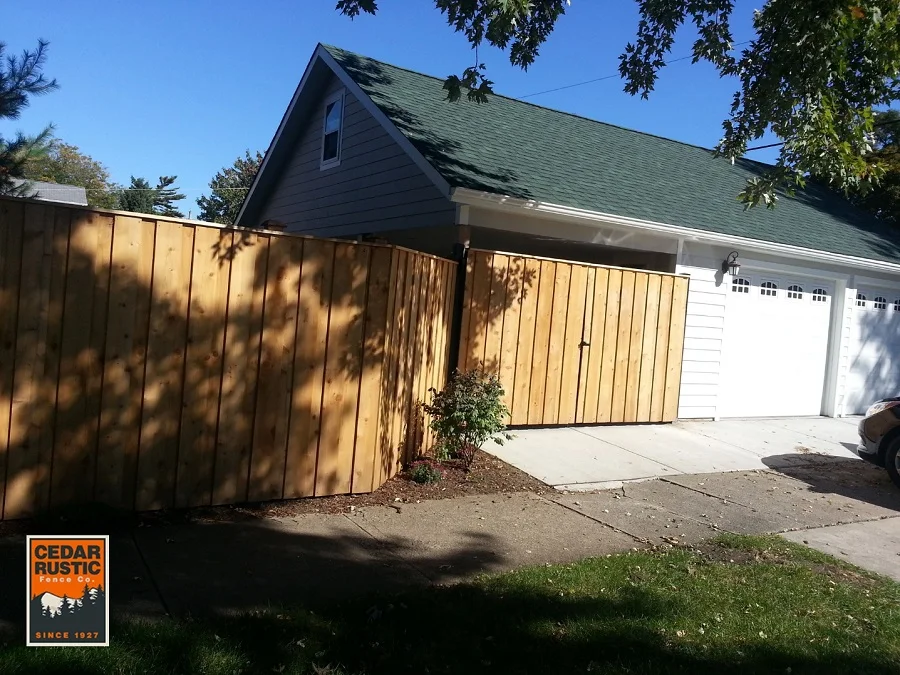
Double gates spanning 8-12 feet need special attention to prevent sagging and ensure both sides meet properly. These larger gates face more structural challenges but follow similar principles.
When Double Gates Make Sense
Any opening not bigger than 5 feet benefits from double gate construction. Single gates beyond this width become heavy and put excessive stress on the hardware. Double gates also provide better access for equipment and vehicles while distributing weight across four hinges instead of two.
Modified Construction Approach
Build each gate panel following the single gate methods outlined above, but divide the opening measurement equally. Account for 1" to 1 1/2" inch gap where gates meet in addition to hinge clearances. This center gap allows for the wood to expand and prevents binding.
Special Hardware Requirements
Double gates need cane bolts to secure the inactive side. These metal rods drop into ground sockets, preventing wind damage and providing solid closure. Install the cane bolt on the gate that opens second, typically the left side.
Spring-loaded caster wheels support heavy gates and prevent hinge stress, but they only work on completely flat ground. Adjust the caster height so it carries weight while allowing smooth operation. Quality casters include grease fittings for long-term maintenance.
Slope installation secret: Always mount hinges on the low side of sloped terrain. Gates naturally gain elevation as they open, preventing ground interference.
Double gates add functionality and visual impact when properly constructed. Next, let's explore the finishing touches that separate professional installations from amateur attempts.
Hardware Installation and Final Adjustments
Quality hardware makes the difference between smooth operation for years versus sticking and failing within months. As professional installers, we know hardware selection matters as much as construction quality.
Proper Hinge Installation
Mount exactly two hinges per gate, never three. A third hinge creates binding when posts shift slightly, causing premature wear and difficult operation. Position hinges so they allow a full swing without hitting posts or dragging on the ground.
Spring-loaded self-closing hinges offer advantages over traditional models. They provide tension adjustment for different gate weights and automatically close gates behind users. If springs are installed incorrectly, they can cause the gate to slam, reducing its lifespan.
Latch Selection and Mounting
Choose reversible latches that install without cutting gate material. These latches actually support some gate weight, reducing strain on hinges. The mount latches at a comfortable height, typically 36-42 inches from ground level.
For security, add a locking mechanism compatible with your latch style. Slide bolts work well for gates needing occasional locking, while padlock hasps provide maximum security.
Anti-Sag Insurance
Install cable and turnbuckle kits as backup to compression bracing. Run the cable from the top hinge corner to the bottom latch corner, creating tension-based support. This belt-and-suspenders approach guarantees long-term performance.
Seasonal adjustment tip: Leave at least a 1-inch gap at the latch side during summer installation, potentially up to 1.5 inches for winter. Cedar expands and contracts with moisture changes, and factoring in the proper gaps prevents seasonal binding.
Cedar Gate Maintenance and Longevity
While cedar naturally resists decay, there are a few simple maintenance tips to extend gate life dramatically. A few minutes of attention twice yearly prevents expensive repairs.
Semi-Annual Inspection Routine
Every spring and fall, check hinges for looseness. Tighten mounting screws before they become completely loose. Verify the compression brace remains tight and hasn't developed cracks at connection points.
You should also test latch operation and adjust strike plates if needed. It’s normal for gates to settle slightly over time, requiring minor latch adjustments to maintain smooth operation.
Cleaning and Refinishing Schedule
Clean gates annually with mild detergent to remove dirt and mildew. Use a pressure washer, but don’t use too much pressure, as it can damage the wood. Rinse thoroughly and allow them to dry completely before applying the finish.
Reapply penetrating oil every 2-3 years or when water no longer beads on the surface. Some homeowners prefer letting cedar weather naturally to silver-gray, eliminating refinishing.
Common Repairs and Fixes
- Squeaky hinges: Apply white lithium grease, not WD-40, which attracts dirt.
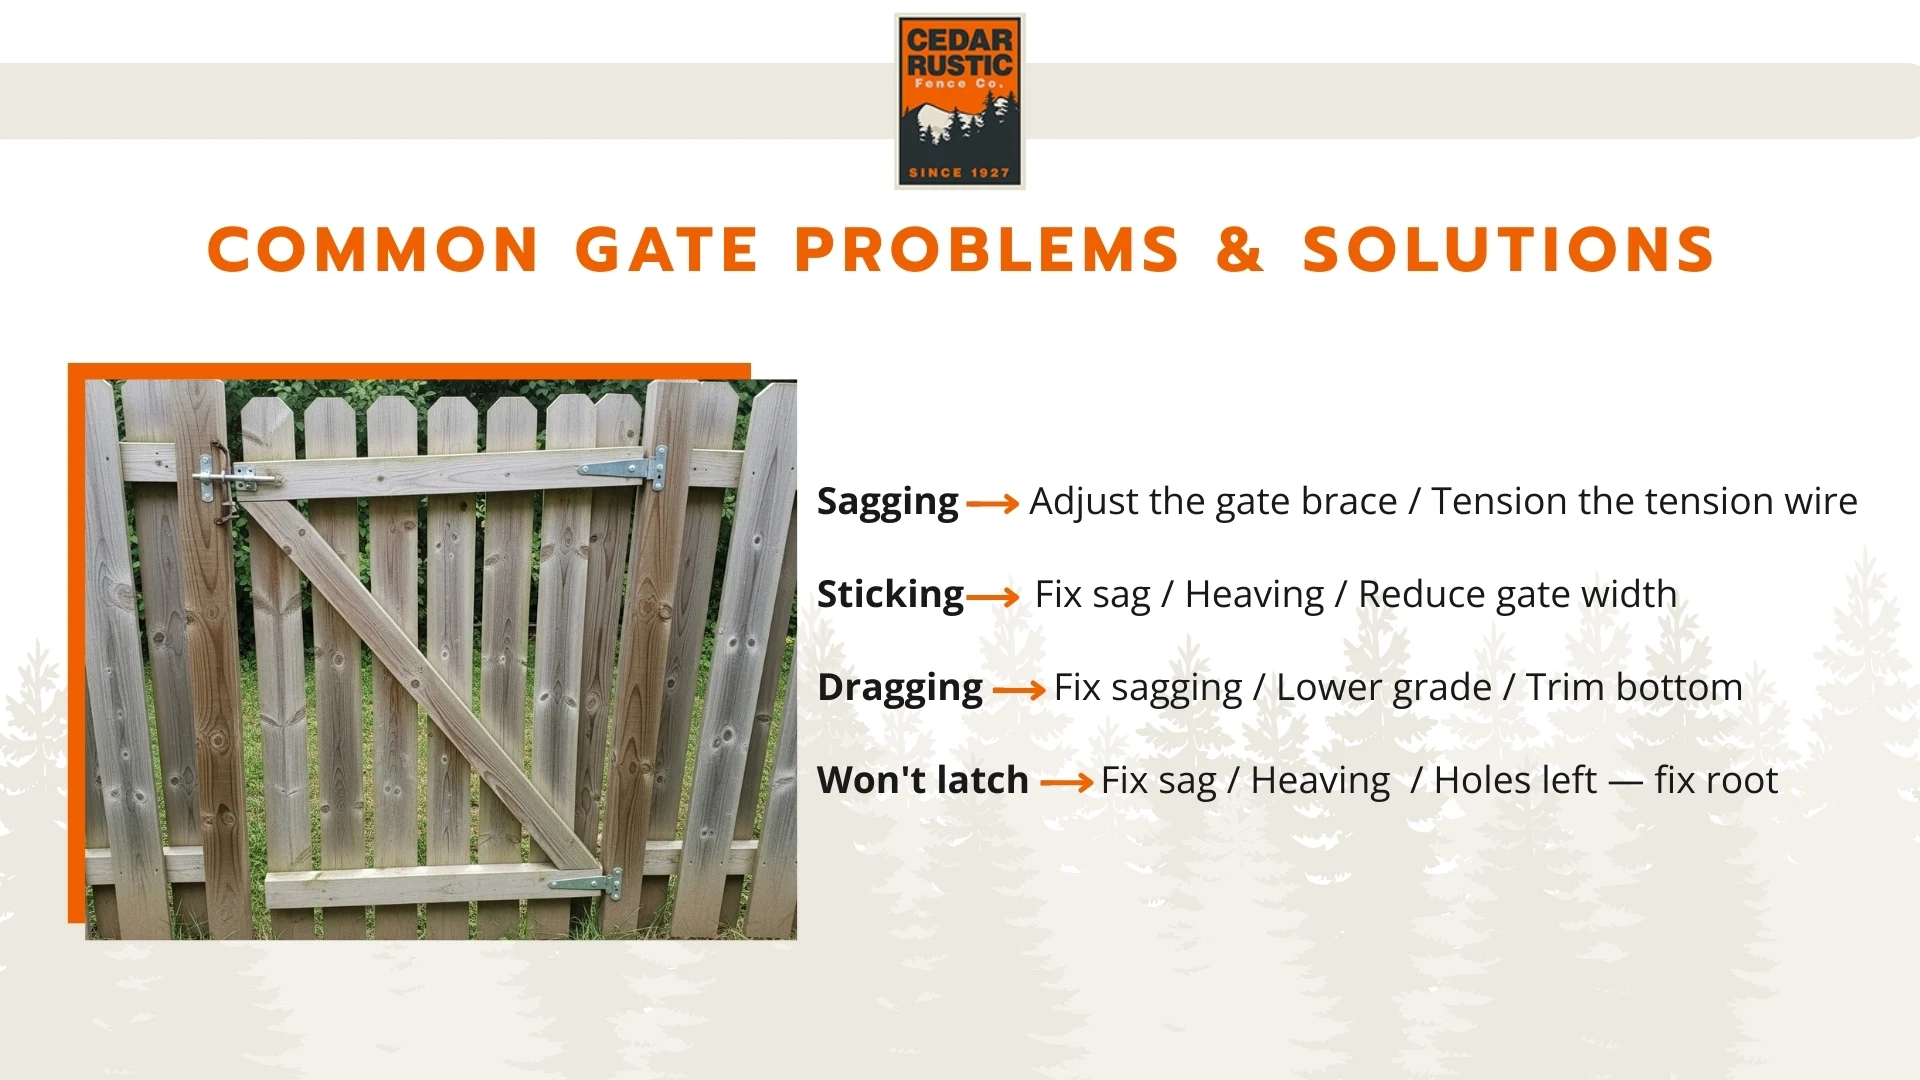
- Minor sag: Tighten compression brace connections and verify hinge security or adjust the gate brace.
- Loose pickets: Most pickets are nailed with ring shank nails.
In some cases, professional repair makes sense versus replacement. For example, gates with rotted frames or broken structural members often cost more to repair than replace.
Regular maintenance is a simple way to protect your investment and ensure it provides decades of service. Let's compare DIY versus professional installation costs and benefits.
DIY vs. Professional Installation: Making the Right Choice
While making a DIY fence would be troublesome for most homeowners, the gate itself can work for handy homeowners, but knowing real costs and time requirements helps make informed decisions. Sometimes DIY makes sense; other times, professionals provide better value.
True DIY Cost Breakdown
Materials for a quality single gate run $150-300, including cedar lumber and basic hardware. Add $100-200 if you don’t have the necessary tools, like a circular saw or drill. Premium hardware, like self-closing hinges, adds another $75-150.
First-time builders need 2-4 hours for a single gate, not counting hardware store trips. If you make a mistake and need to replace the material, it can double the costs quickly. Plus, there's no warranty on your workmanship if problems develop.
Professional Installation Value
Professional installation typically costs $400-800, including all materials, labor, and warranty protection. Experienced crews can replace posts in 2-3 hours with guaranteed results. They handle challenges like sloped terrain or unusual openings efficiently.
Professionals bring specialized tools and knowledge they’ve gained from thousands of installations. They spot potential problems before they occur, adjust techniques accordingly, and ensure each of the fence projects is executed perfectly.
Making Your Decision
Let’s break it down, so your decision is simple. Choose DIY if you have woodworking experience, own the necessary tools, and enjoy learning through projects. The satisfaction of building your own gate can outweigh modest cost savings.
Hire professionals if time is valuable, you lack tools, or the gate is critical to property security. Professional installation includes warranty protection and eliminates the risk of costly mistakes.
Hidden professional benefits: Contractors handle utility location marking and old gate disposal. They carry insurance protecting you from injury claims. Most importantly, they guarantee that gates operate properly for years.
Whether choosing DIY or professional installation, these construction principles ensure gates that perform beautifully for decades. For more cedar fence ideas and inspiration, explore our complete guide.